This Is What I've Been Up to Lately.

Candle Power Forums

Help Support Candle Power:

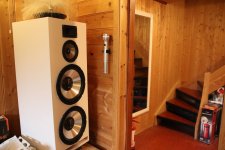
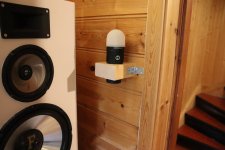
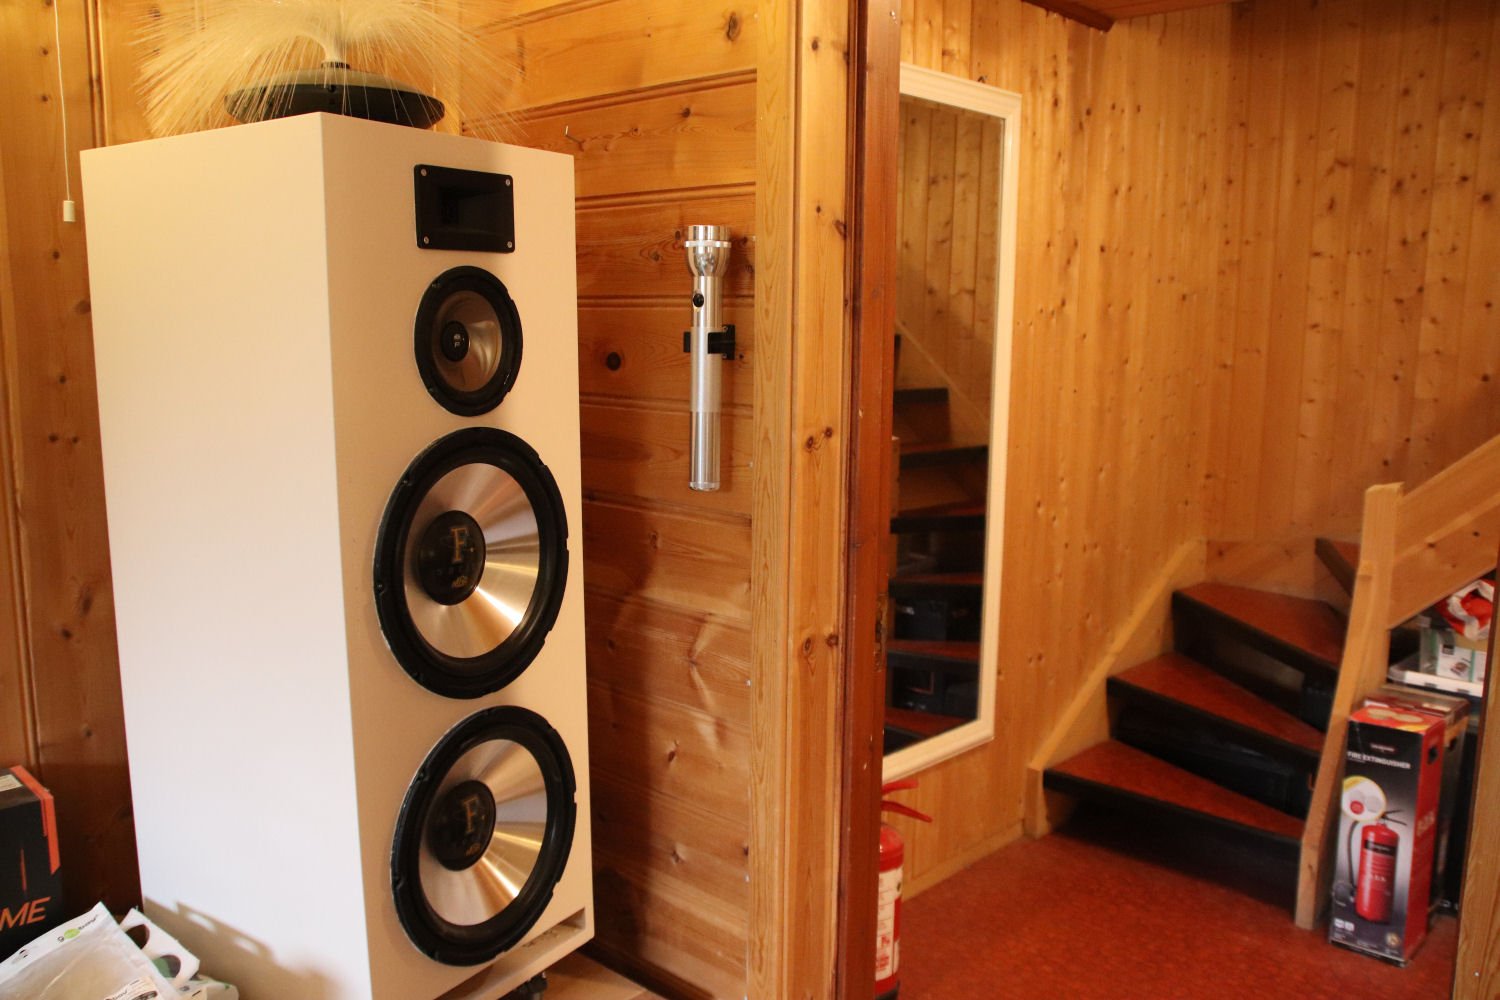
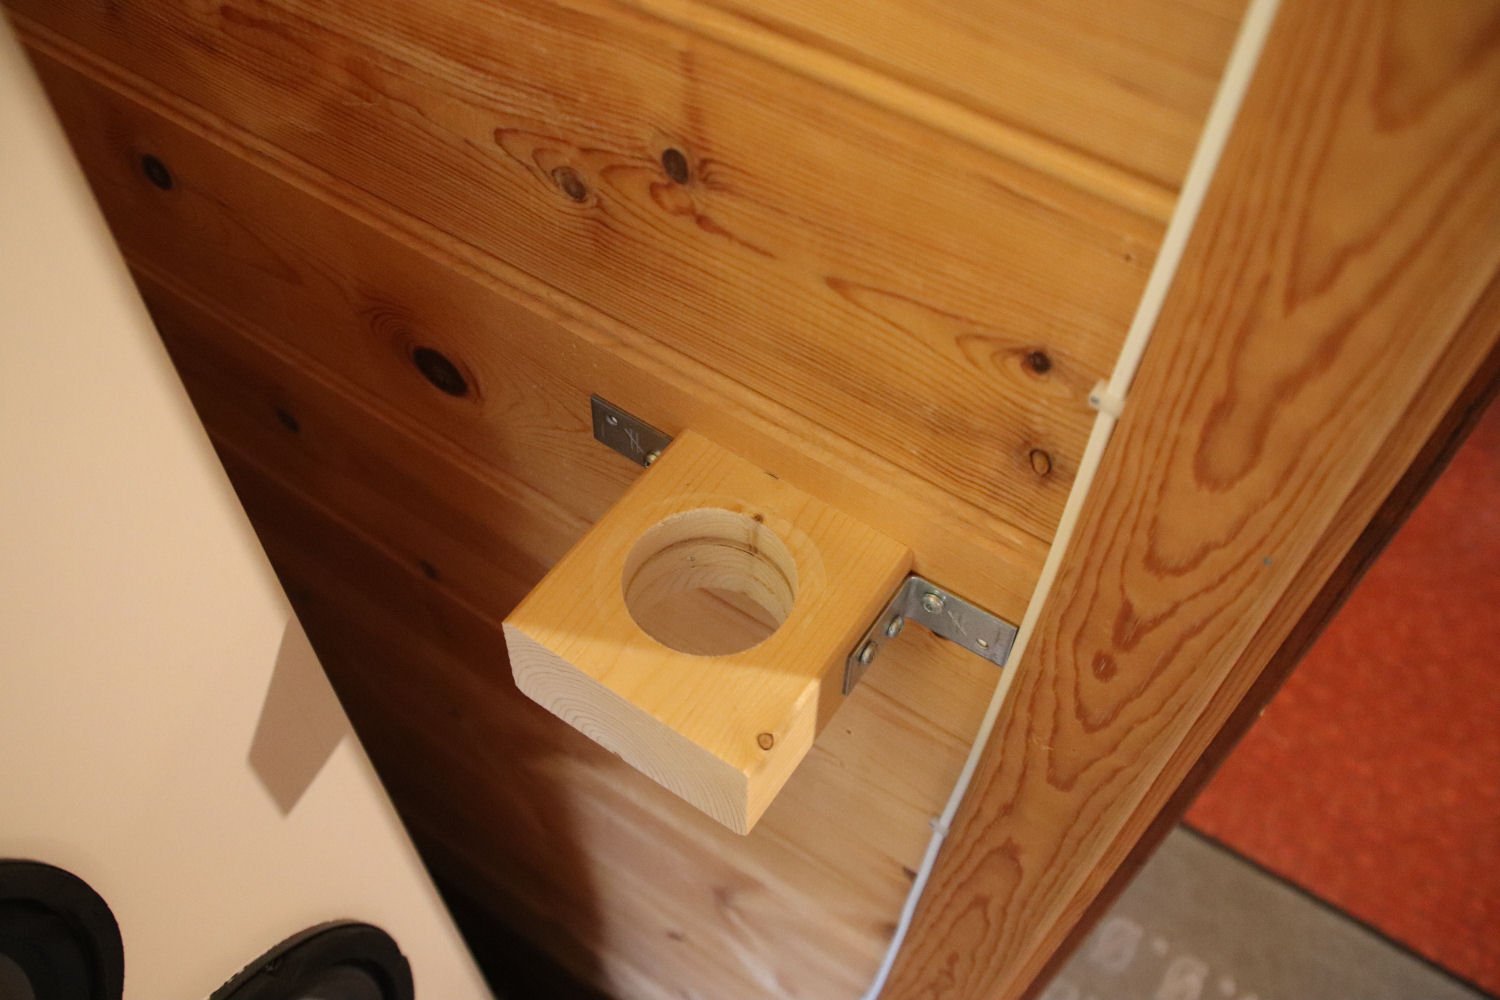
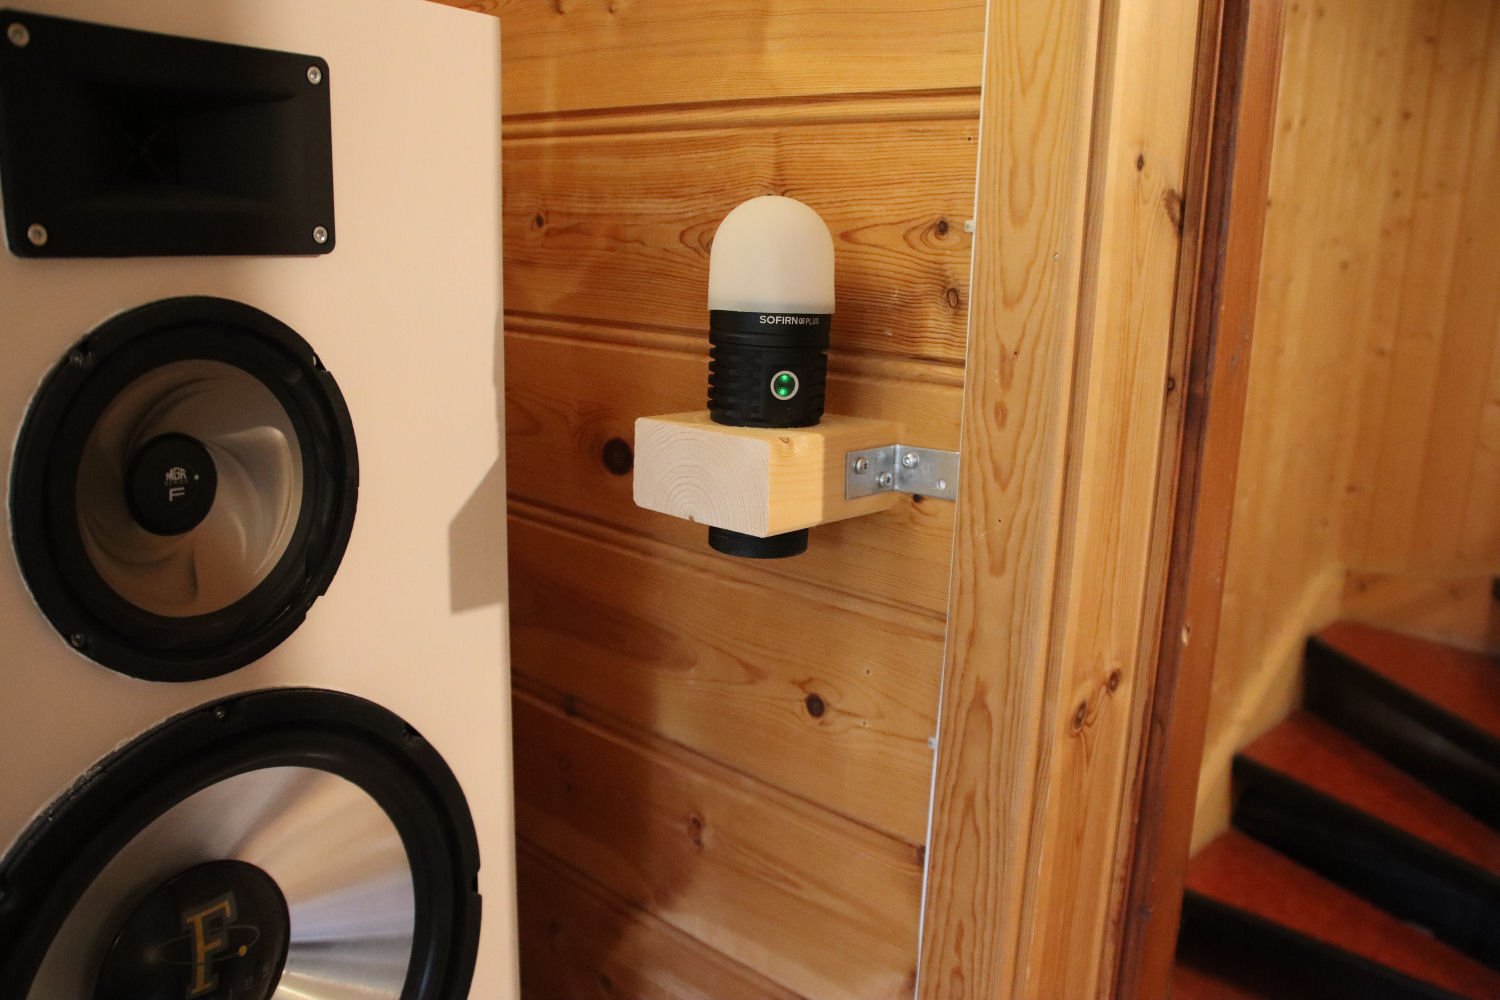
Probably not in the spirit of the thread, but this thread inspired me to upgrade the wall mounted emergency light in my room in the basement.

After about 20 minutes, I went from this:
IMG_1909_25.jpg

...To this:
IMG_1914_25.jpgIMG_1916_25.jpg

It's so nice to have tools and accessories on hand. ❤️
 
Last edited:
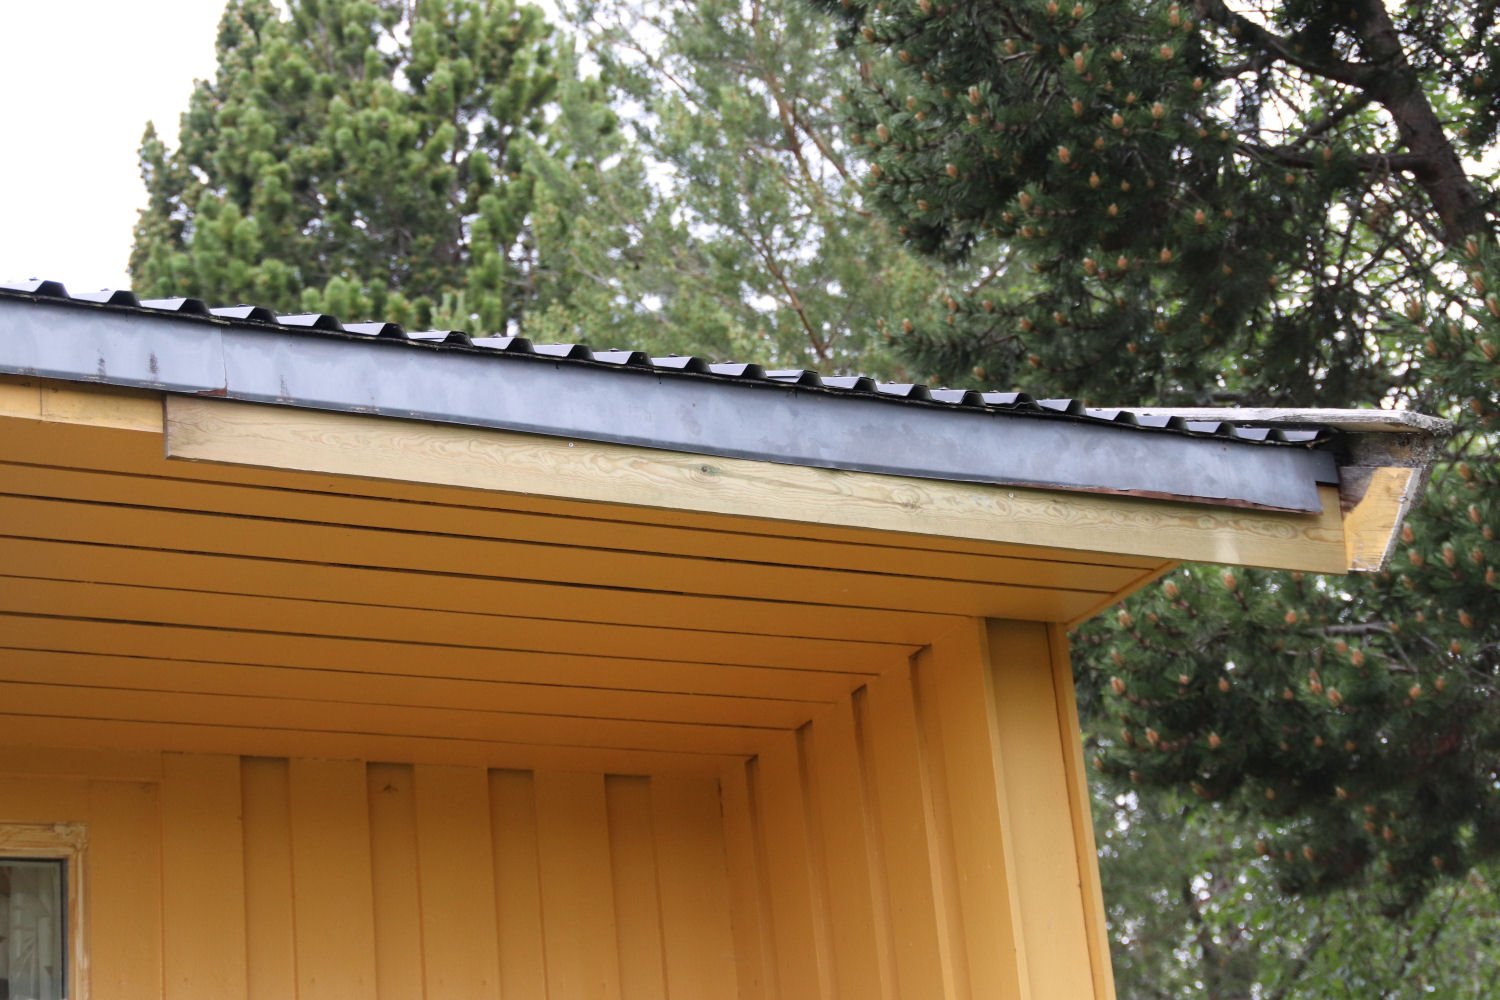
New fear unlocked regarding the gutters...

Clearly, the math is not strong in this one.
19 mm (added fascia board)
+ 1 mm (metal cover / drip edge)
+ 35 mm (extended gutter brackets)
+ 5 mm (wider gutters)
= ...NOT 55 mm, which I rounded down to 5 cm for convenience and ease of measuring.

How the hell did I manage this... :banghead:

Did some more practical tests today. For one, the rain - if just a drizzle - just falls straight down off the roof, and won't hit the gutters at all. So that needs some more pondering.
Secondly, the row of added fascia boards should have been 1 cm further down to compensate for the total of the extended gutters.

So I will do a practical test with a plastic lid or something to simulate how the snow will (read: MAY) behave. If that test gives me any reason for concern, I will have to redo the whole row of boards. This is one of the 7 added, carefully measured and leveled, boards.
IMG_1827_25.jpg

EDIT:
CRISIS MAY BE AVERTED!!!

I could not get rest in my soul about it, so I checked some earlier photos for a rough measurement, and was just outside to lean a piece of the new gutters between the highest bracket and the railing on my custom scaffolding, holding it about where it would be.

Then I tried to slide a plastic lid off the roof, pretending it was a chungus load of snow...and it wanted to sail above and over the edge of the gutter every time.
So I am taking my chances on this one, and leaving everything as is.
 
Last edited:
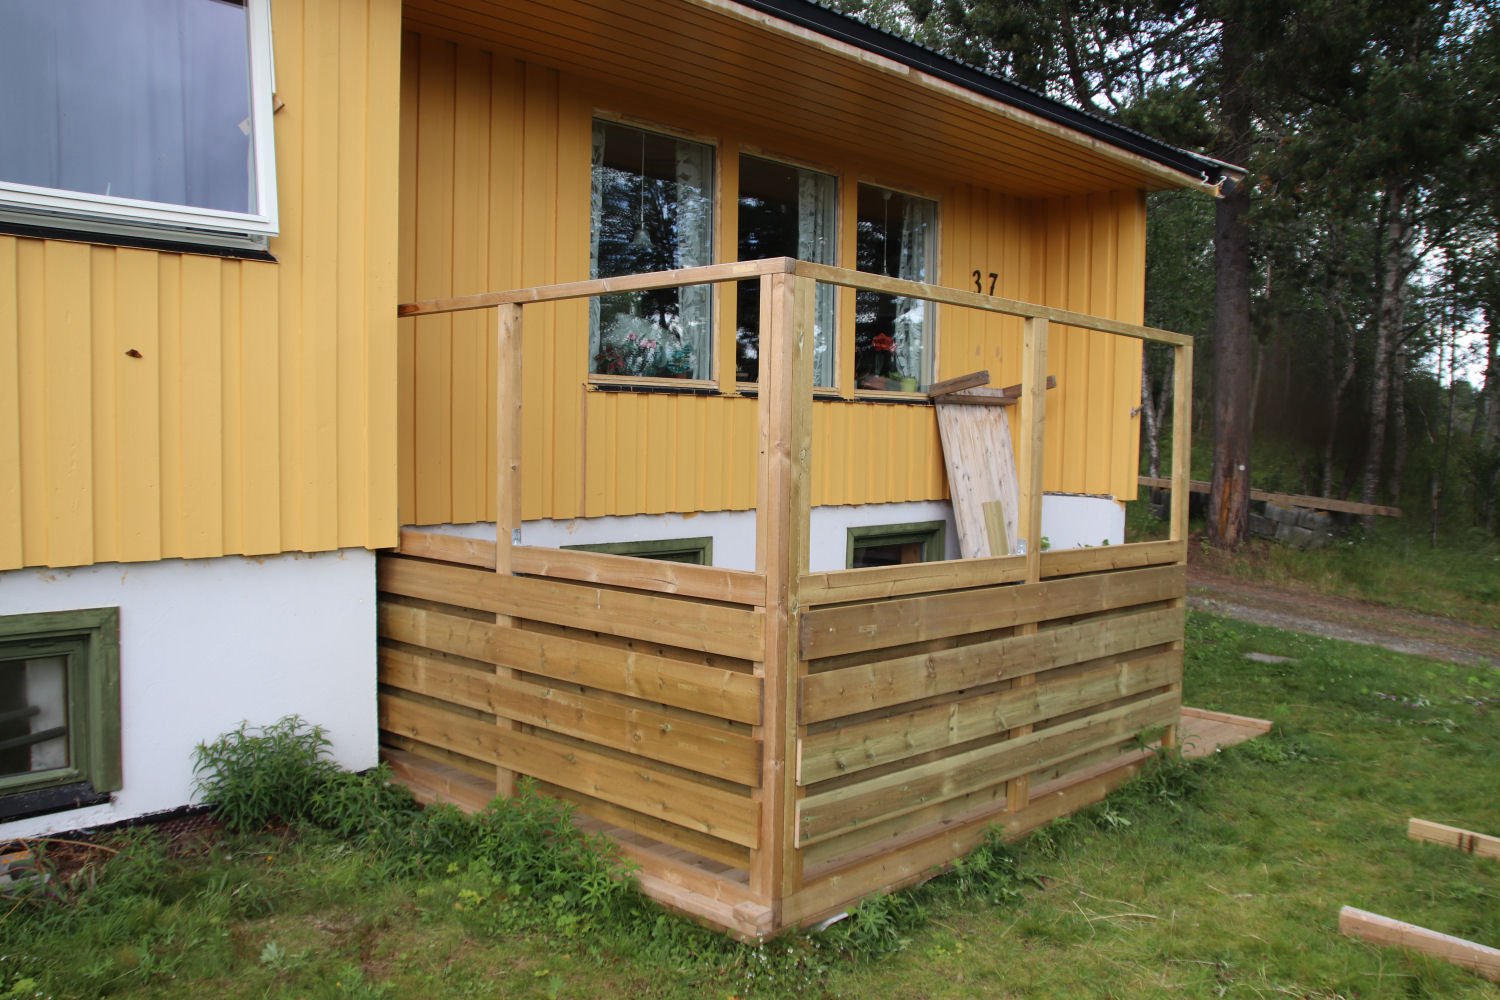
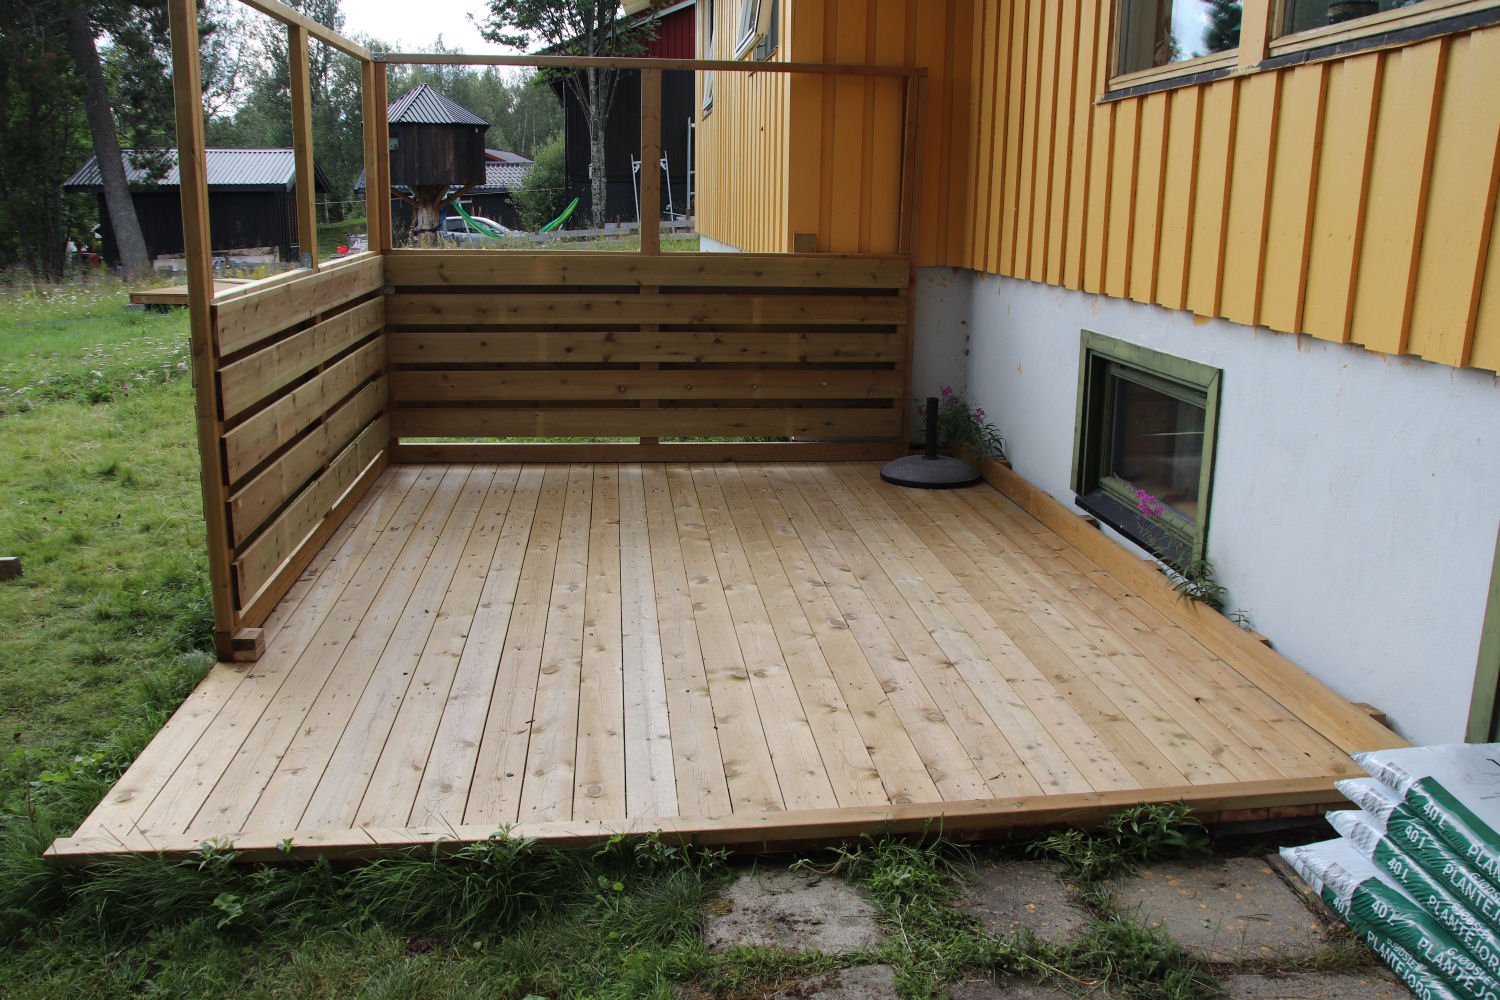
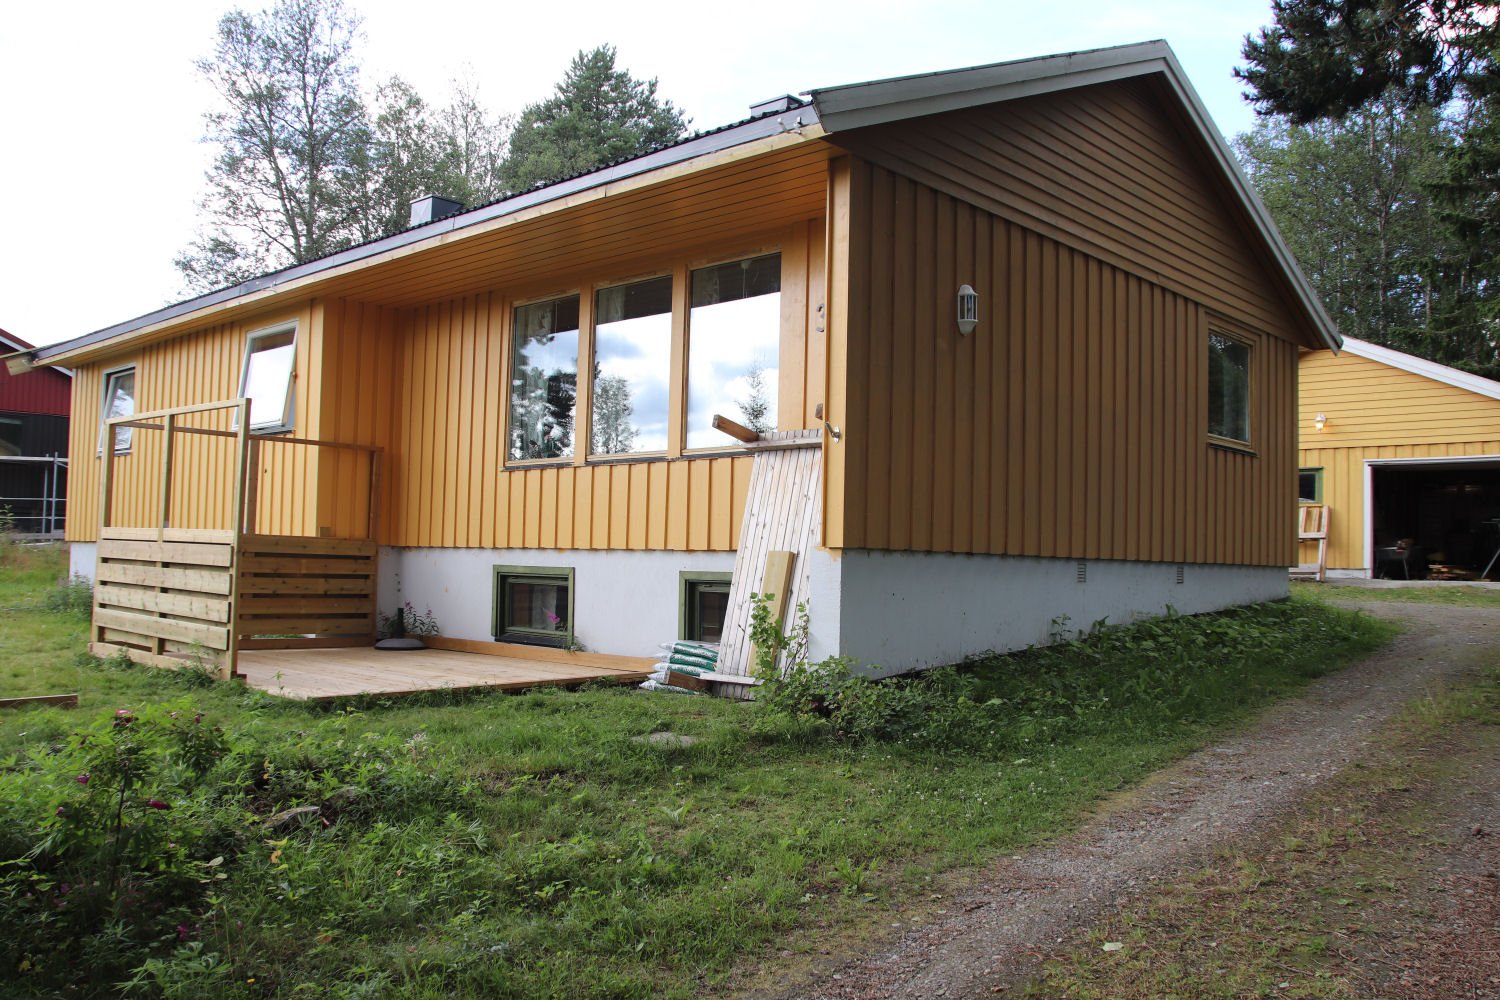
I've been a bit all over the place lately, but I'm finally done with the second privacy wall for the new patio.
IMG_1923_25.jpgIMG_1925_25.jpgIMG_1926_25.jpg

First wall was just the frame, and only missing the "wall" boards (kinda crucial for the privacy part), whereas the second wall has since 2016 been in a state somewhere between "in pieces" and "partially assembled".

Both of the privacy walls were originally intended to be used with the floating deck in the front yard, but since that was never used (and still isn't - other than as a work surface), I kinda lost interest. Again, this was in 2016. But with the new patio done - which is actually seeing use (as it is much more in the sun) - I decided to dust off the materials and finish the walls. Which accidentally fit even more perfect with the new patio, even with them being custom designed for the floating deck.
9 screws (I made sure it's the same Torx bit), and both of the walls can be removed. Or moved into the garage for winter storage, which is what I will do with them.
 
Last edited:
I'm pleased that worked out for you. (y) (y)

There were times we wanted to make changes at home, but didn't have the funds. Later, I had different ideas and was glad we hadn't done what we couldn't afford. :geek:
 
I'm pleased that worked out for you. (y) (y)

There were times we wanted to make changes at home, but didn't have the funds. Later, I had different ideas and was glad we hadn't done what we couldn't afford. :geek:
Thank you very much. ❤️

I got another project ~98 % finished, but no pictures yet. It's related to the gutters, but it's a weird one for sure. "Over-built solution to a simple problem", I think would be the best description. Which is just my style. ^^

Back to the earlier words we had regarding perfectionism, here's a top tip I have long since learned: don't rush anything.
If there is a project or feature that you want to implement, just keep it in the back of your head as a concept. Then slowly churn through every detail of that concept in your head for a time. You probably know and do all of this already, but envision the whole construction process, what tools and materials would you need, any possible obstacles or issues during building, places for possible improvement, is there any recommended or benecifial areas for reinforcements, added features etc.

If it's something complex, you want to make notes, but if it's something simple like a patio or privacy wall (or something akin to a carport, which I consider building), just stew a bit on the design to make sure you get it as you want it when you are finished building it. There is no worse feeling than "ah, why didn't I do that..." when you look at the finished product.

I have no idea why my brain is this way, but I have zero imagination. You give me a blank piece of paper and tell me to draw whatever on it, I will just stare at it for however long you give me. I must have some pointers if starting from nothing. But I am very good at improving something, or finding a solution to a specific problem.

Not trying to boast, but I took some sort of psychological test once, and I was told I had a "highly developed sense of logic". Which I think explains why I like computers so much. And probably also why I like designing and building things (I was big on LEGO as a kid), and specifically seeing possible improvements in things. But I am useless at inventing or suggesting anything new.
 
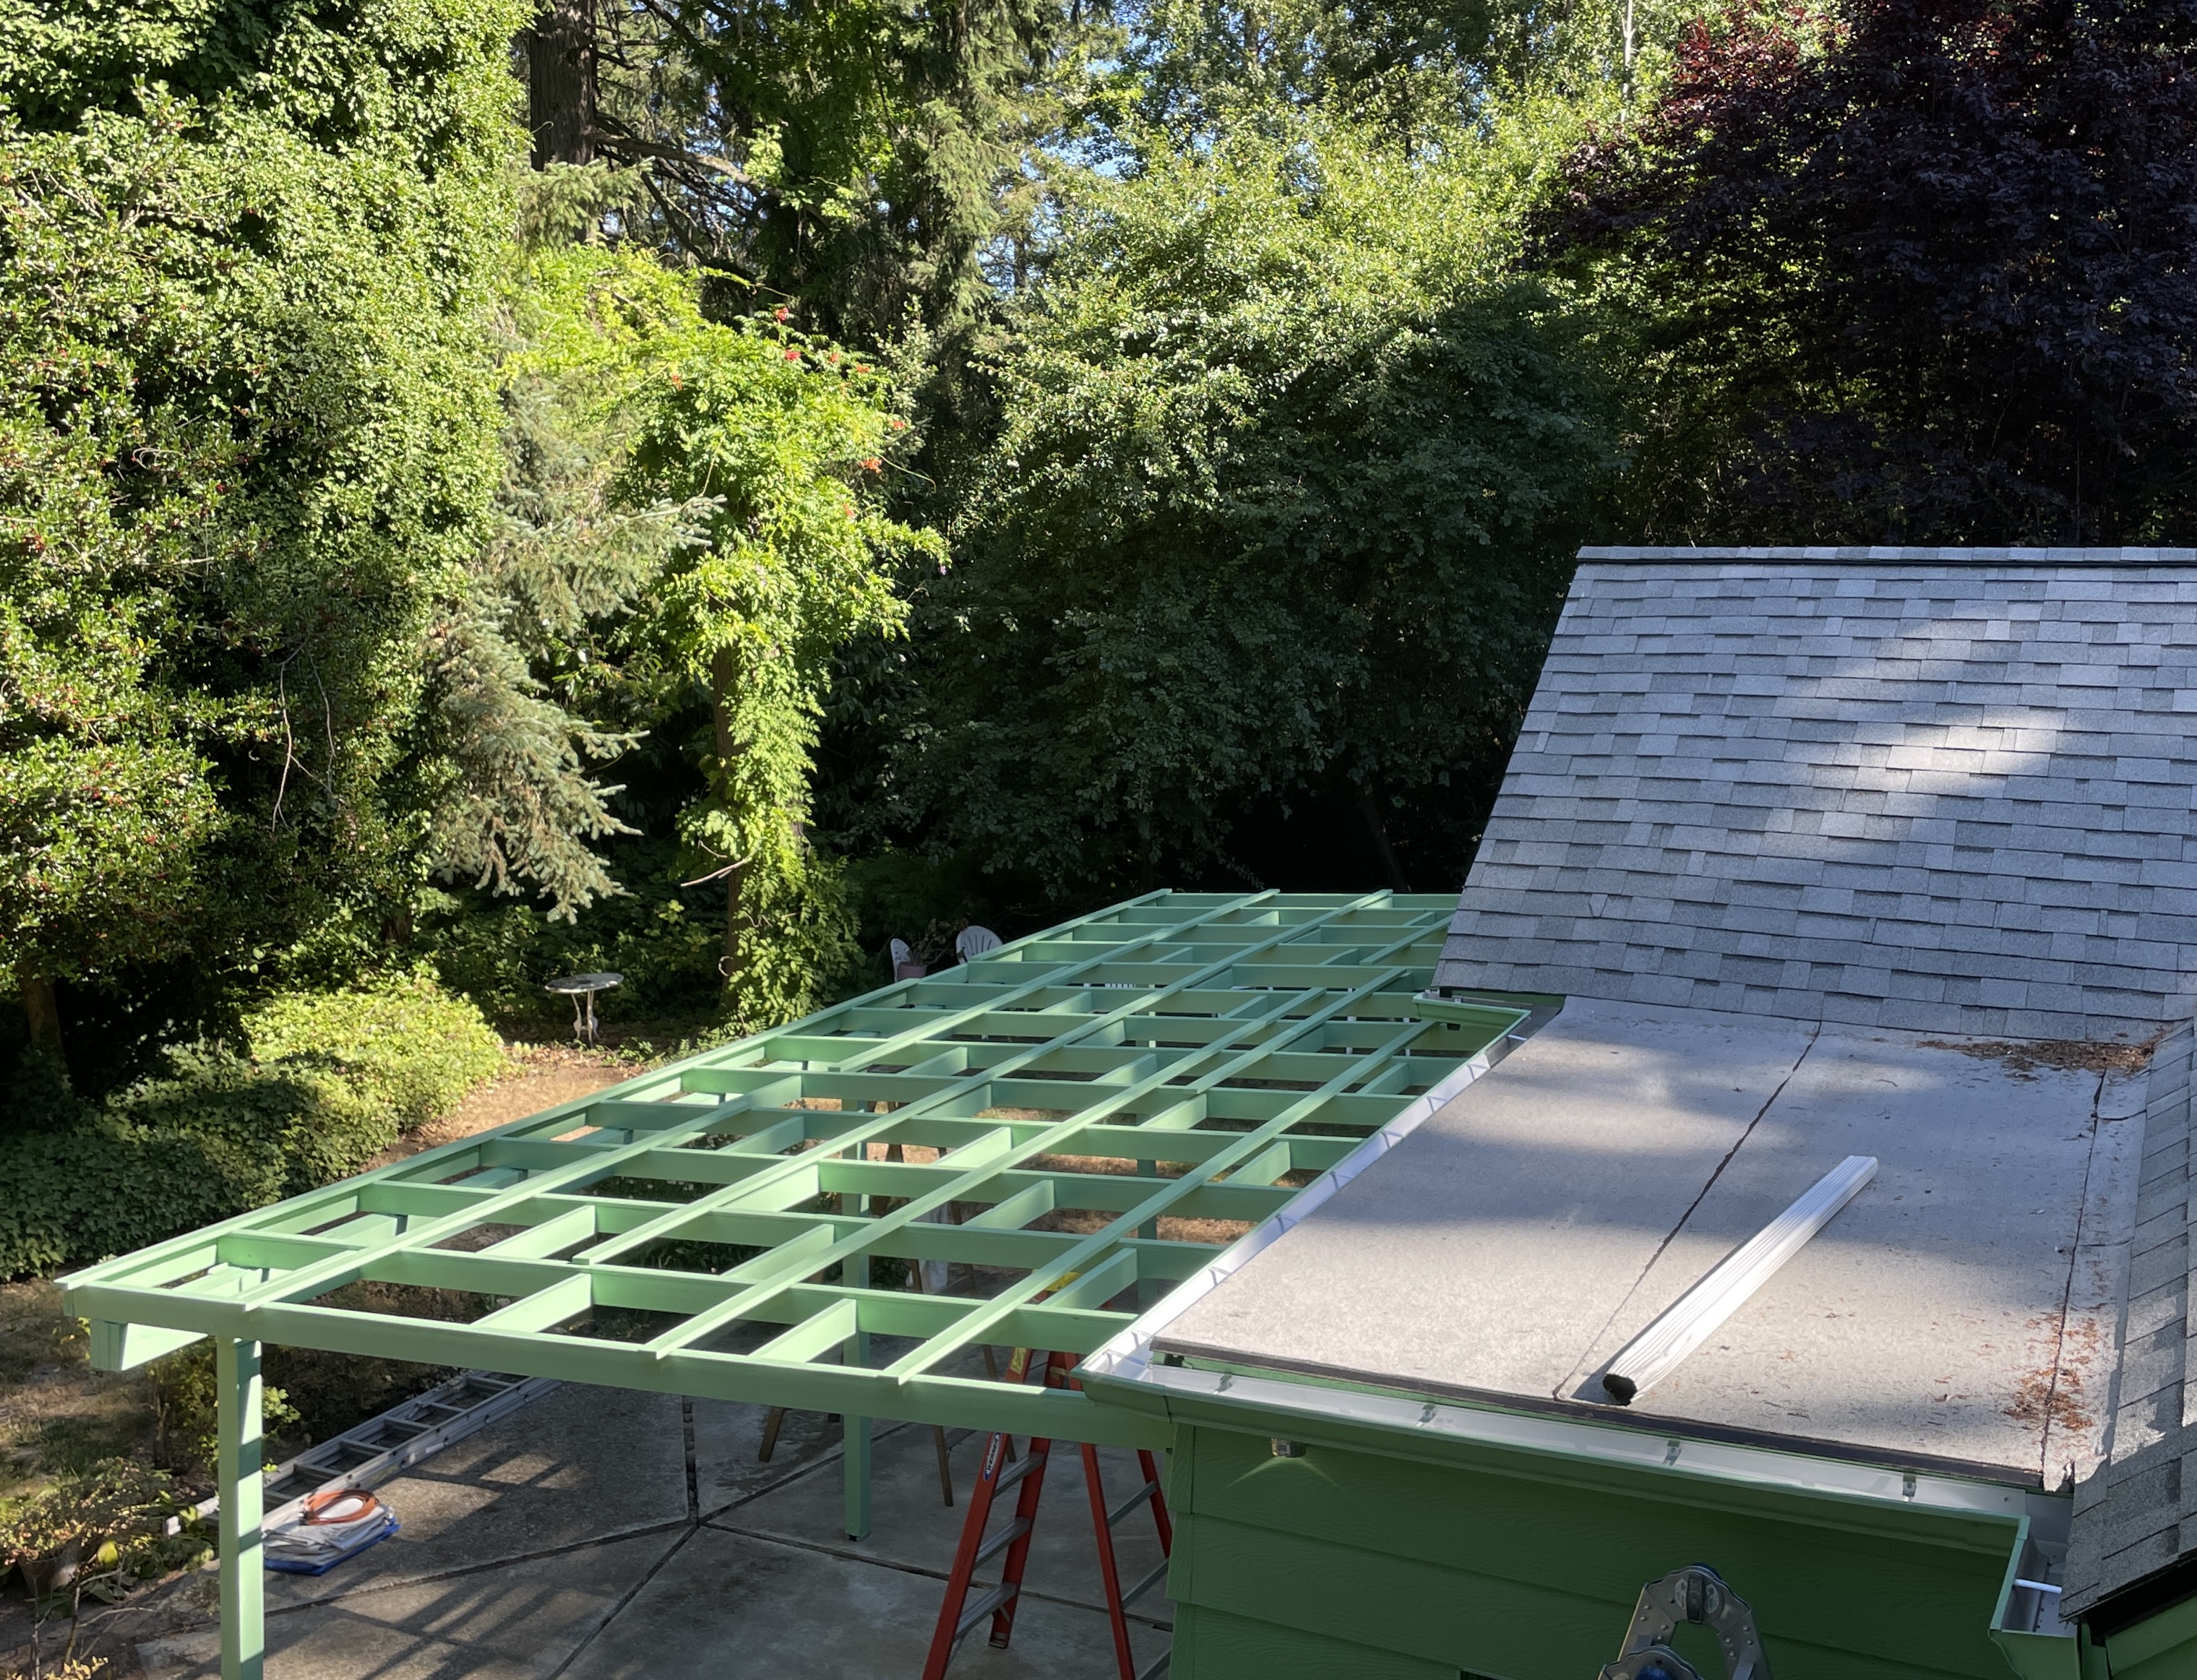
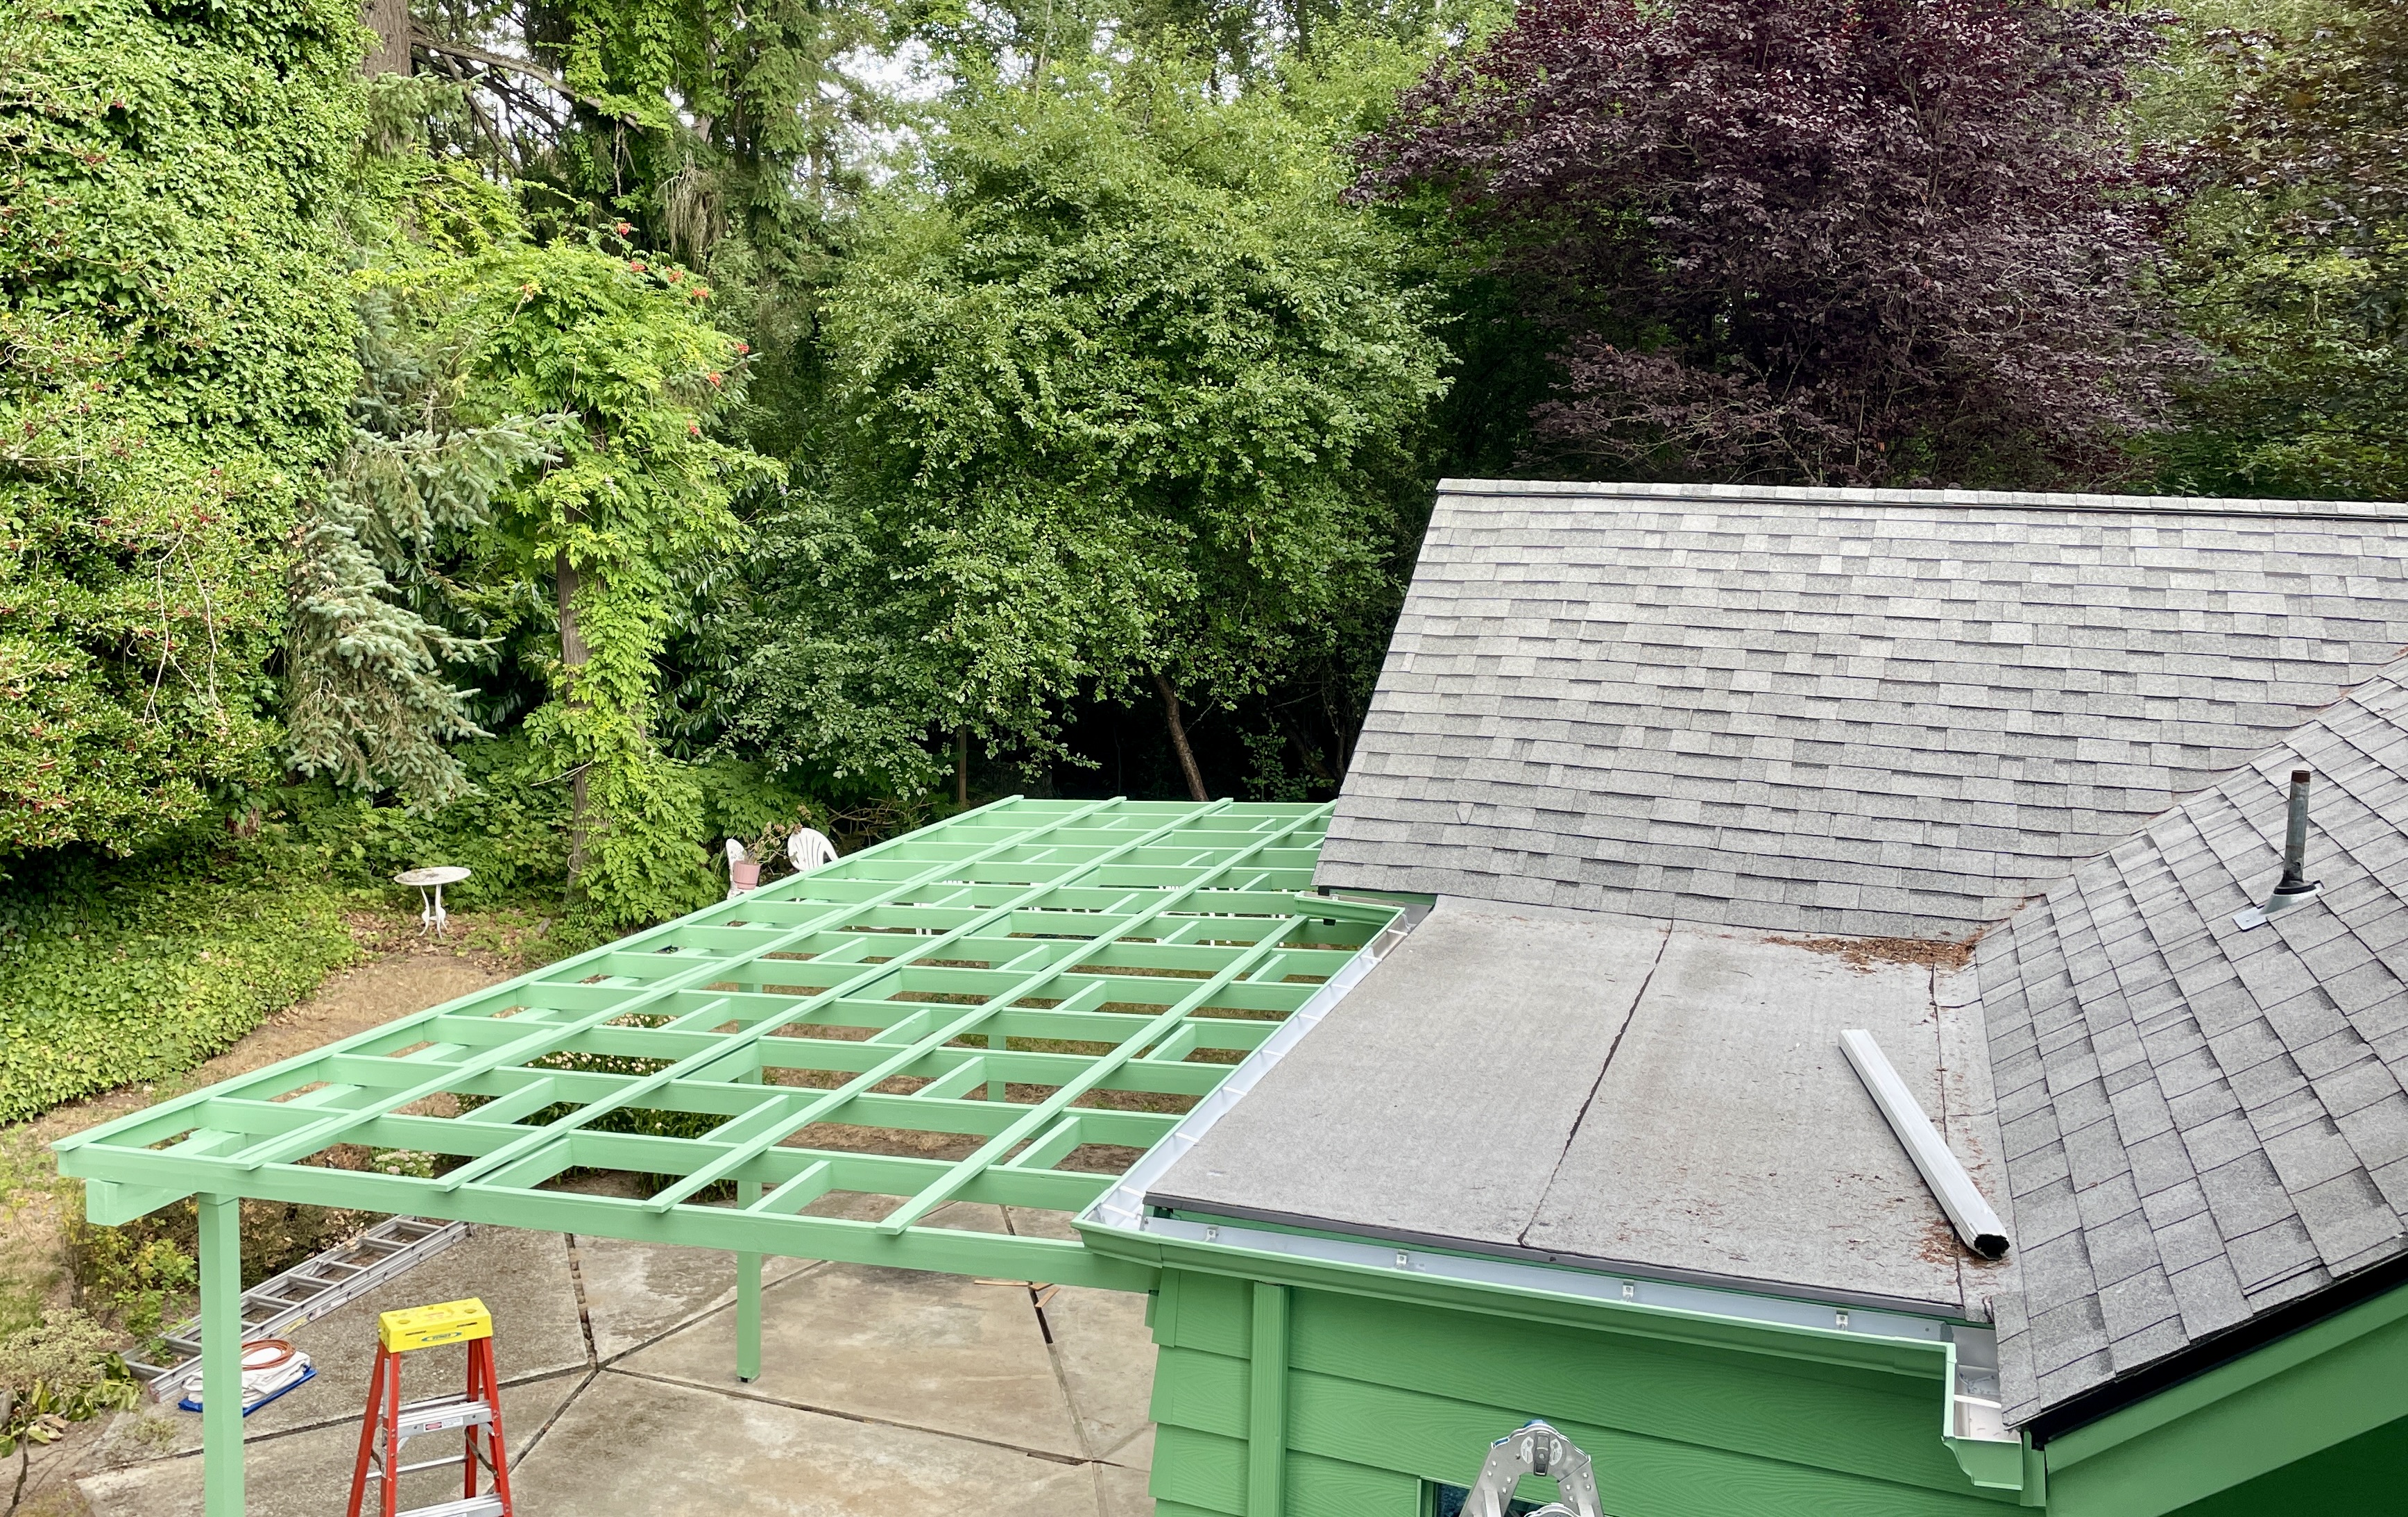
Progress has been slow but sure. Three of the 8-foot purlins still need to be attached, and all the 24-inch short fill-ins. The seven-piece gutter run is attached to the house. Accomplishing drop from both ends proved challenging. :confused: Making the task a little easier, some of the joints were riveted at ground level. The rest were riveted after being attached to the house.

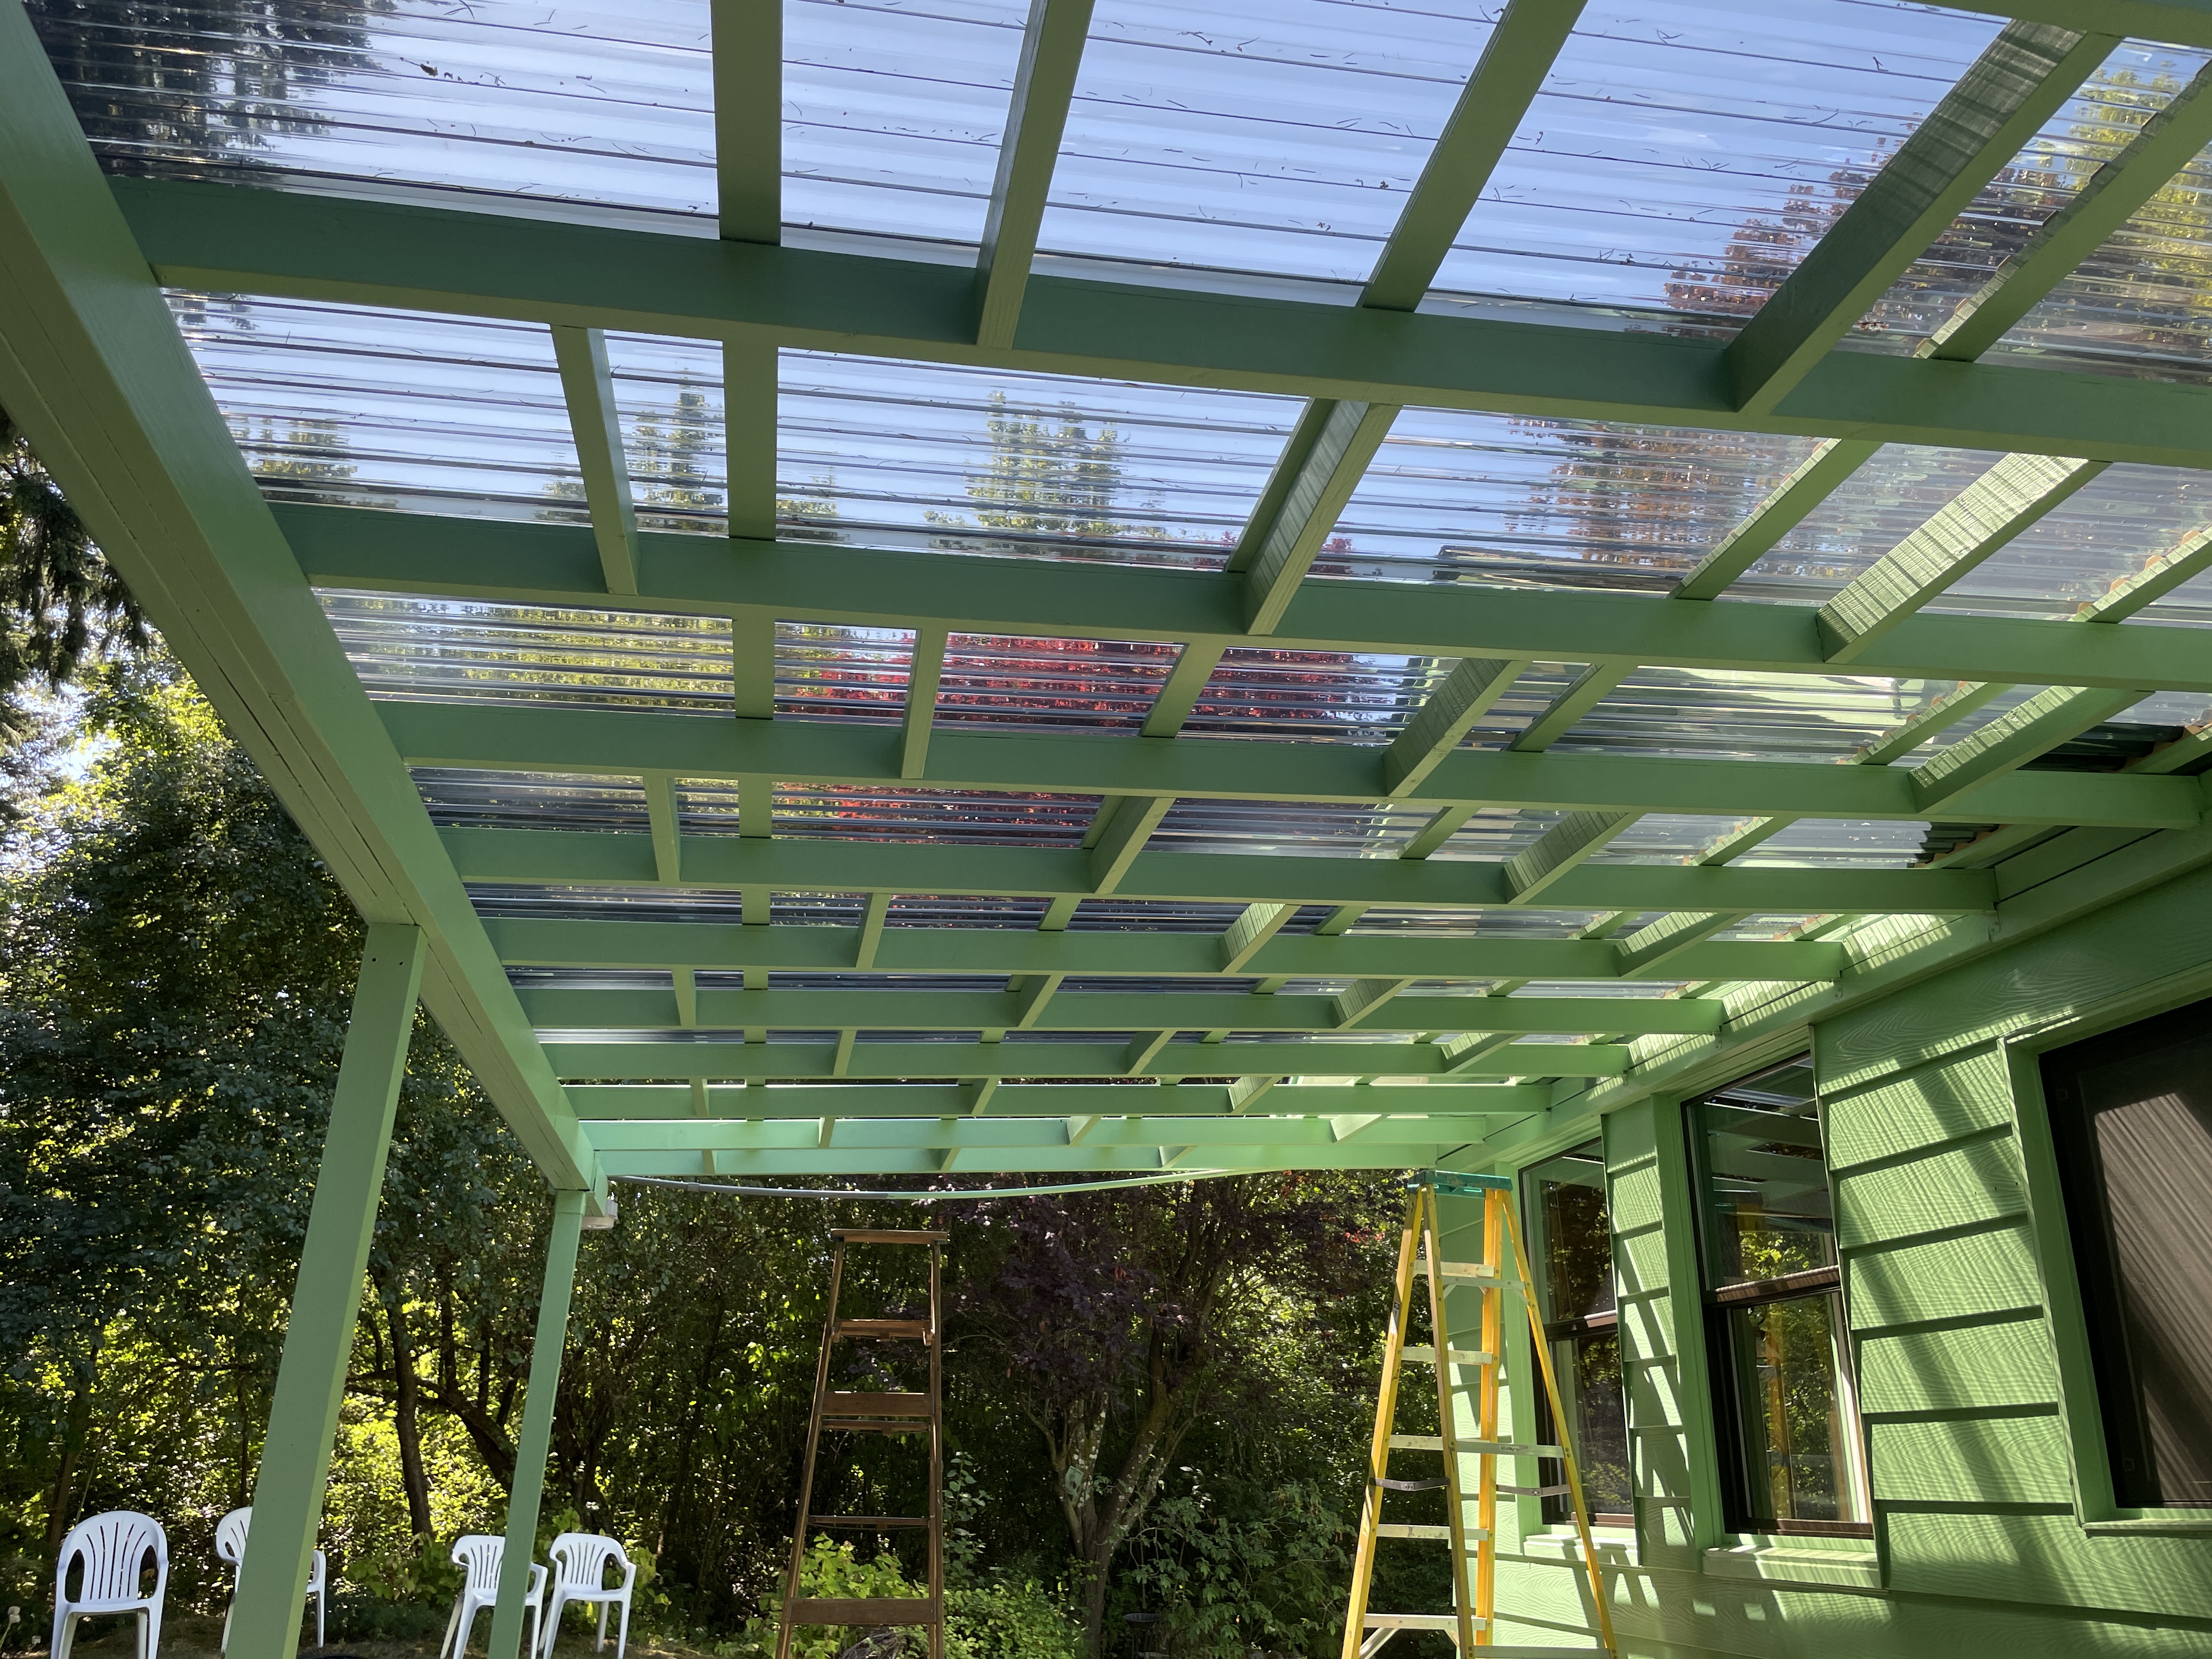
@PaladinNO, after attaching almost all of the purlins, I L@@Ked up and started questioning my plan on spacing them. They're 28.5 inches apart, well under the manufacturer's 32-inch maximum spacing.

The only thing that's bugging me is how it L@@Ks from the ground. I wanted to avoid adding any unneeded weight to the already stressed structure.

Well, Sir, I had to phone a friend, asking him to talk me off the ledge. I was seriously contemplating removing all the screws, moving the purlins over the present spacers, purchasing seven additional 1" x 4"s, painting them .. two coats of course, ordering more plastic infill pieces, which would delay progress a week or more.

I quickly decided to work on a different area of the patio. I'm going to sleep on it.

1754179328805.jpeg


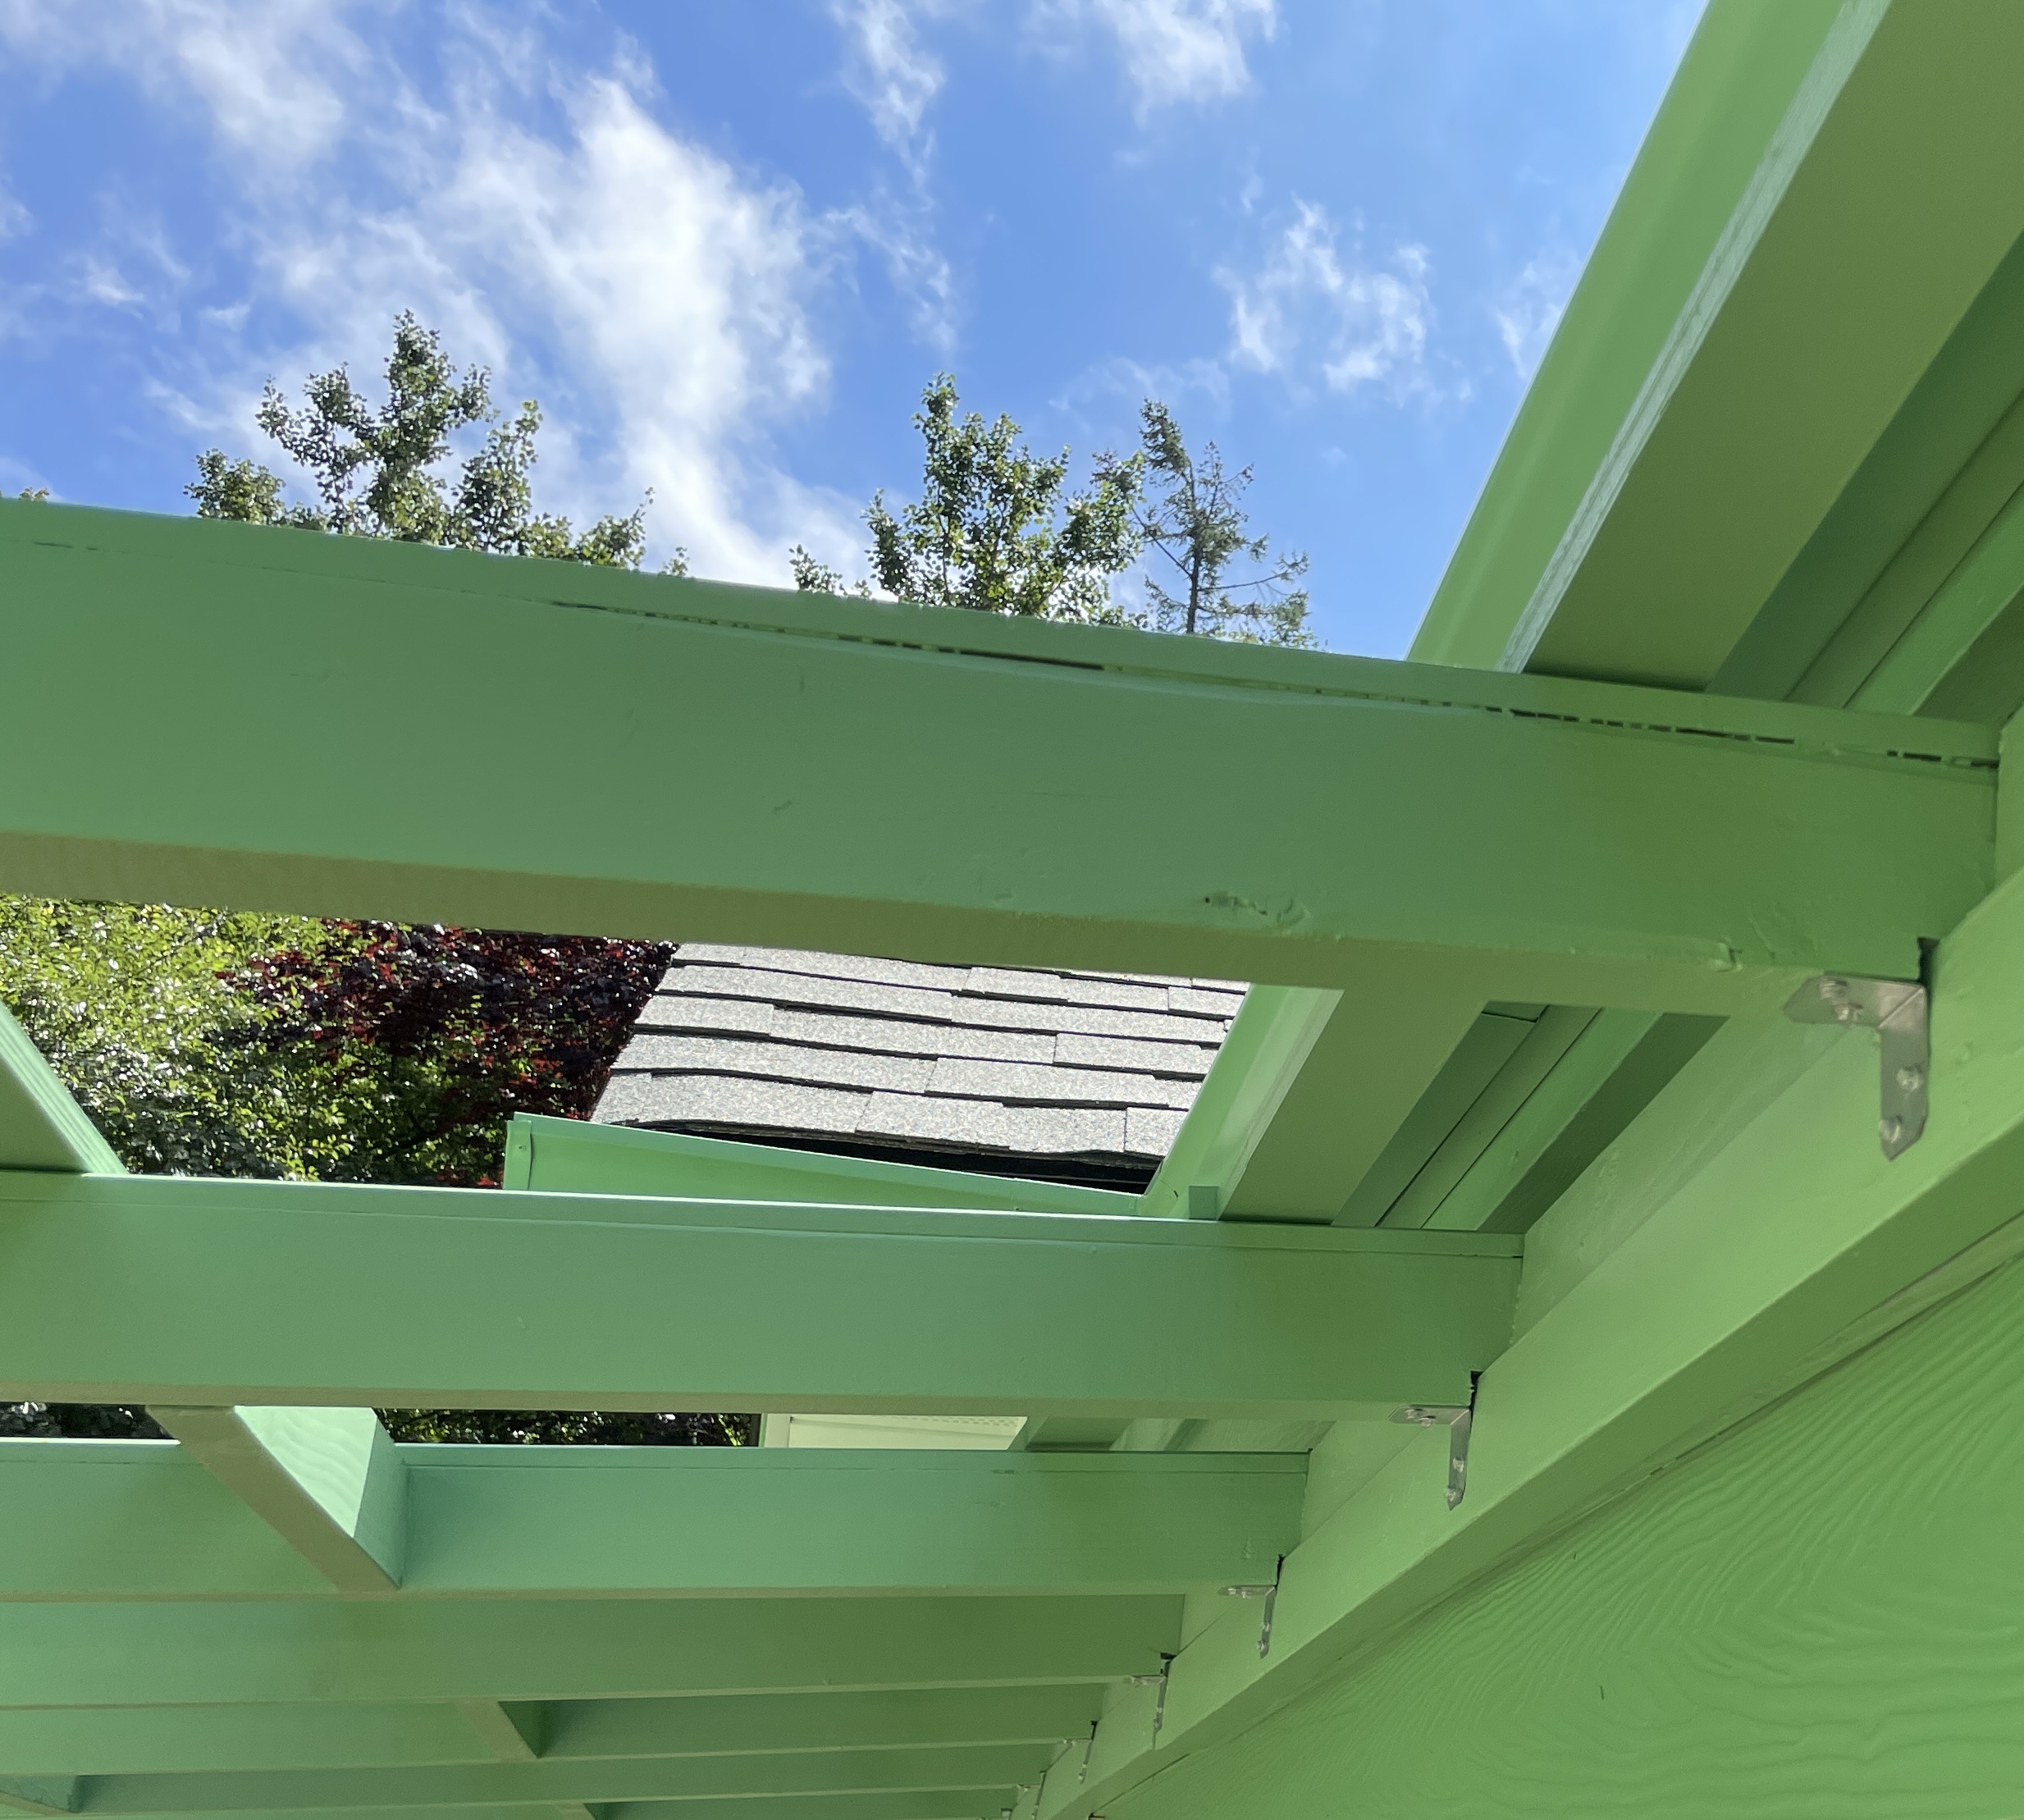
I don't know why the builder decided to notch the ends of the joists. It's been a concern throughout this project. I finally decided on a solution.

Installed, still to be painted.

1754180923646.jpeg
 
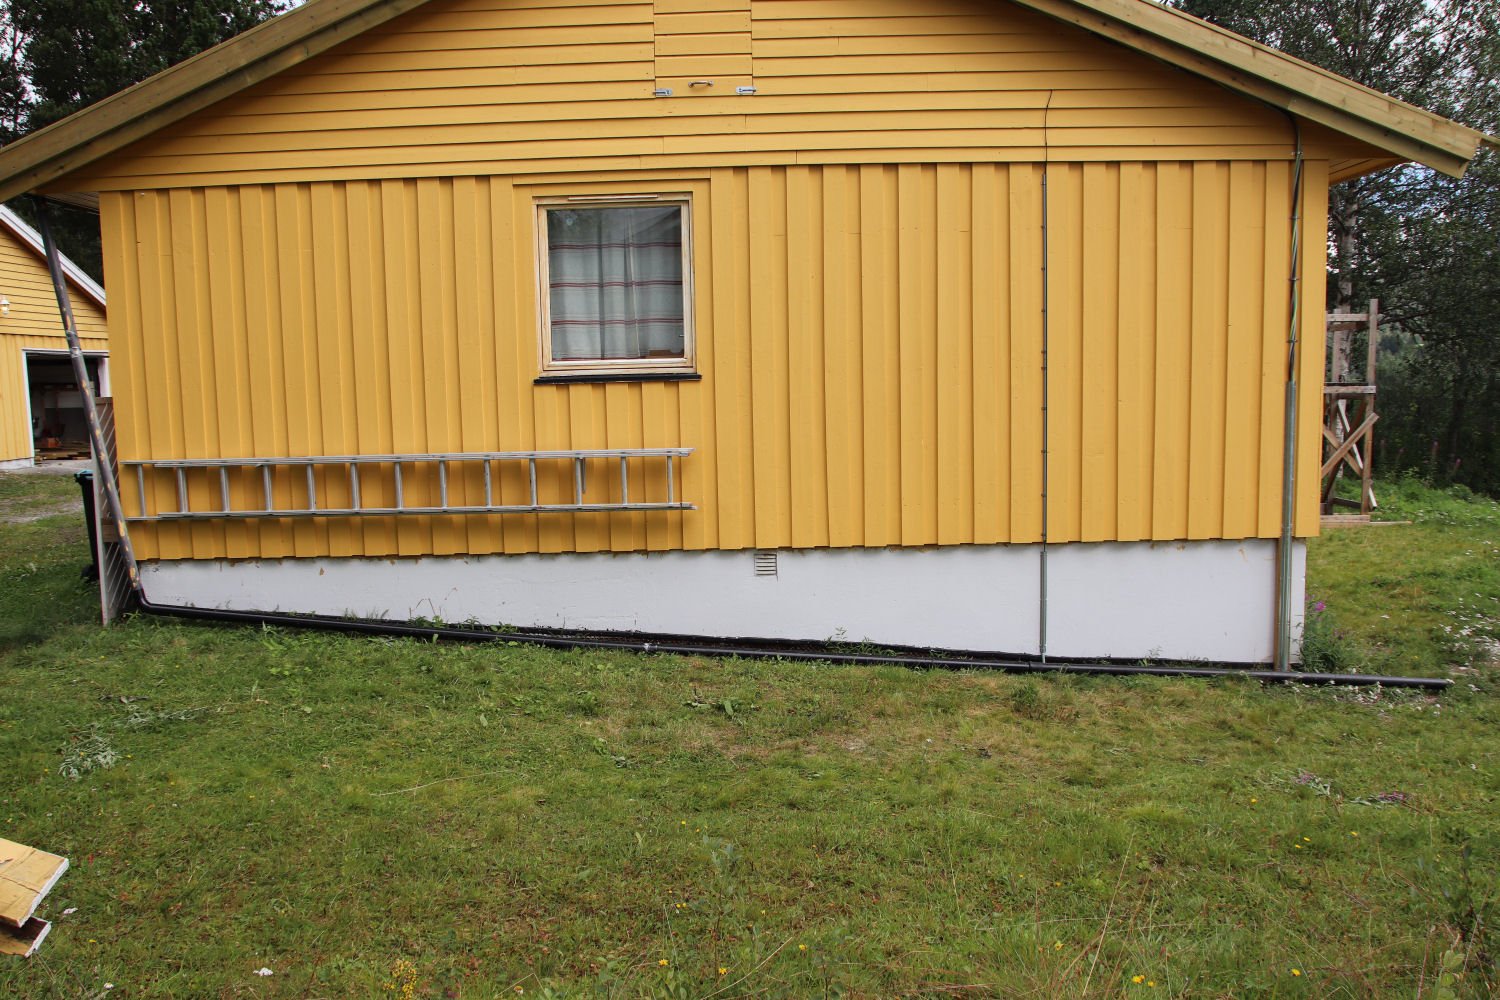
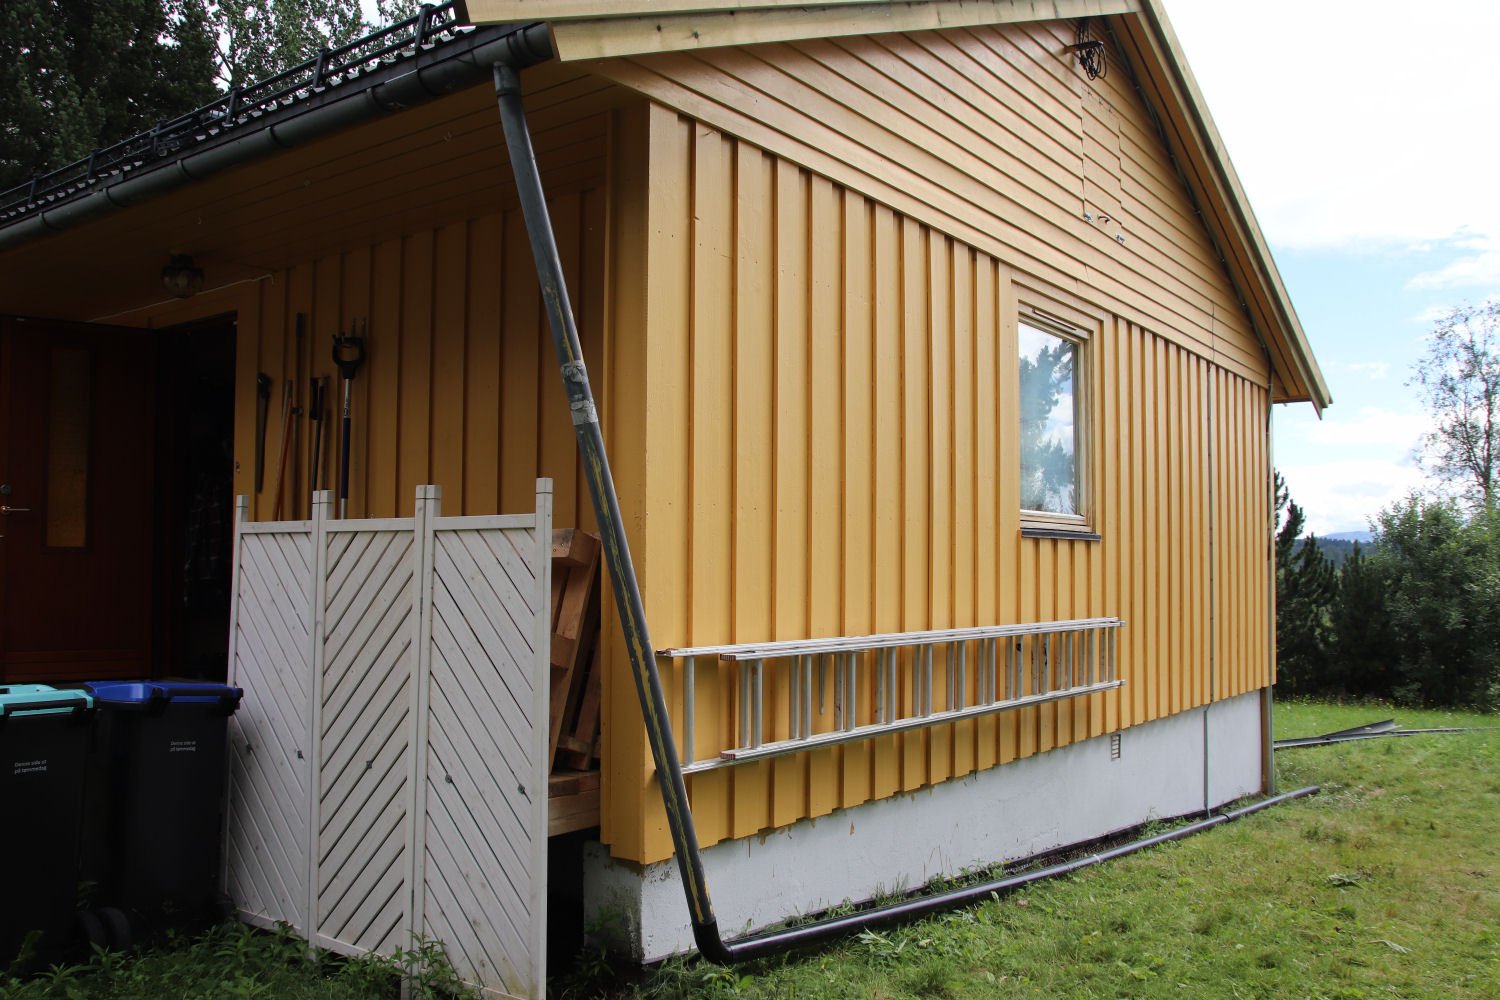
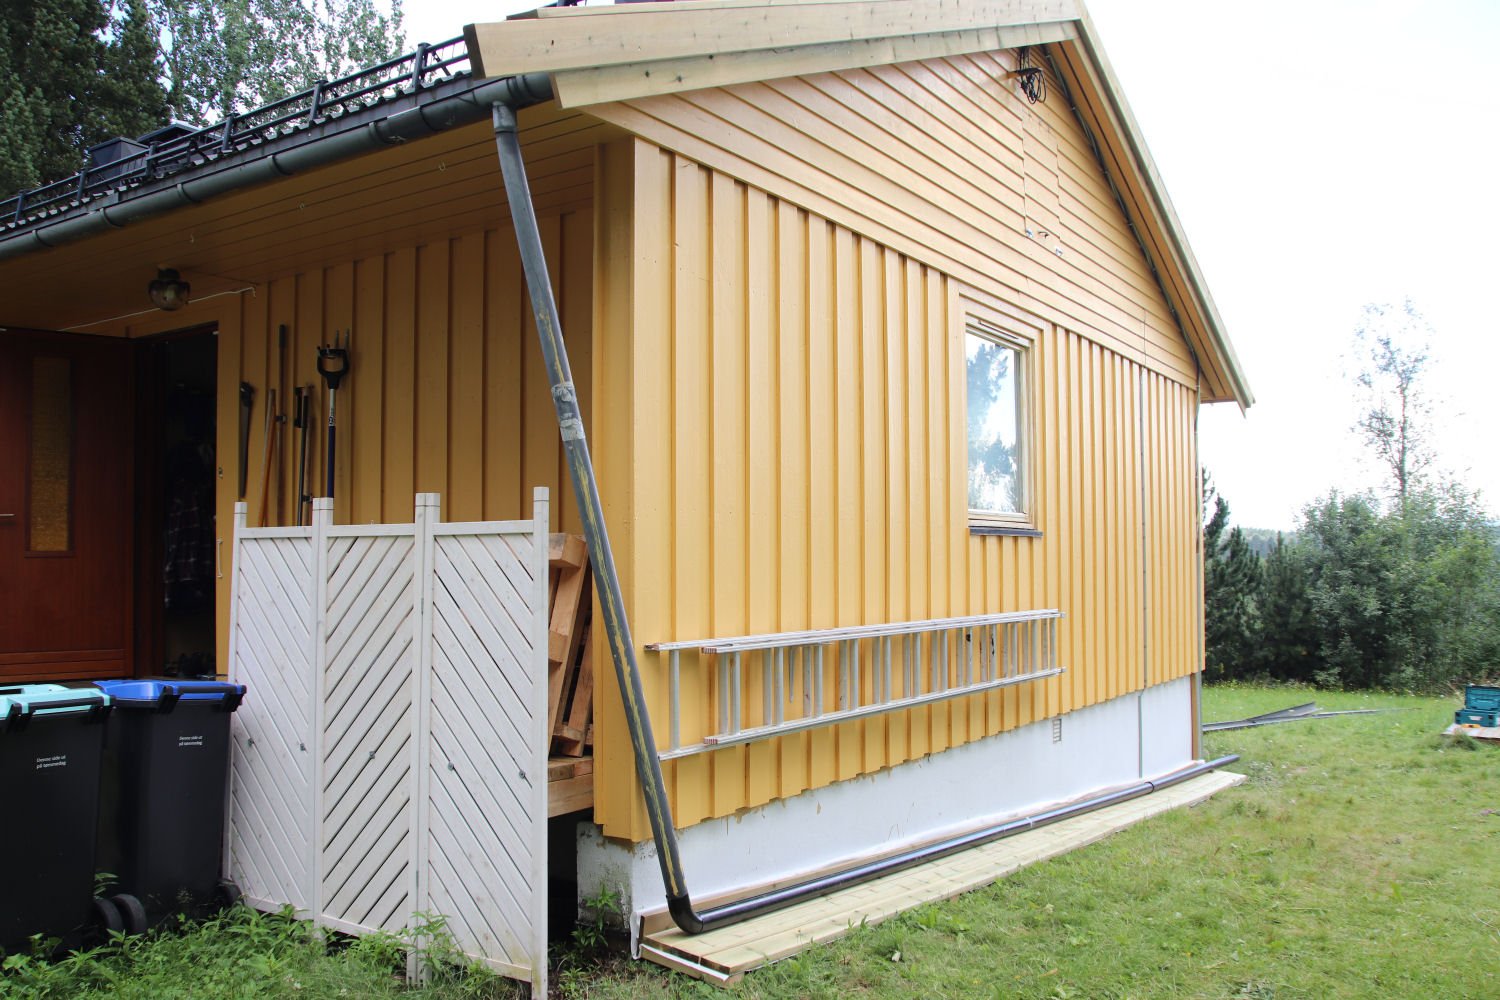
That's the latest project done (though technically only 50 % completed, as I want to make another such construction).

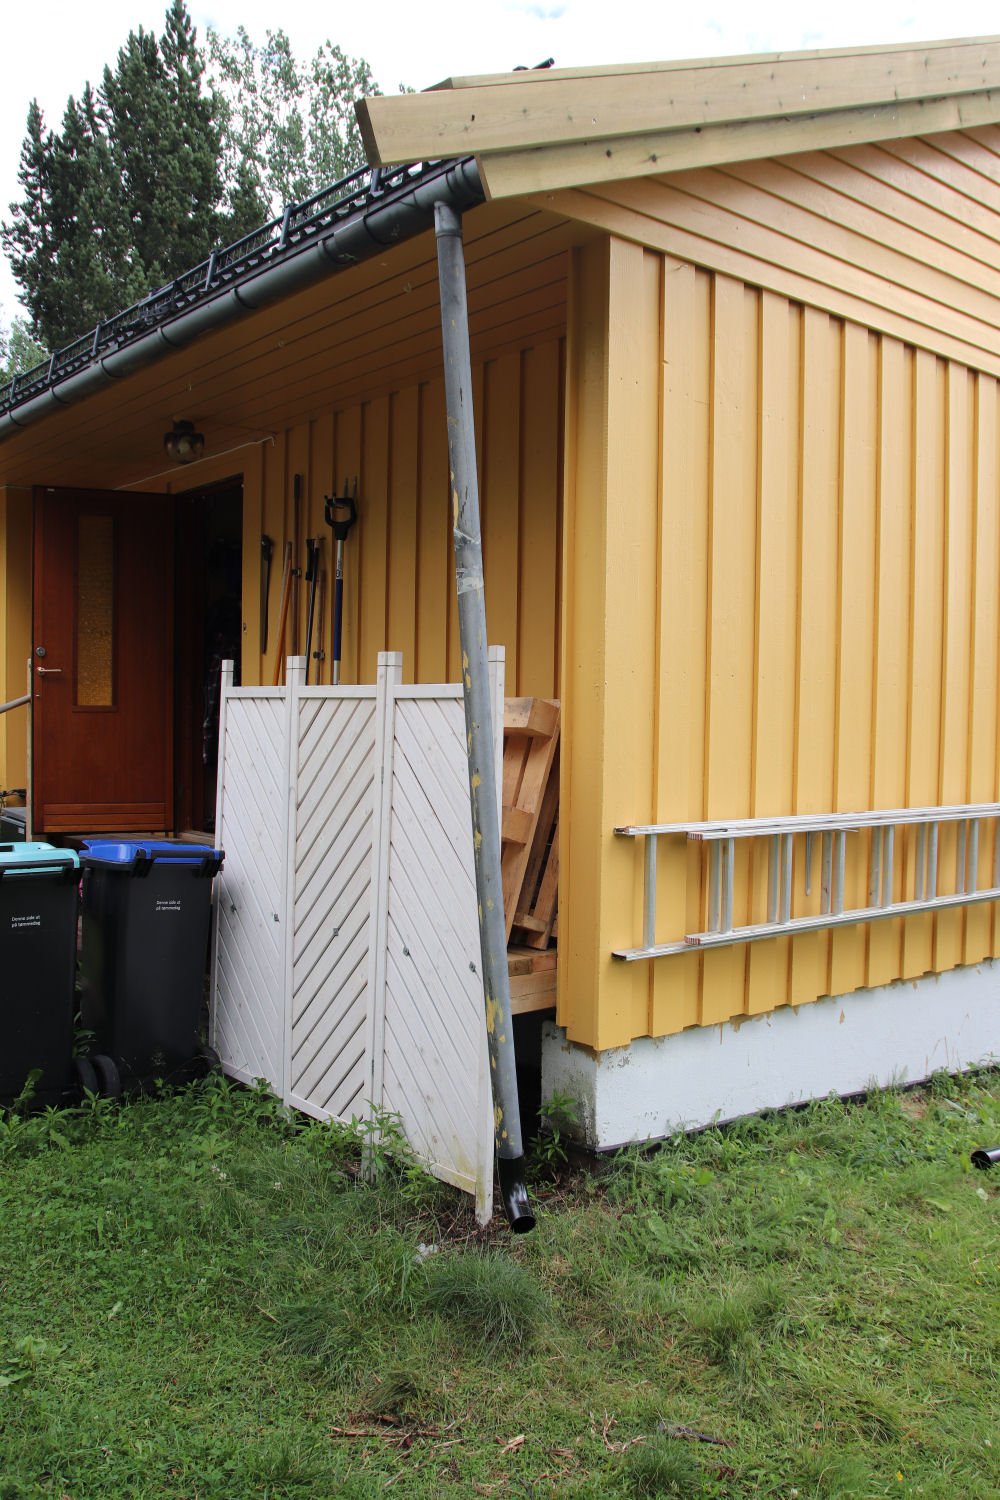
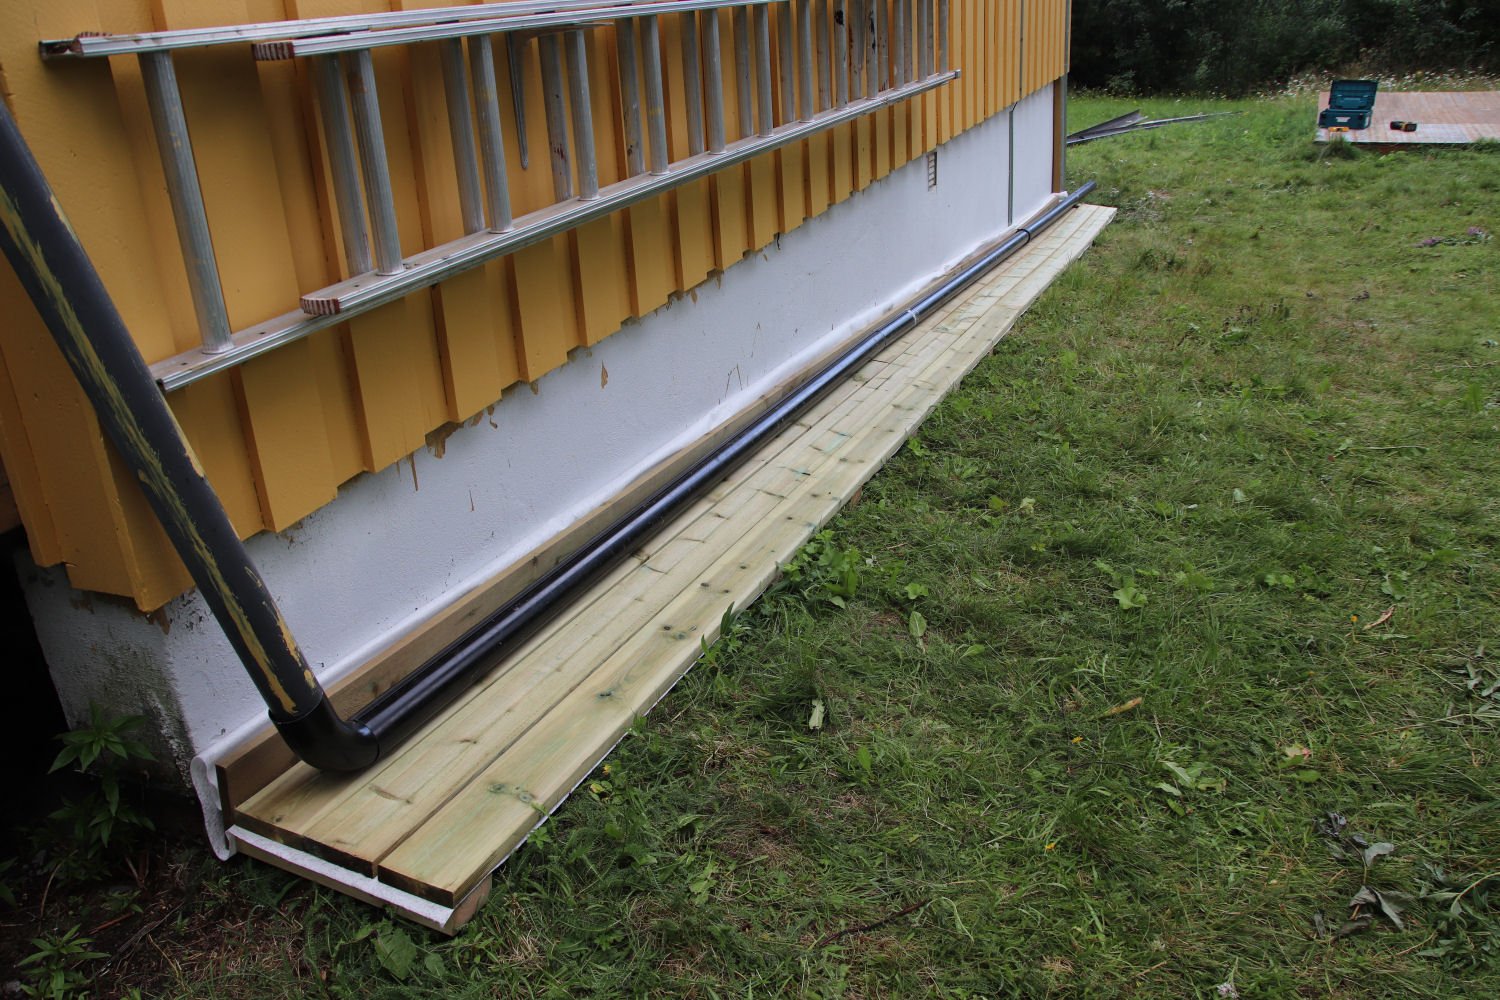
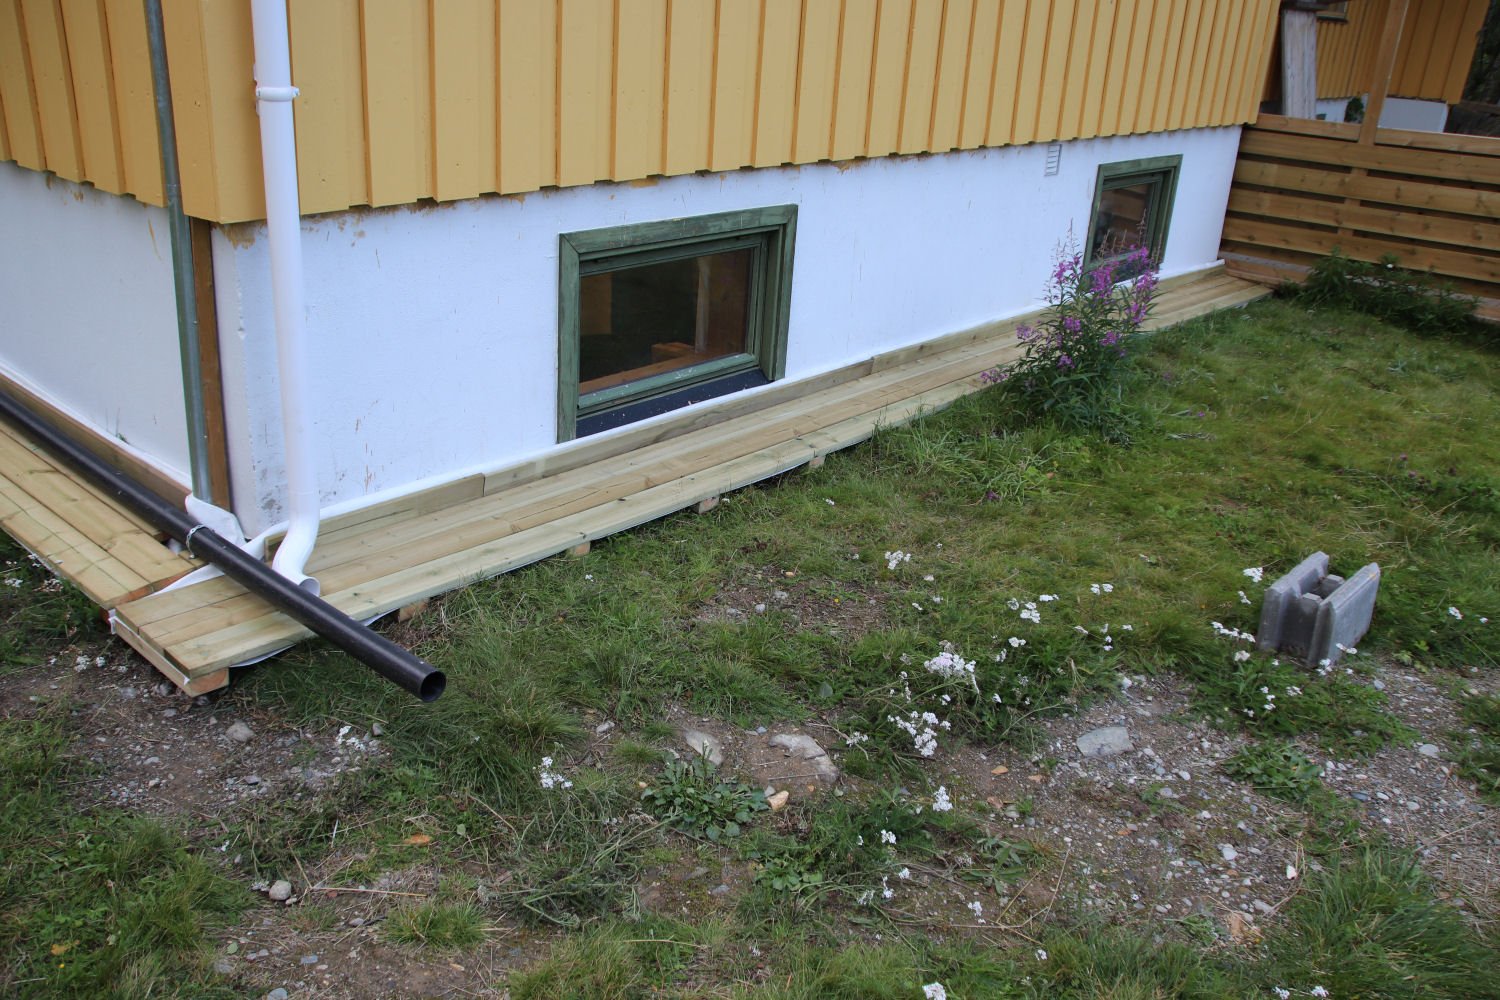
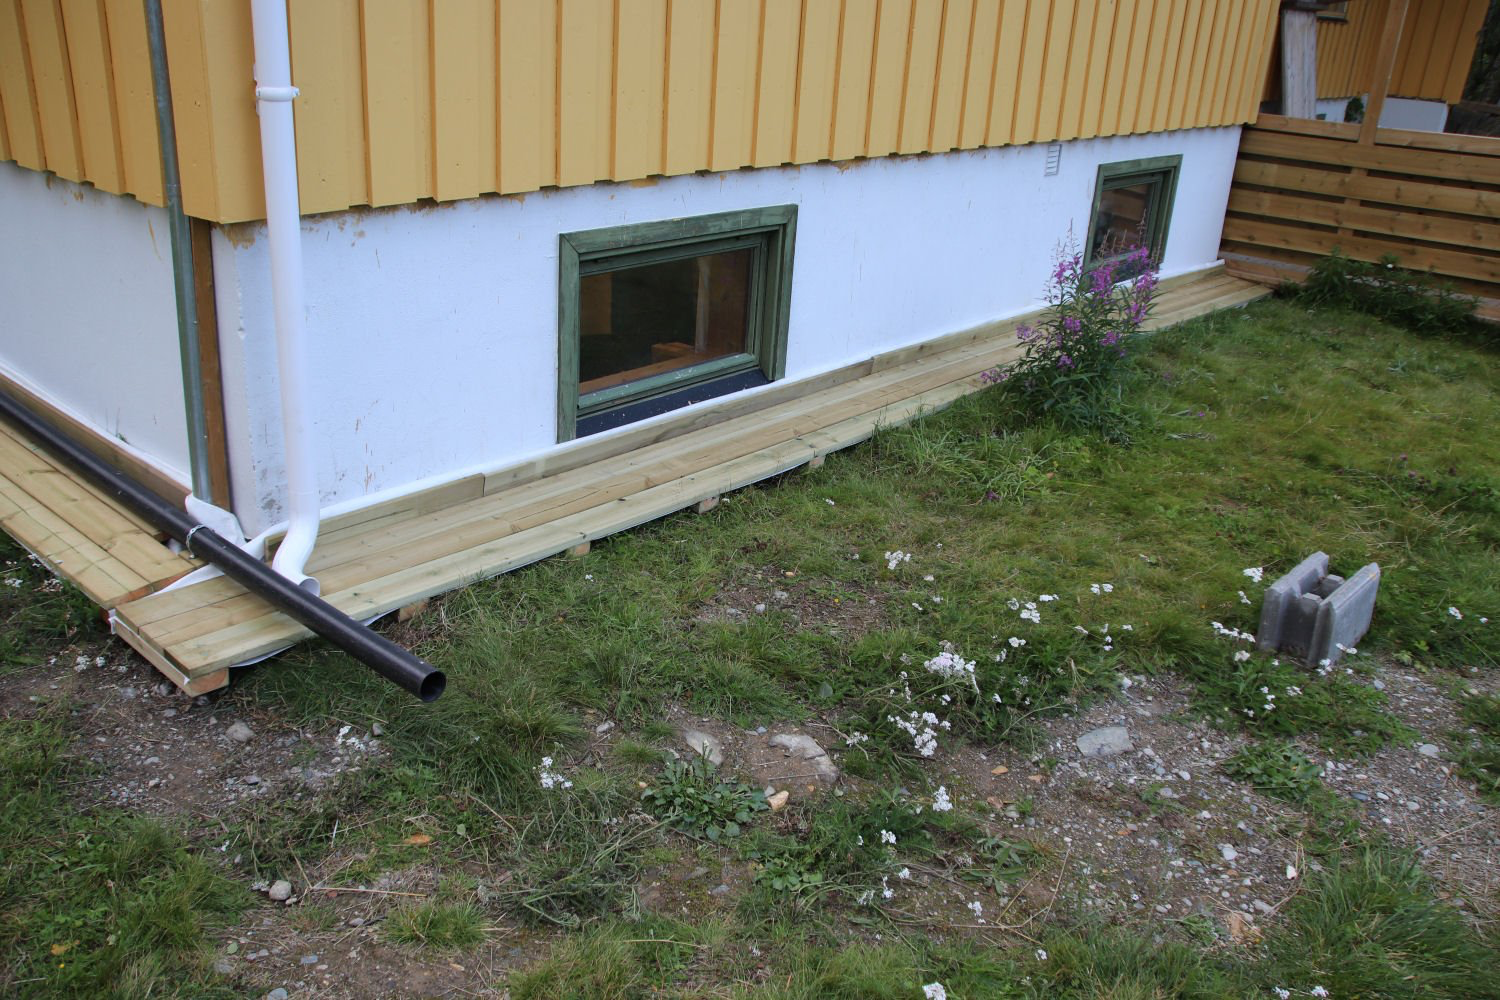
Our downspout on the front side doesn't lead the water enough away from the house, and just makes a big puddle right where we are walking into the front yard:
IMG_1928_25.jpg
Everything will be (eventually...maybe...hopefully) replaced with new, white, steel gutters.

So I first did a test to see if the concept of leading the water further down would work:
IMG_1929_25.jpg
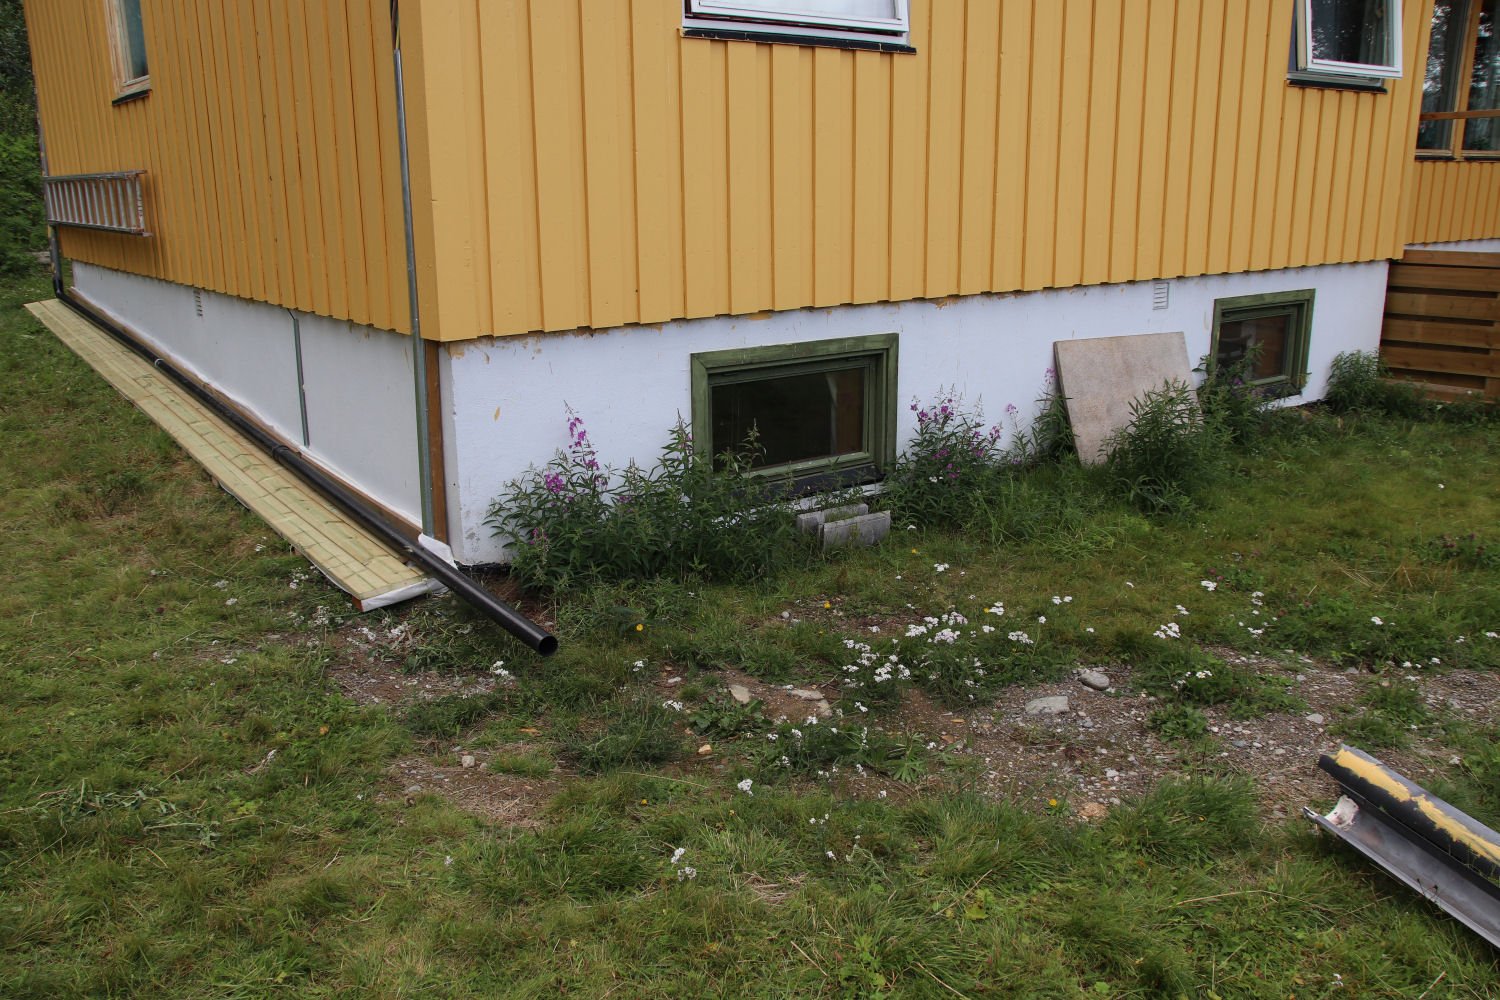
It worked excellent, but I didn't want the downspout pipes laying directly on the ground - and I have wanted to prevent vegetation from growing directly against the foundation wall.

So I have now gone from this to this:

IMG_1931_25.jpgIMG_1932_25.jpg

IMG_1933_25.jpgIMG_1935_25.jpg
I will get another steel pipe to replace that last piece, and cut it to length. It's just a temporary remnant of the old plastic gutters.

And I will make another such construction from the patio to meet it at the corner of the house.
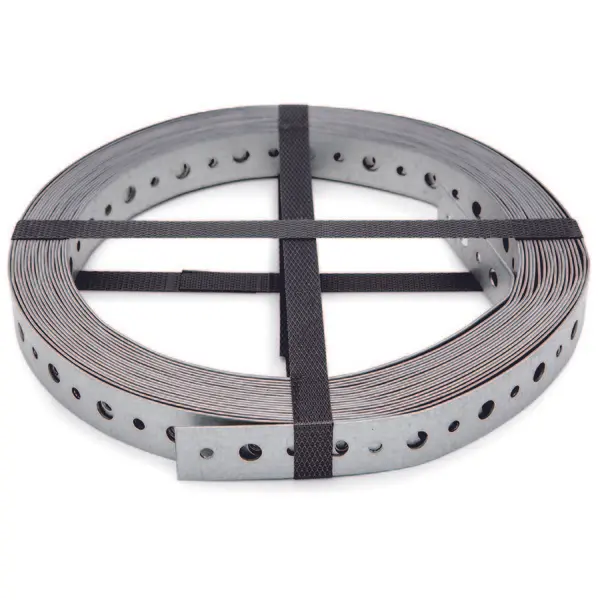
And I will use a stainless version of this...whatever it is called in English, to tie down the pipes with.

1754222306567.webp
 
Last edited:
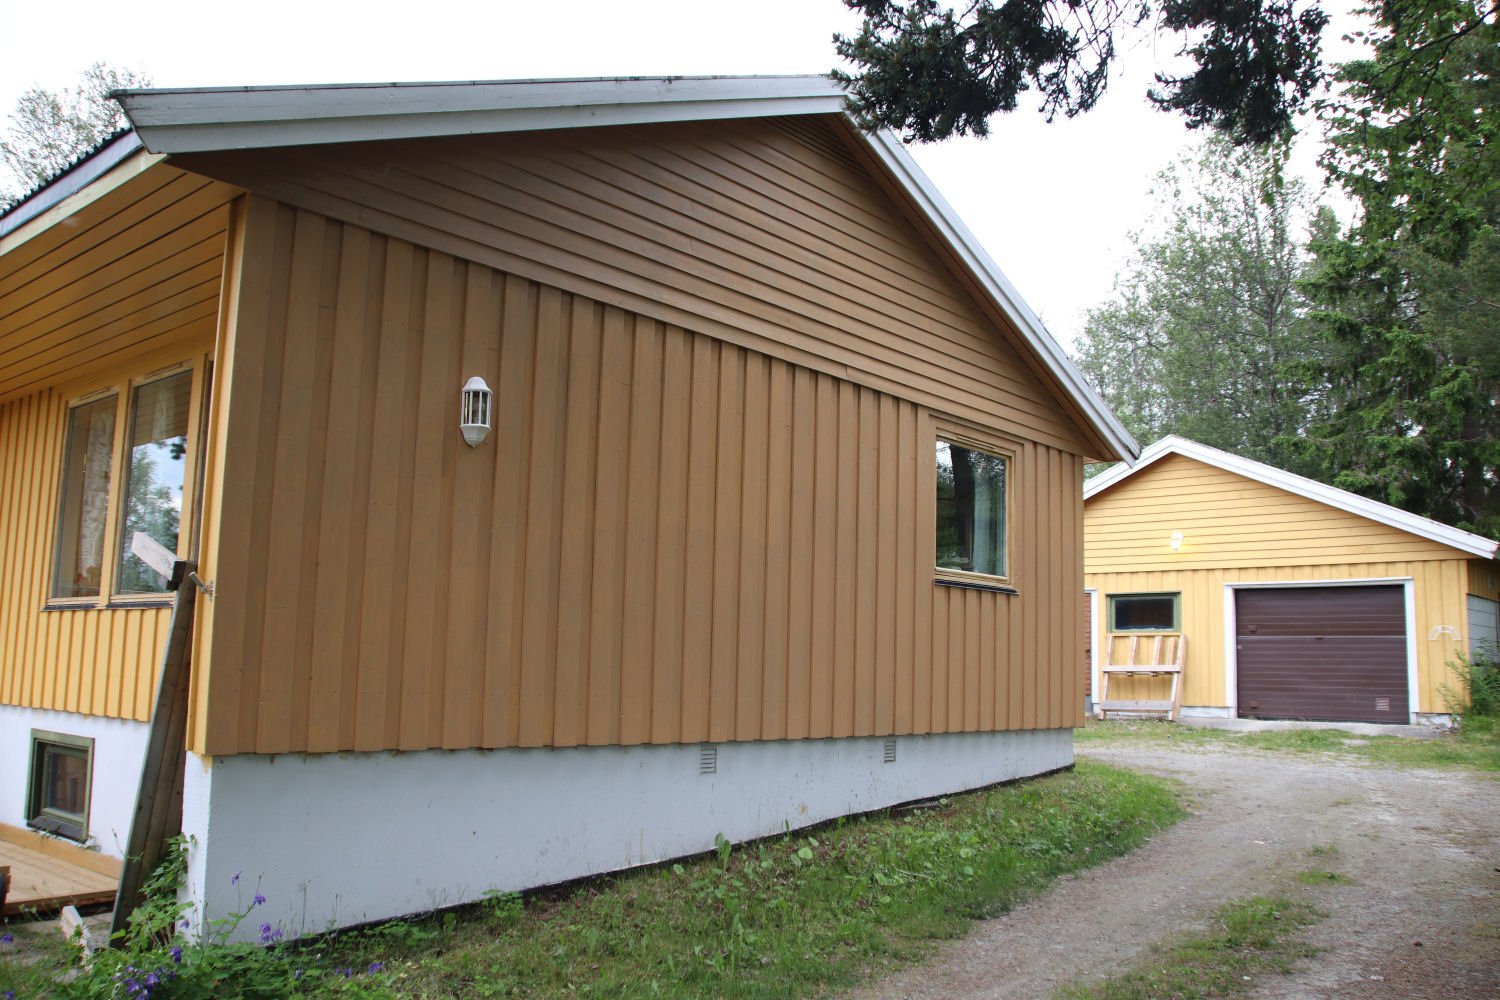
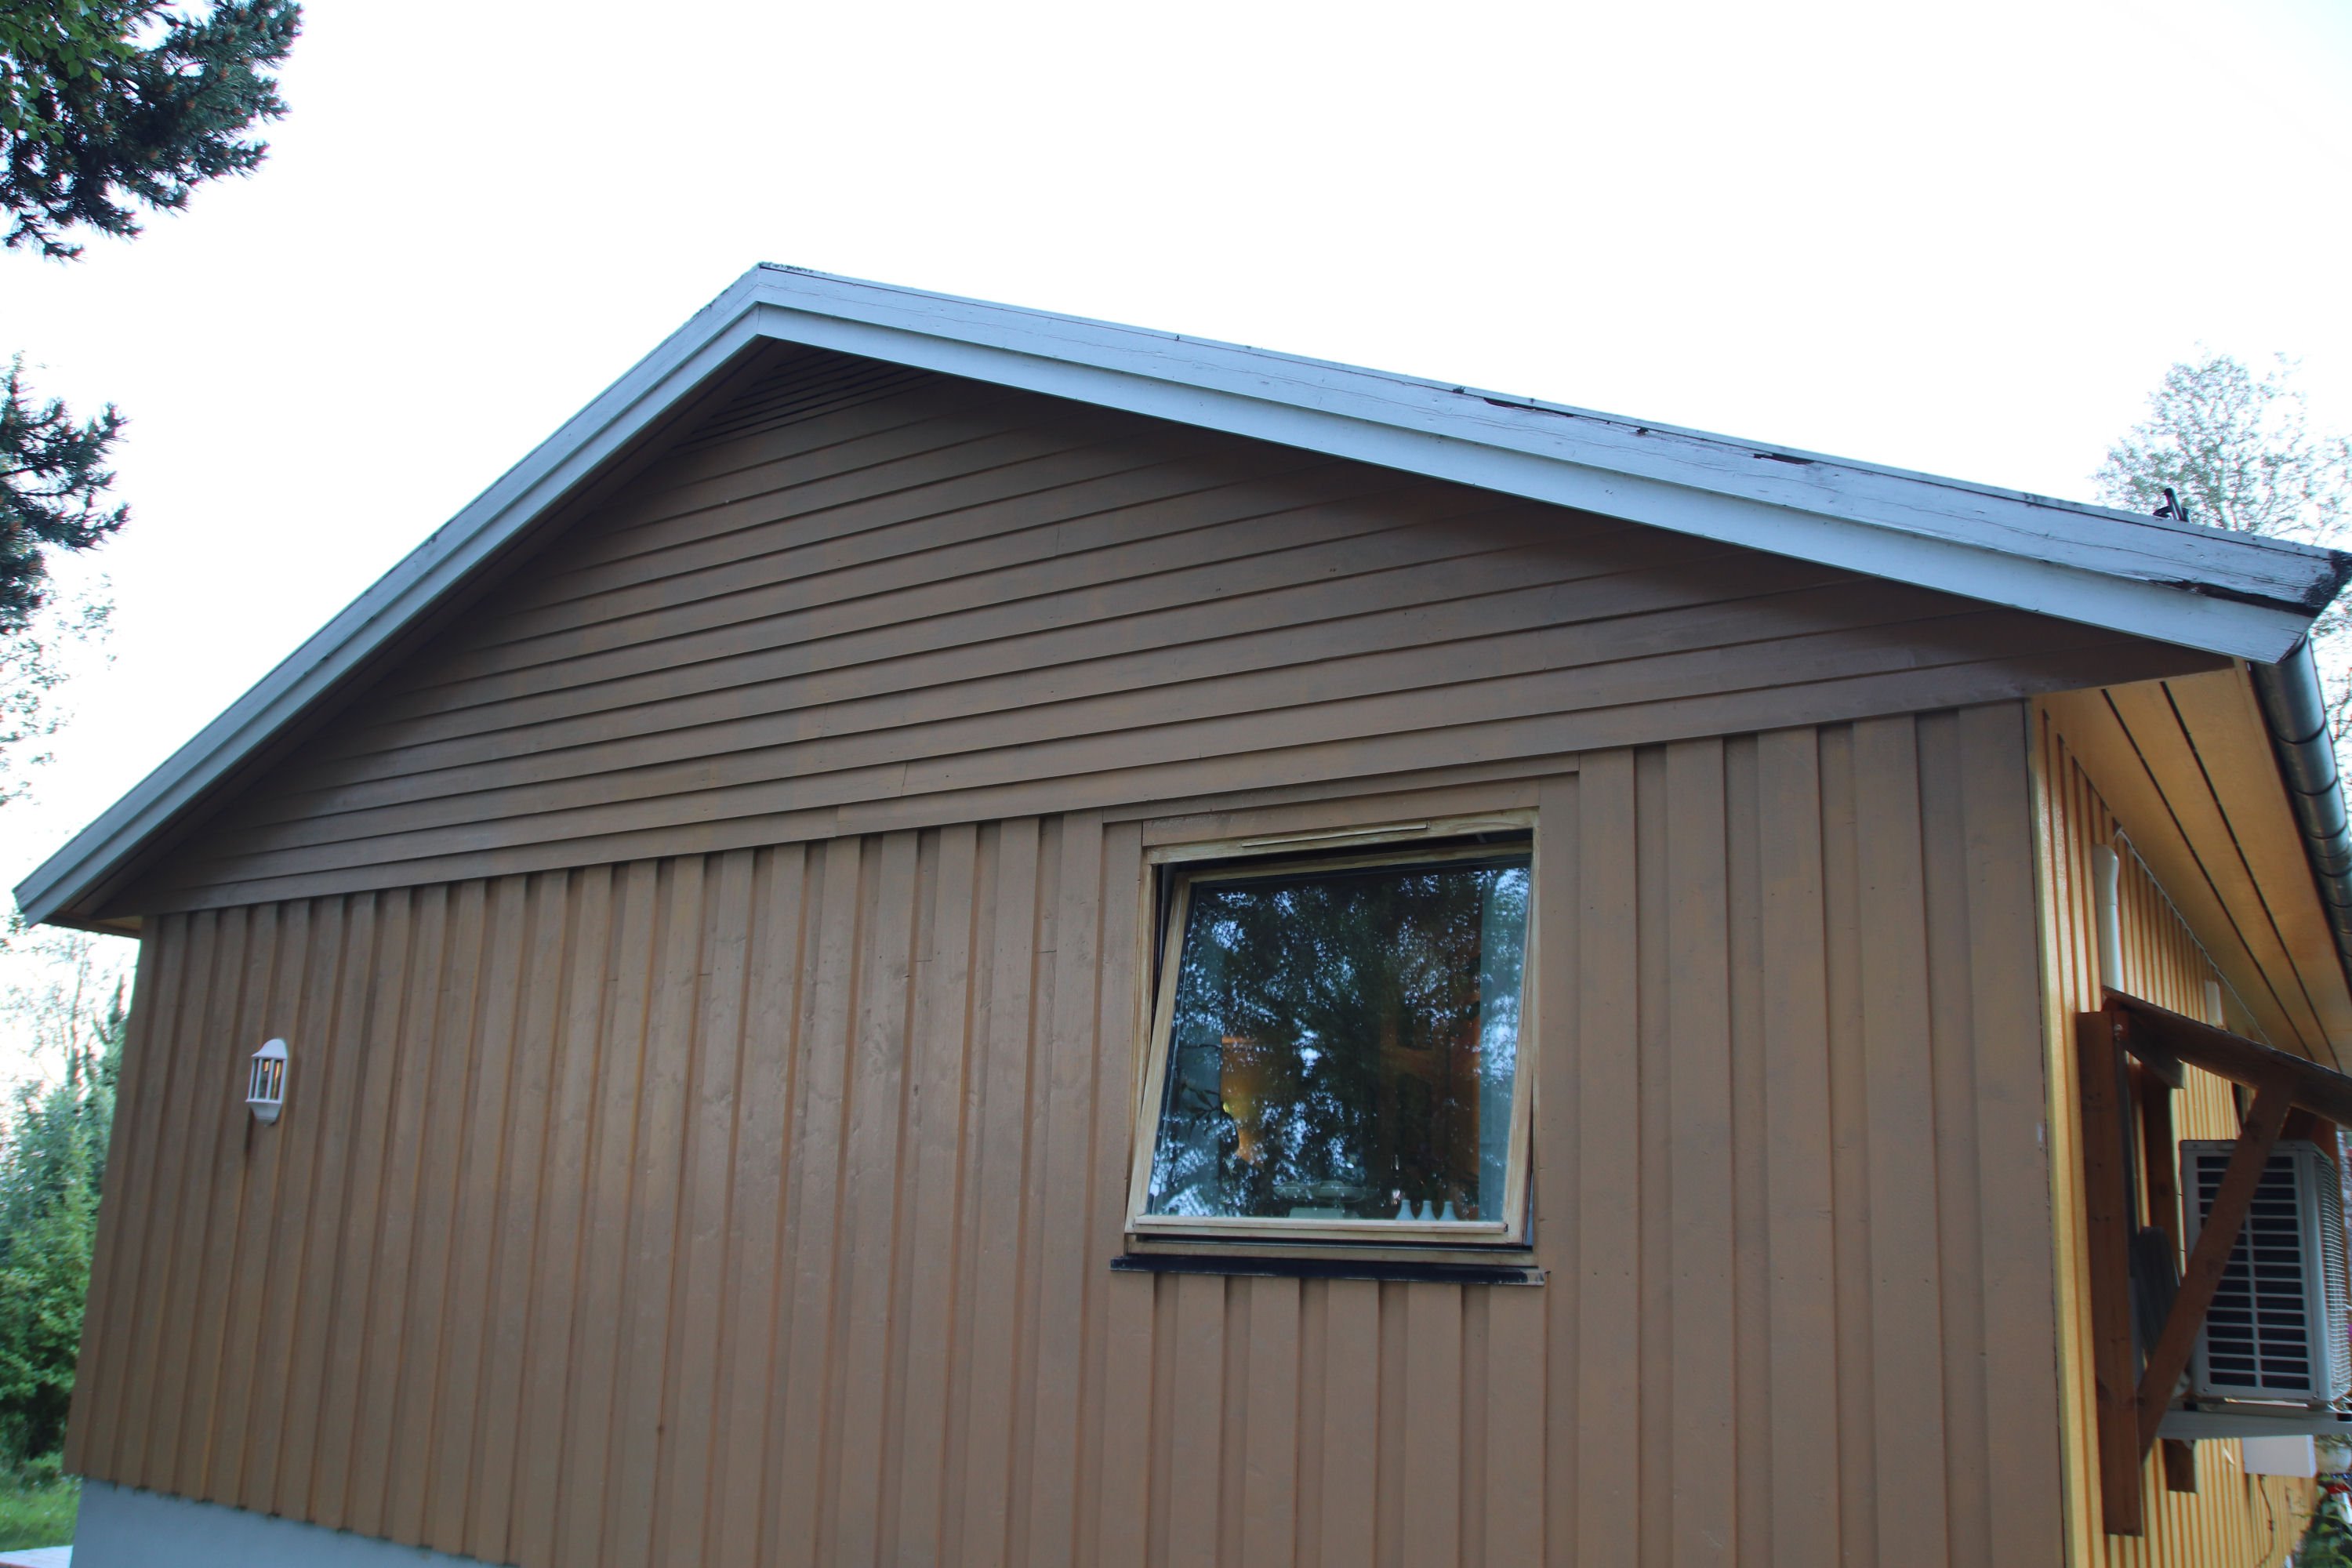
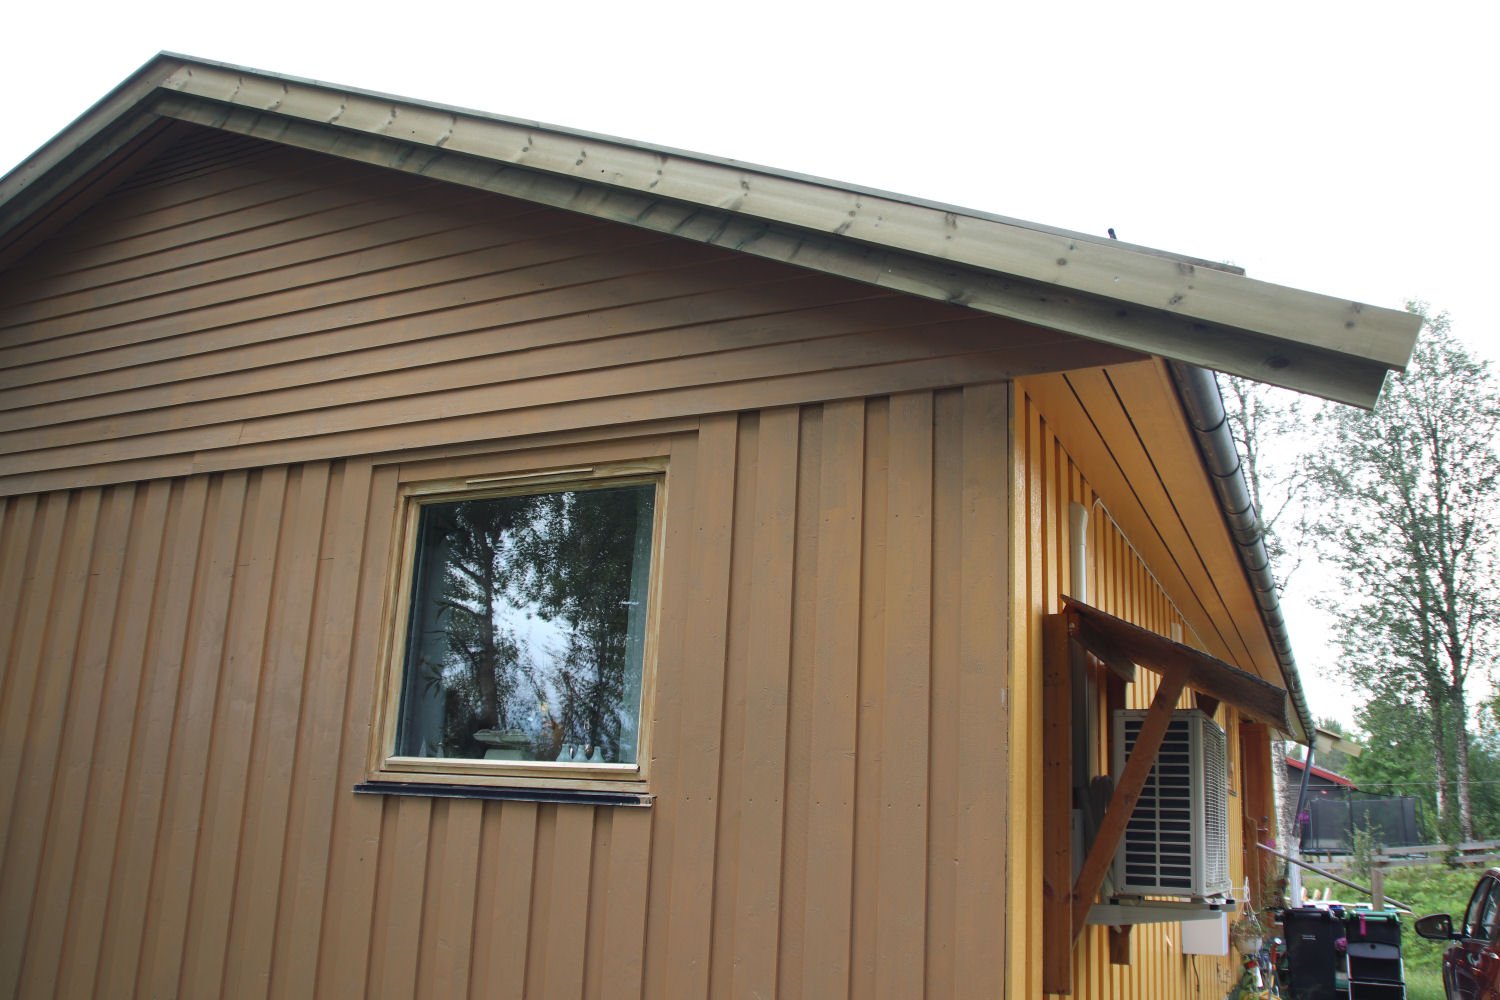
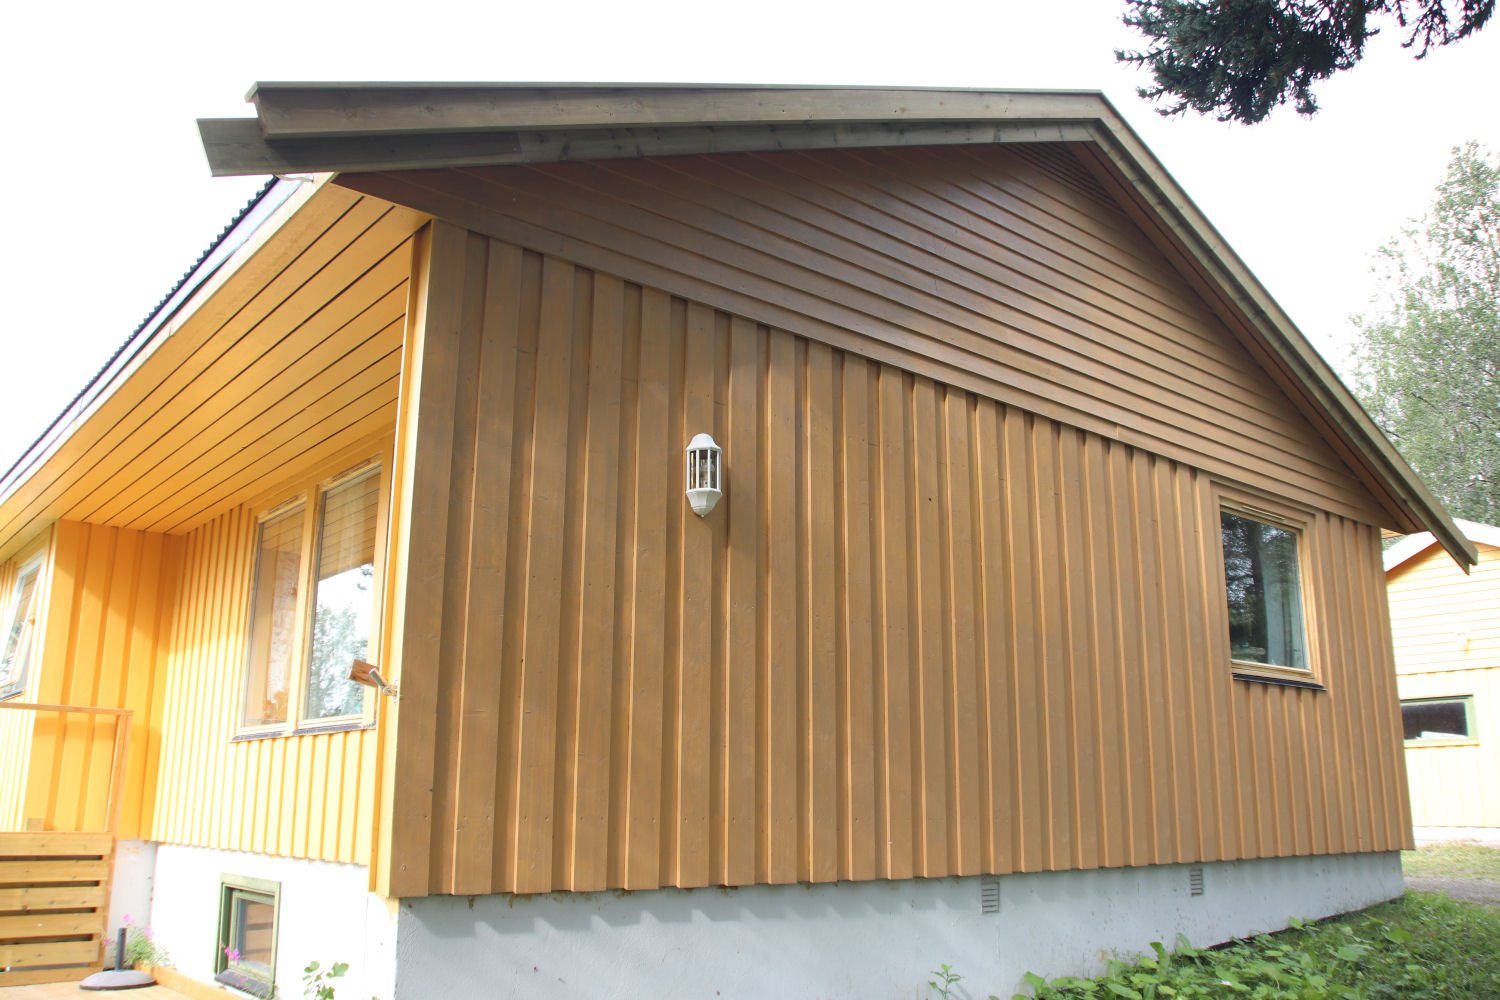
My friend helped me again yesterday, so that's the bargeboards on the other side of the house replaced as well.

Before:
IMG_1882_.jpgIMG_1828_25.jpgIMG_1879_.jpg

After:
IMG_1936_25.jpgIMG_1937_25.jpg

The boards on the top is temporary. They will be replaced with wider boards Soon™ (hopefully the coming weekend).
 
Last edited:
51 days later .....

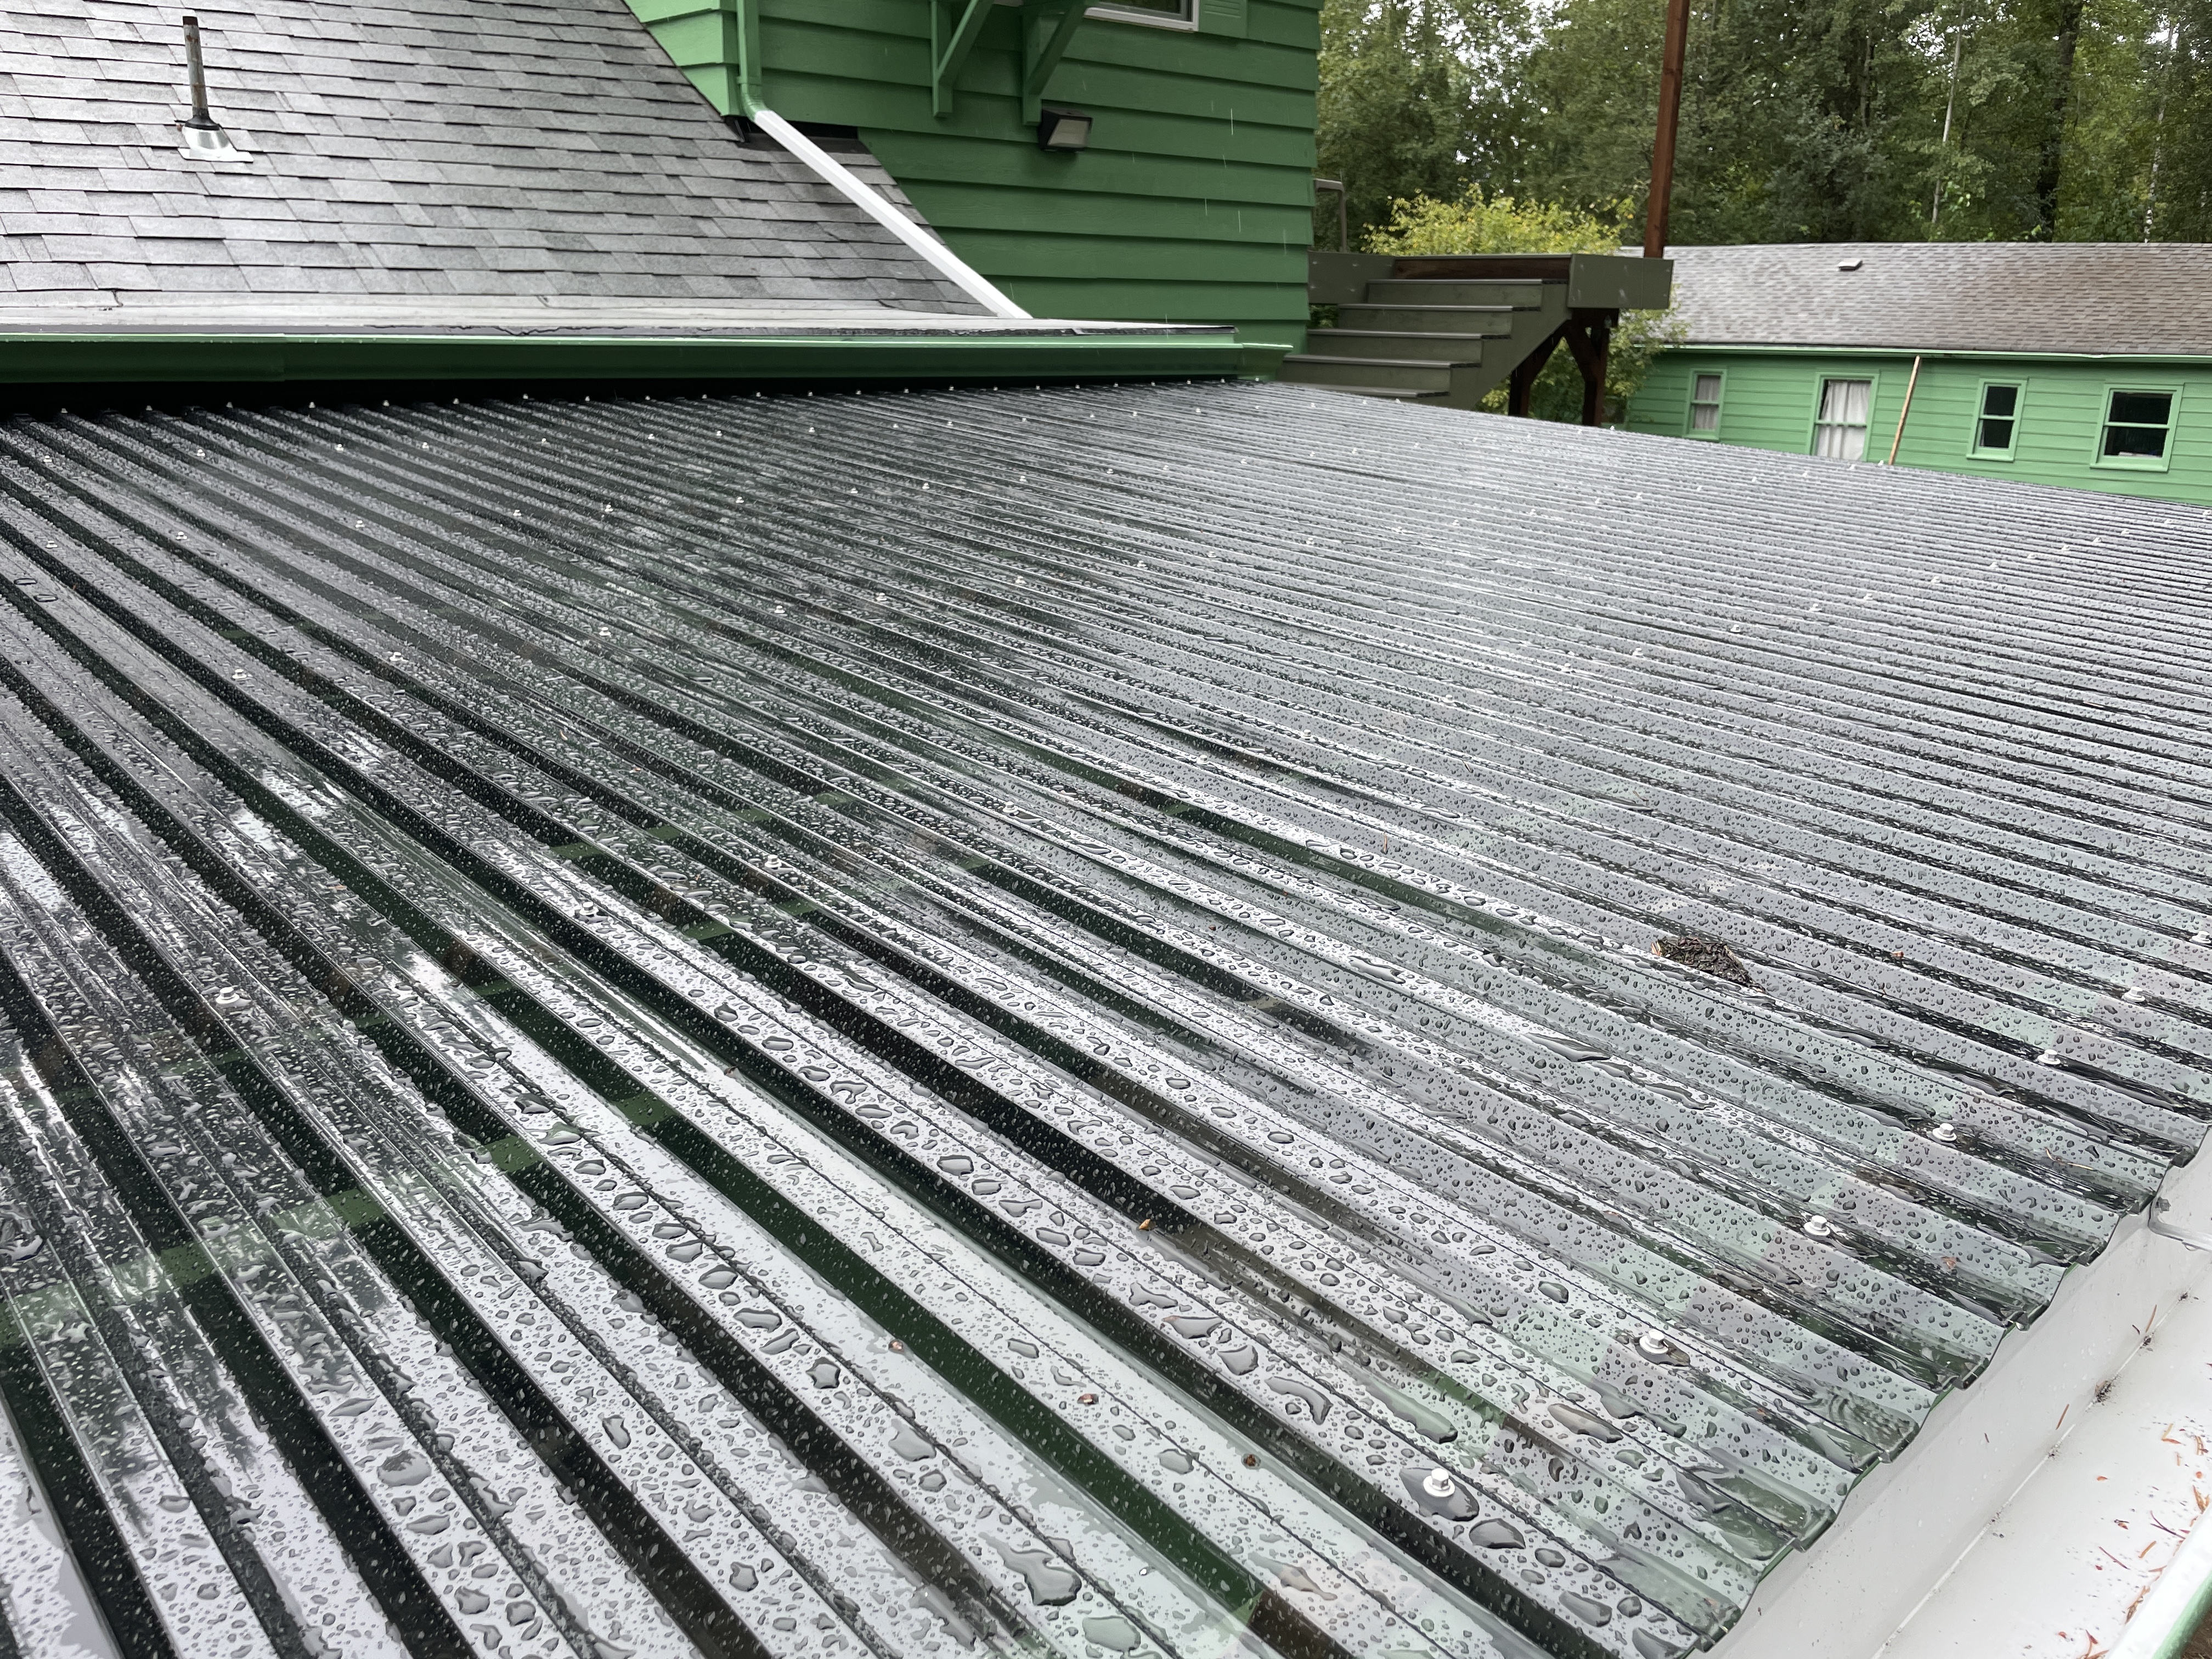
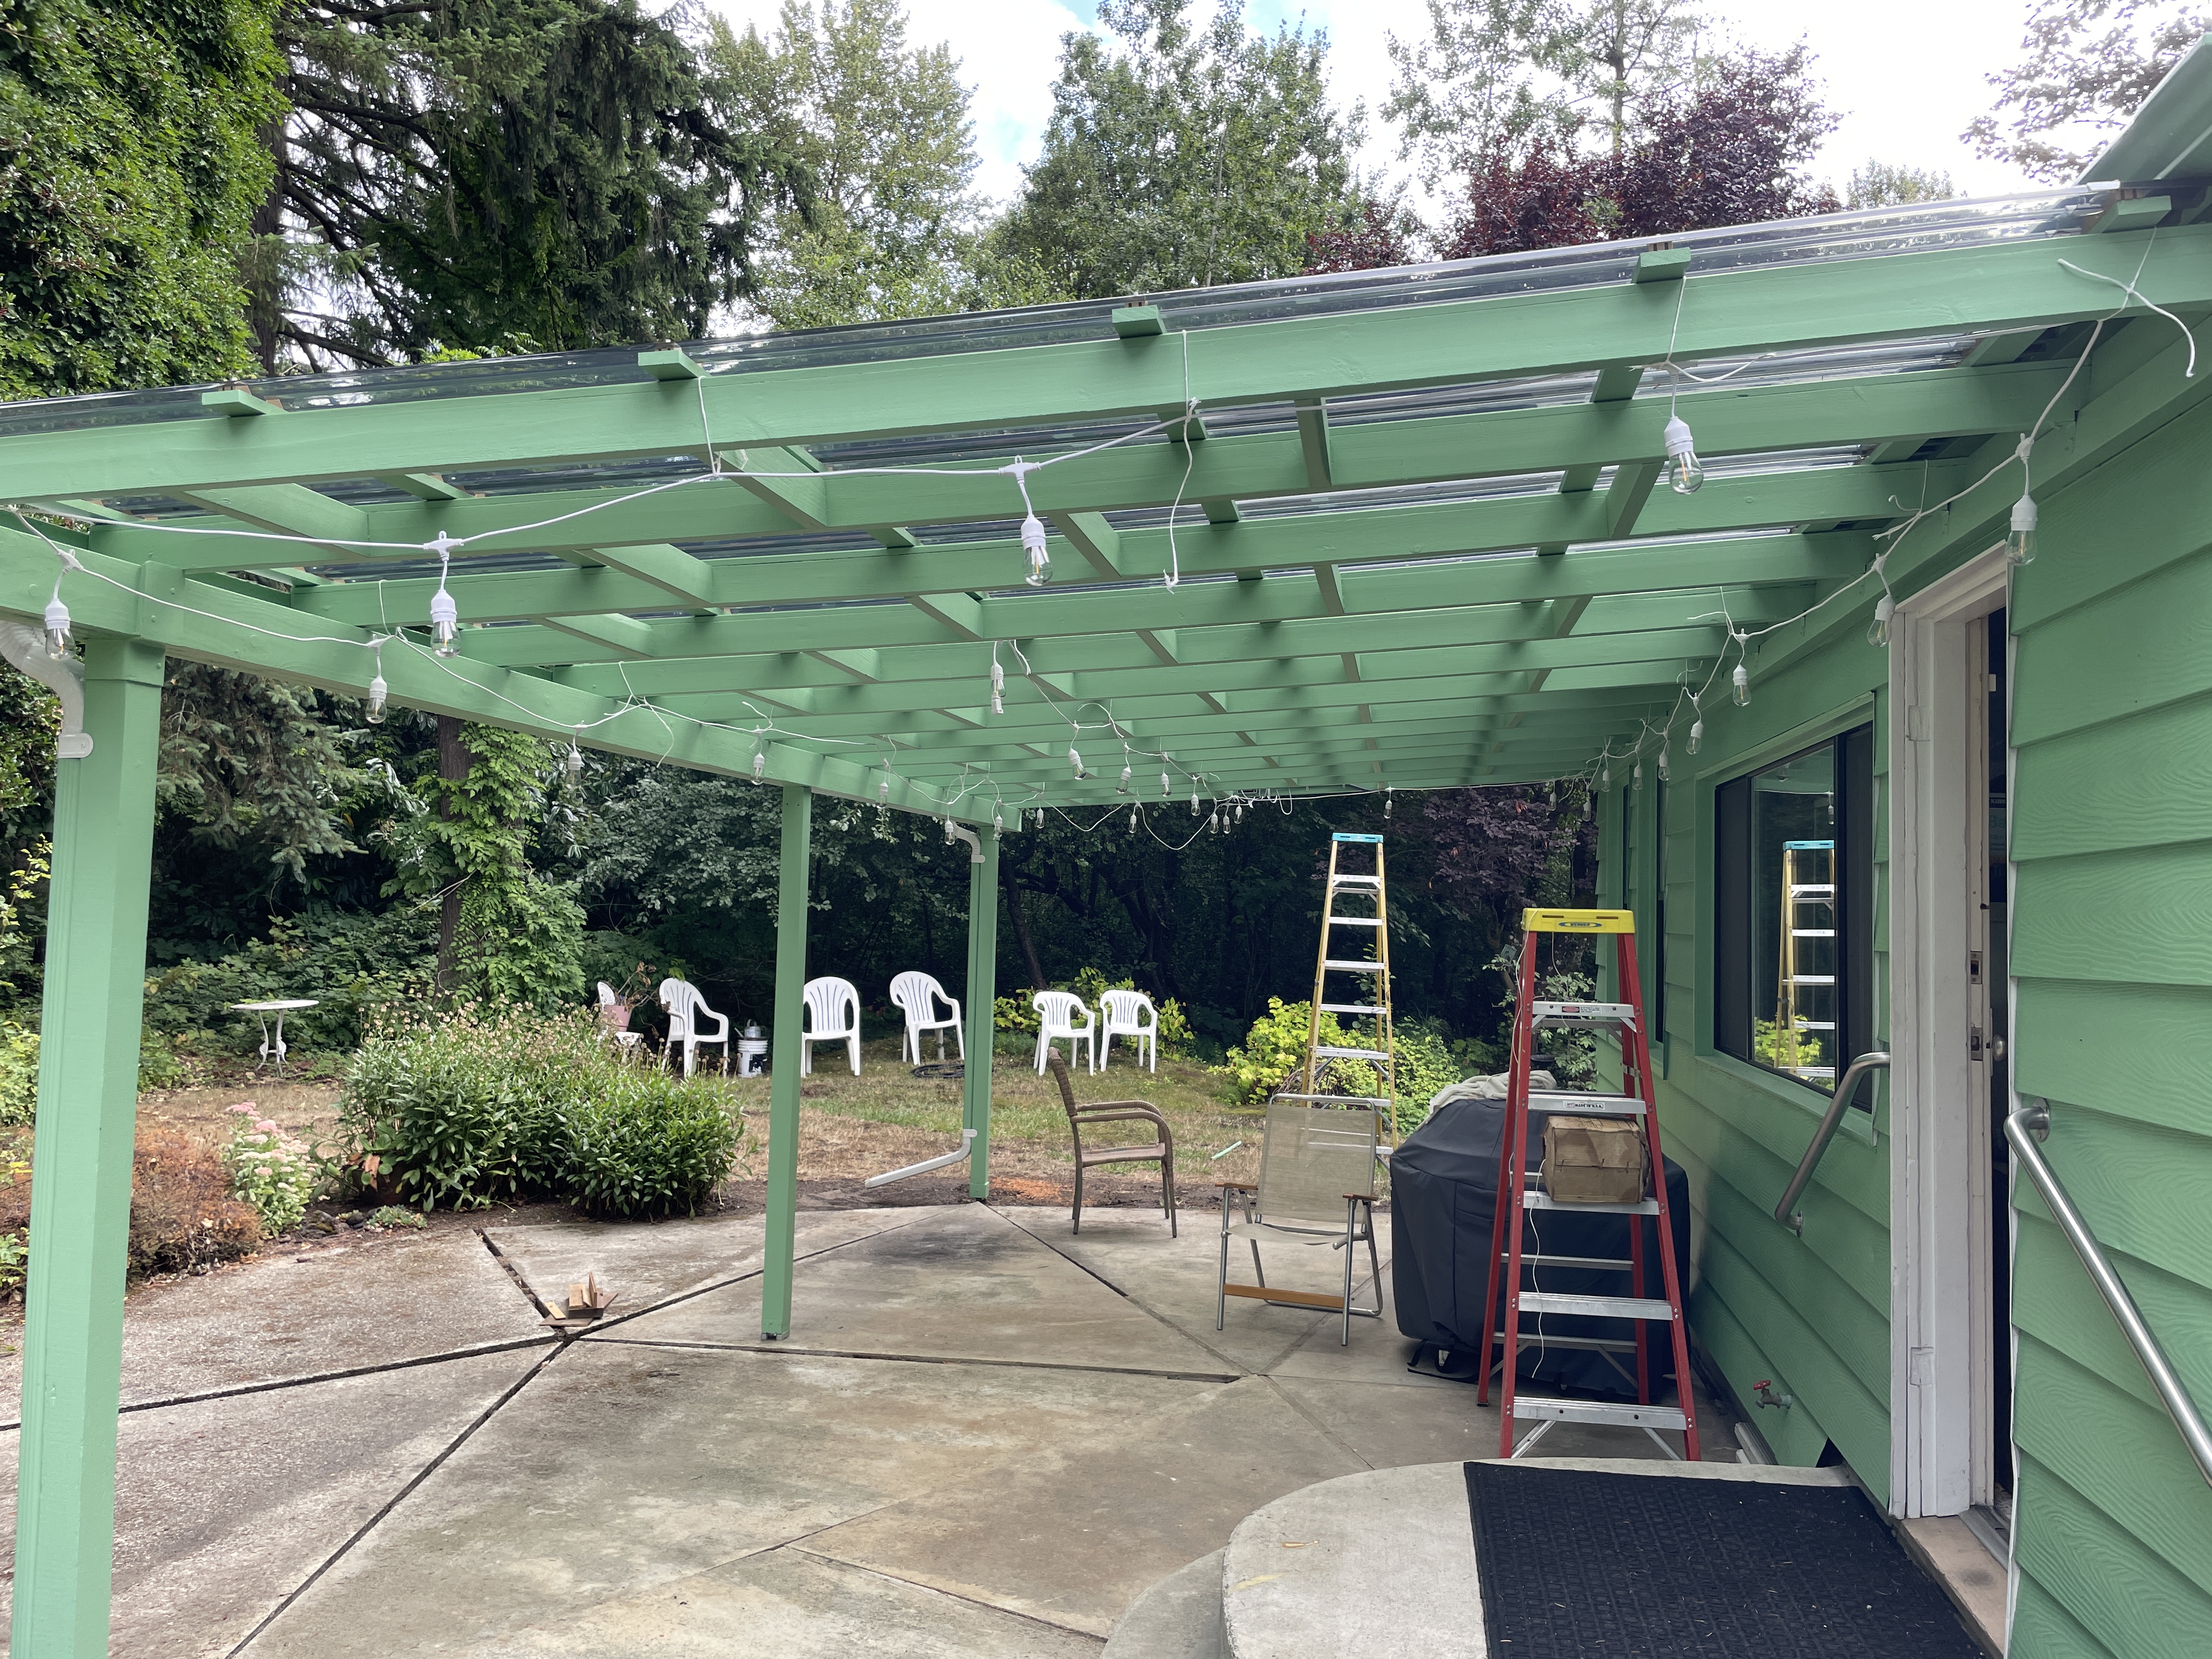
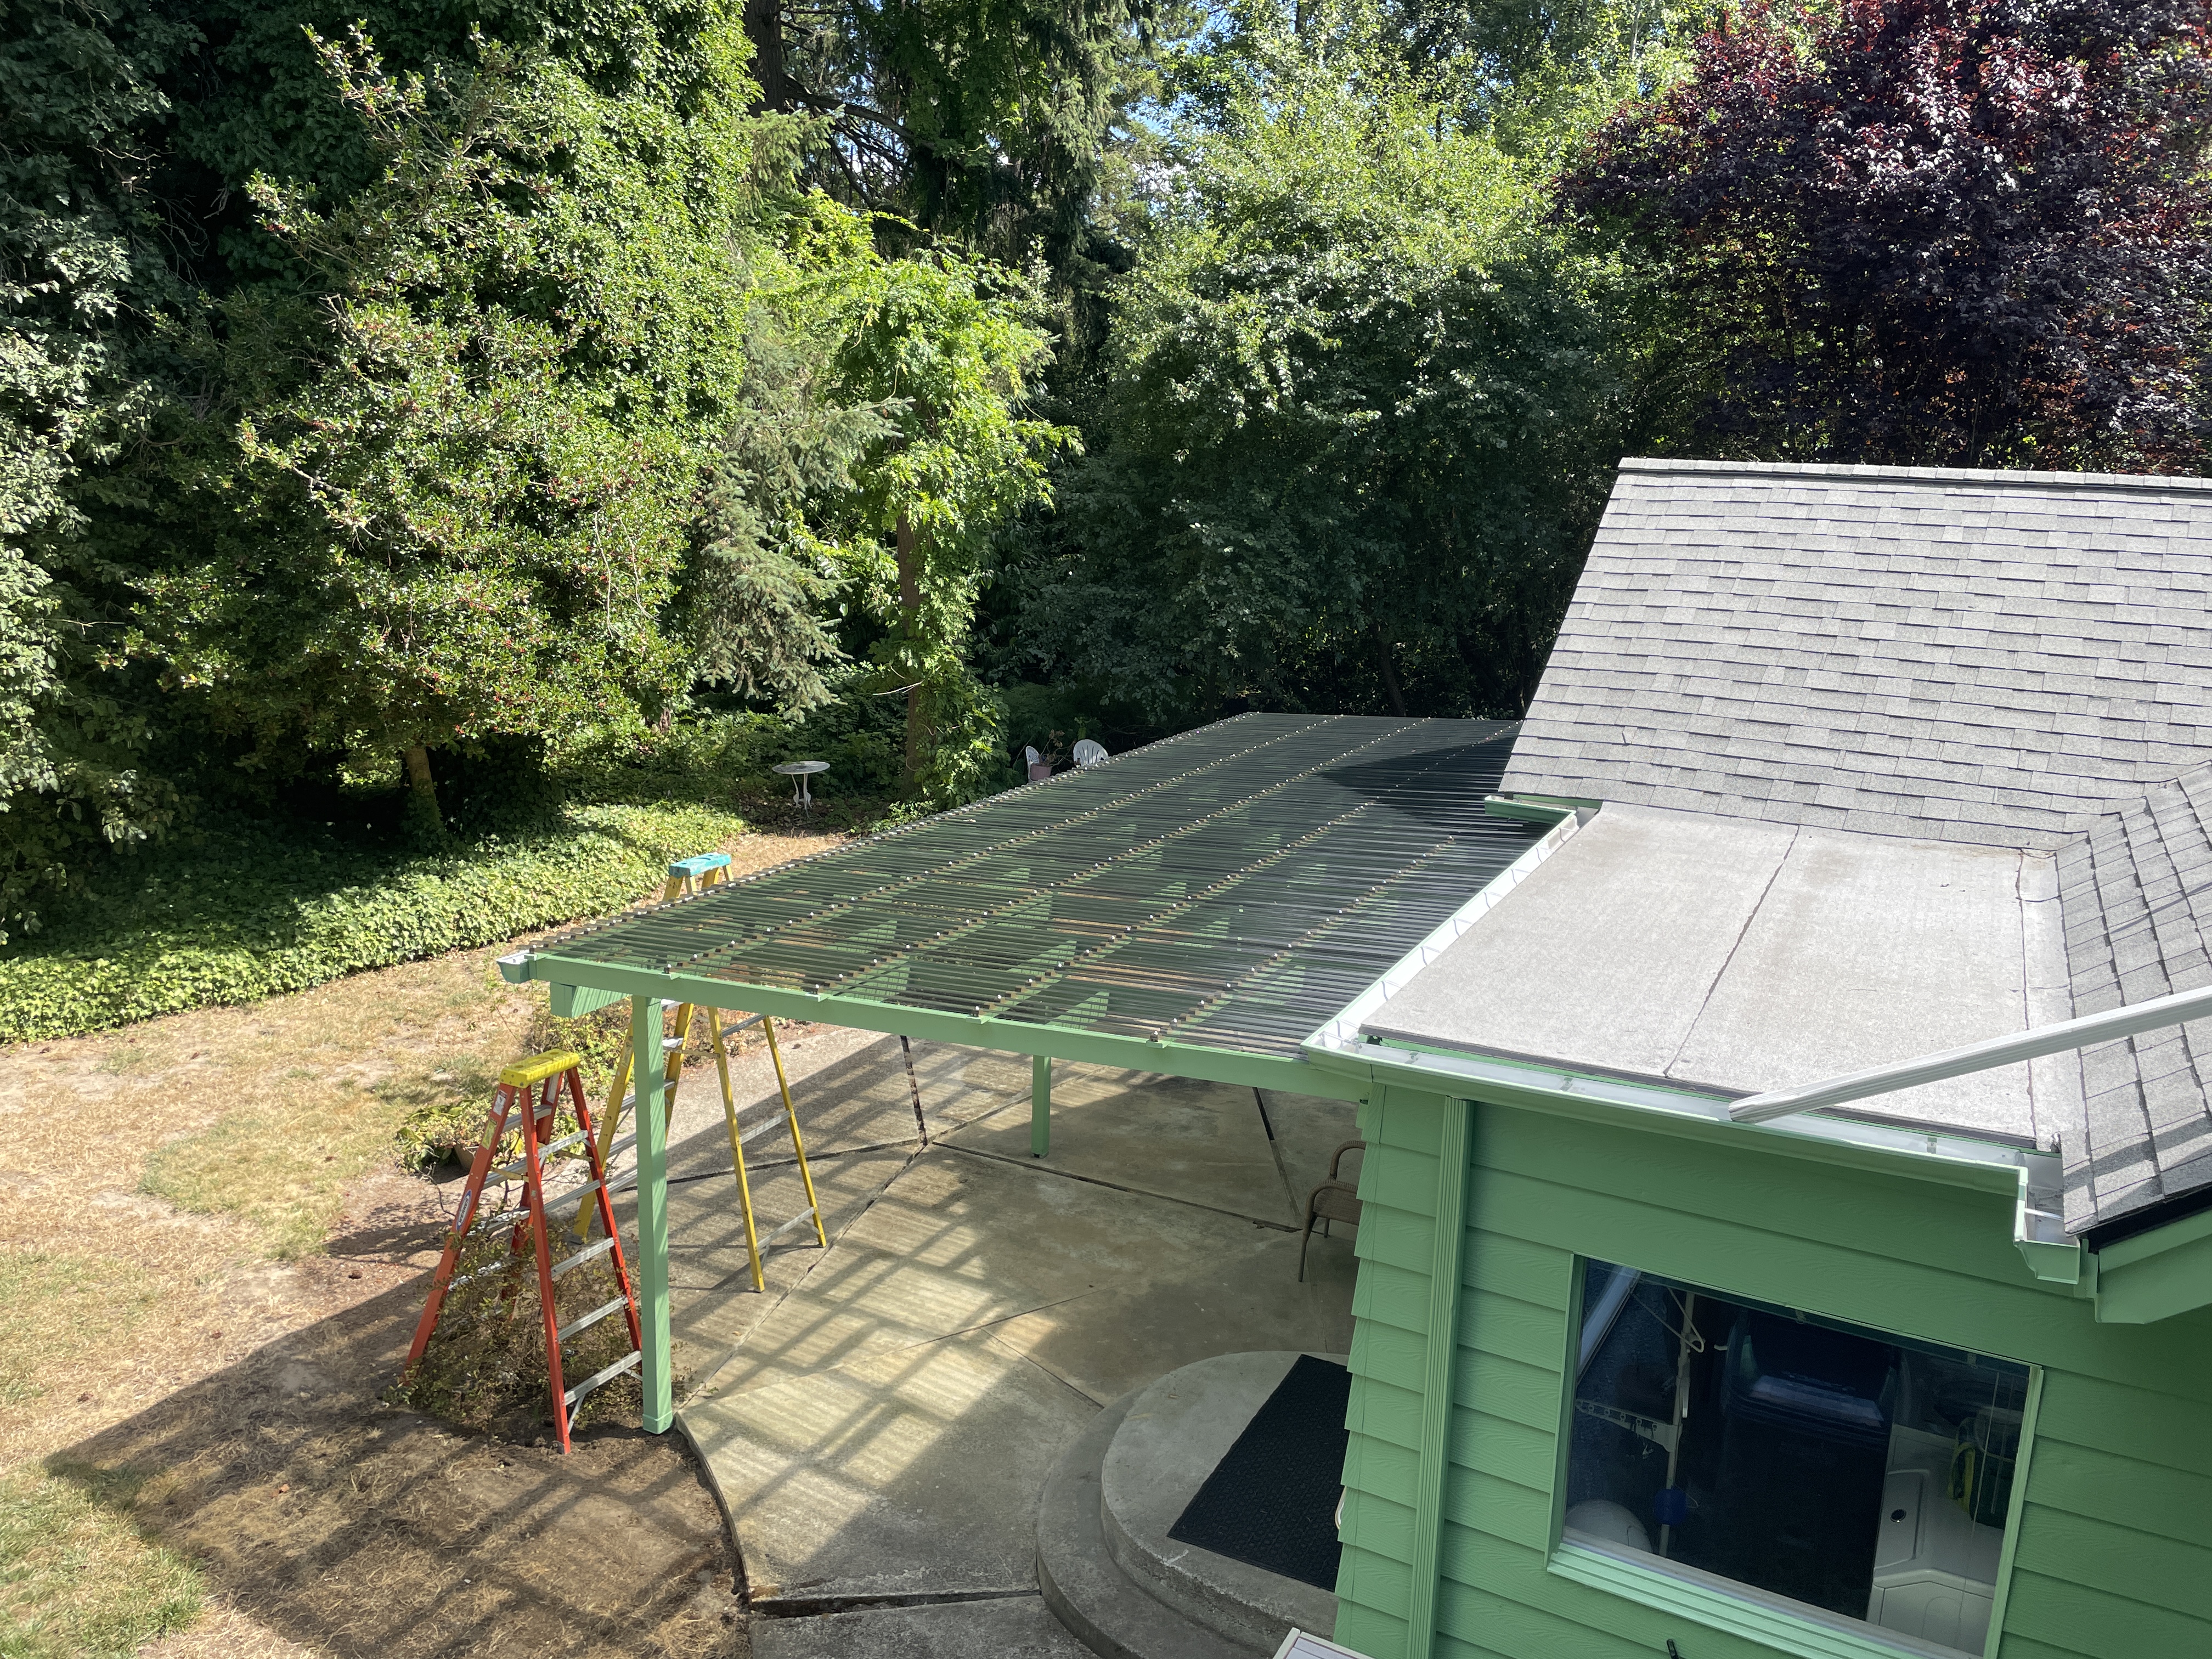
312 square feet.


I like being able to see the sky and trees through the roof.
That came out stunning! Beautiful!
...I want!

Polycarbonate panels - damn, I didn't even know that existed in that shape. Can I ask the price for all that material?
My only experience with polycarbonate is custom making a window in my old computer desk, and replacing the divider window in my VW Caddy panel van.
 
Last edited:
That came out stunning! Beautiful!
...I want!
Thank you. I'm pleased with how it turned out. I purchased 100 feet of LED lighting that still needs to be attached to the underside of the roof.

Polycarbonate panels - damn, I didn't even know that existed in that shape. Can I ask the price for all that material?
My only custom experience with polycarbonate is making a window in my old computer desk, and replacing the divider window in my VW Caddy panel van.
The 12' x 2' panels were $39 each. It took 13 panels to span the 26-foot width. I haven't totaled the cost for the entire project. :broke: The beer and Tequila were probably $100. :yellowlaugh:
 
Another worm appears -

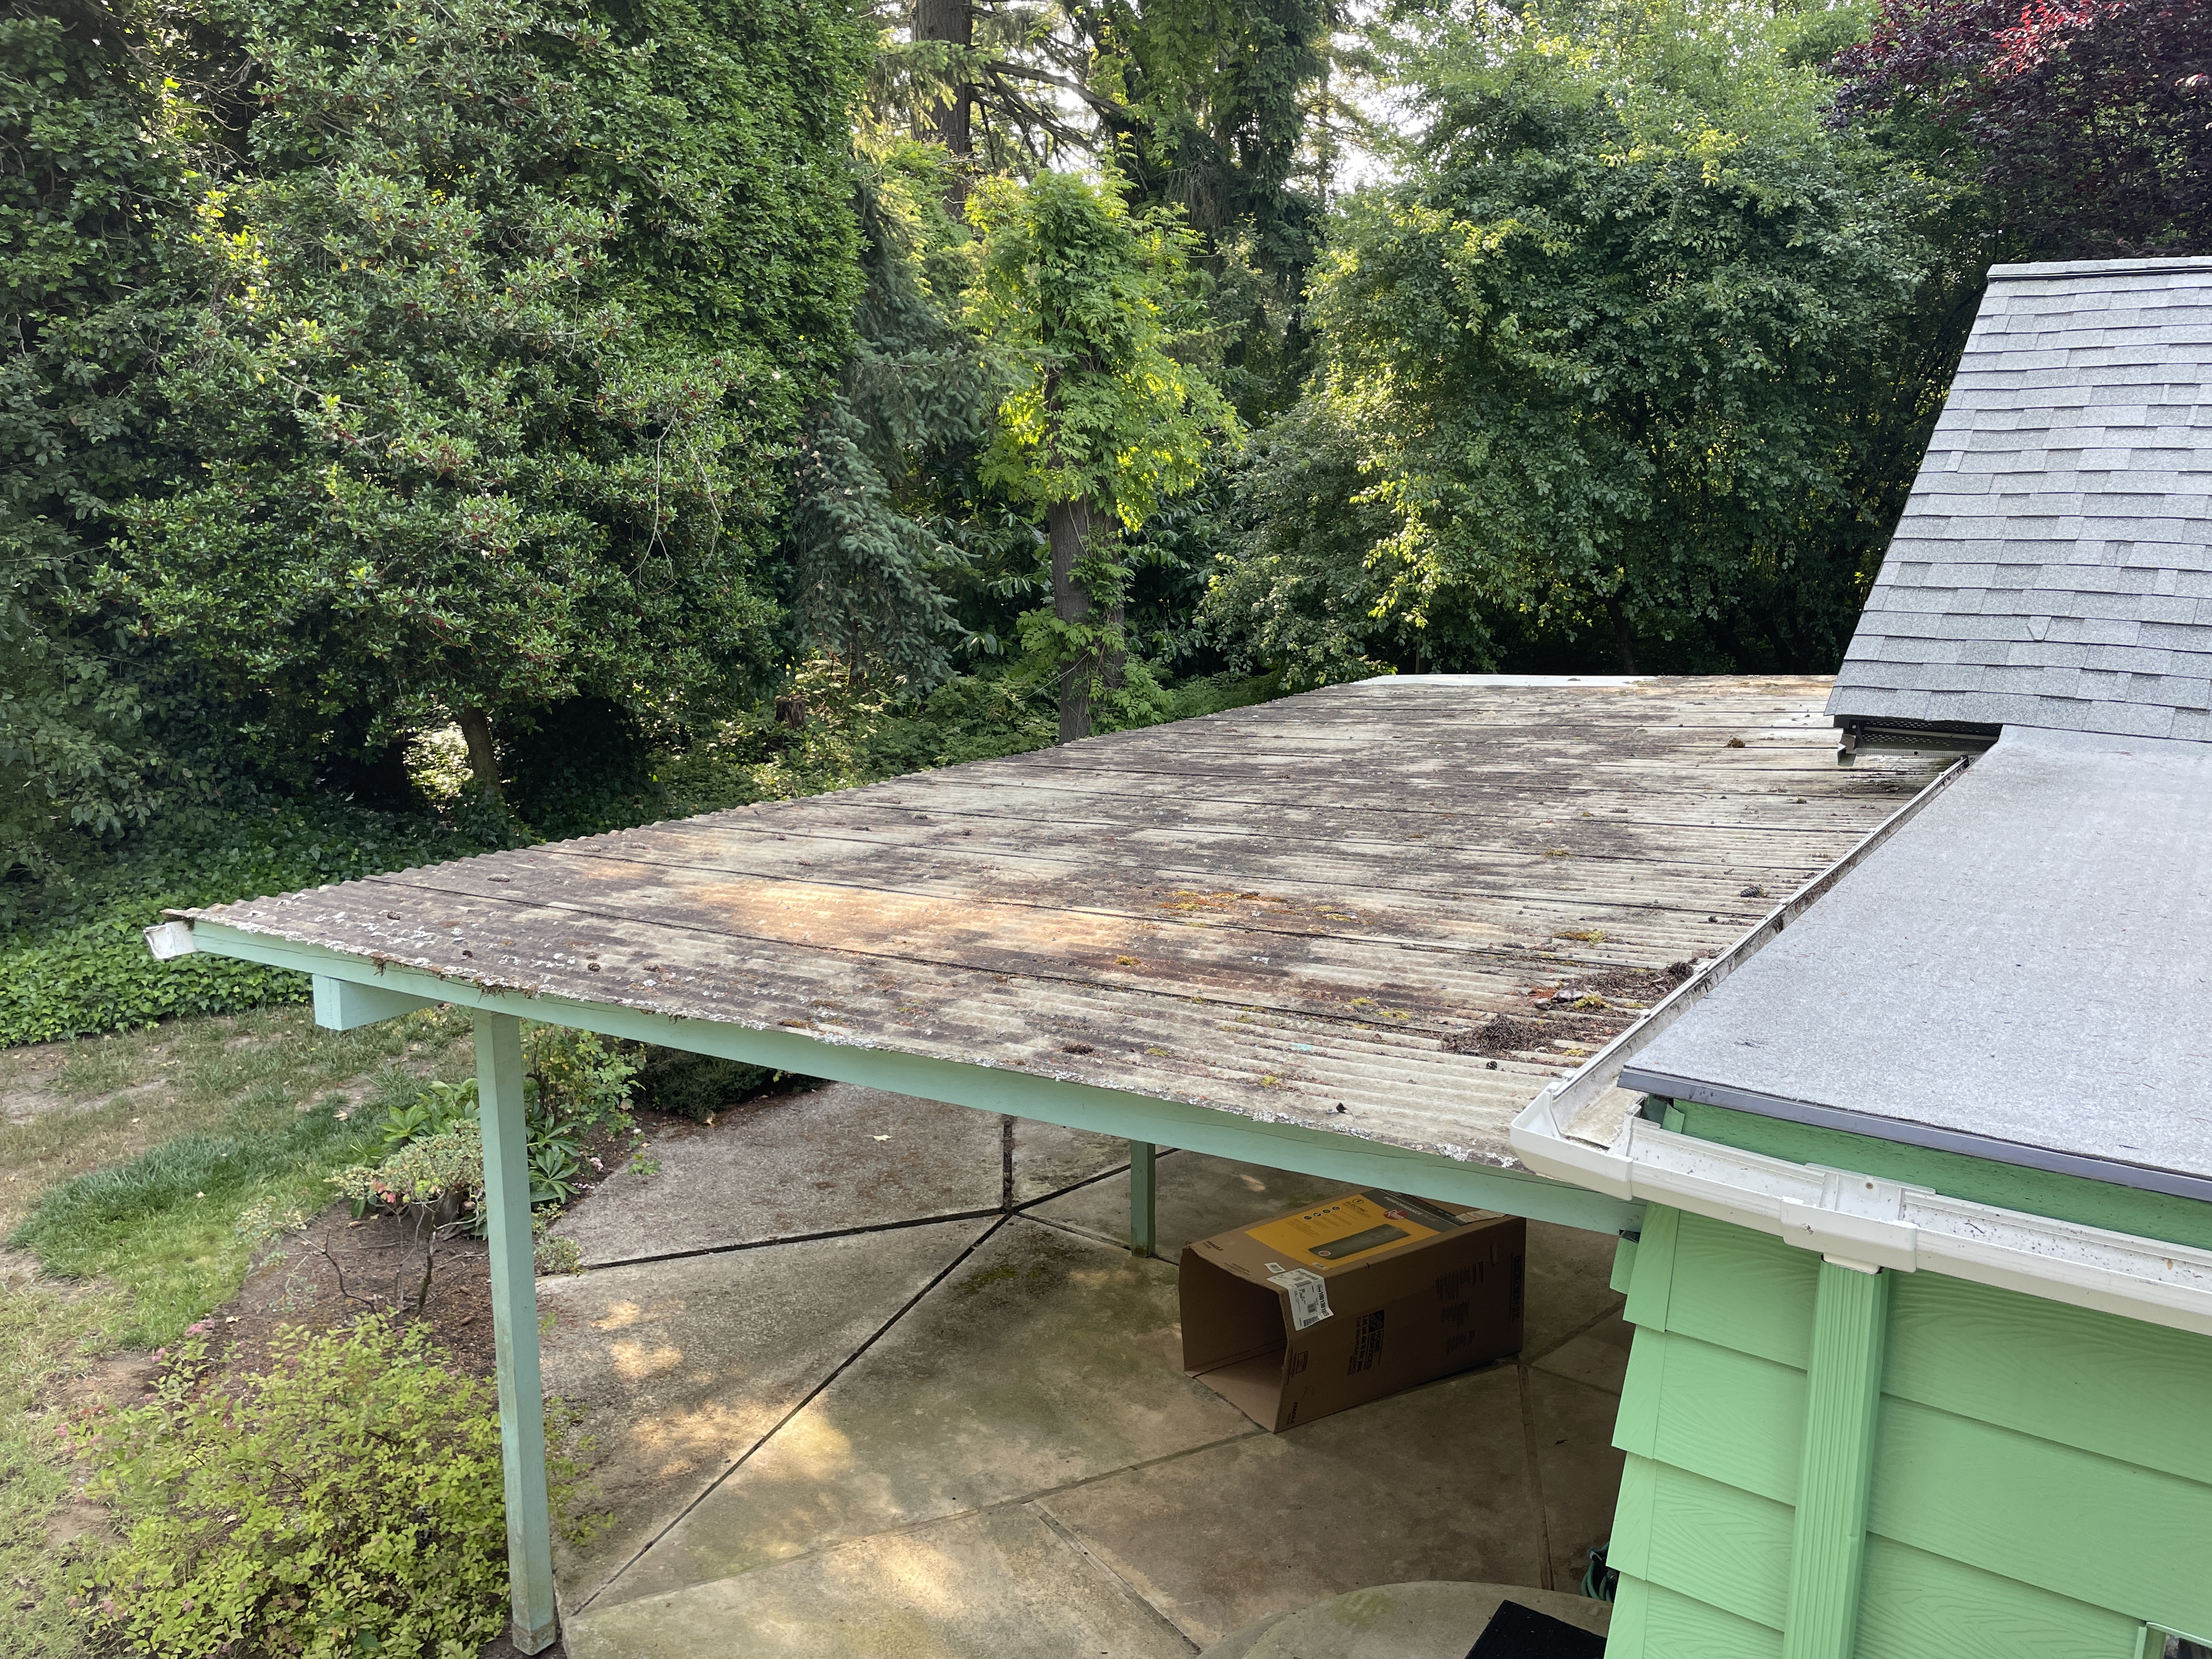
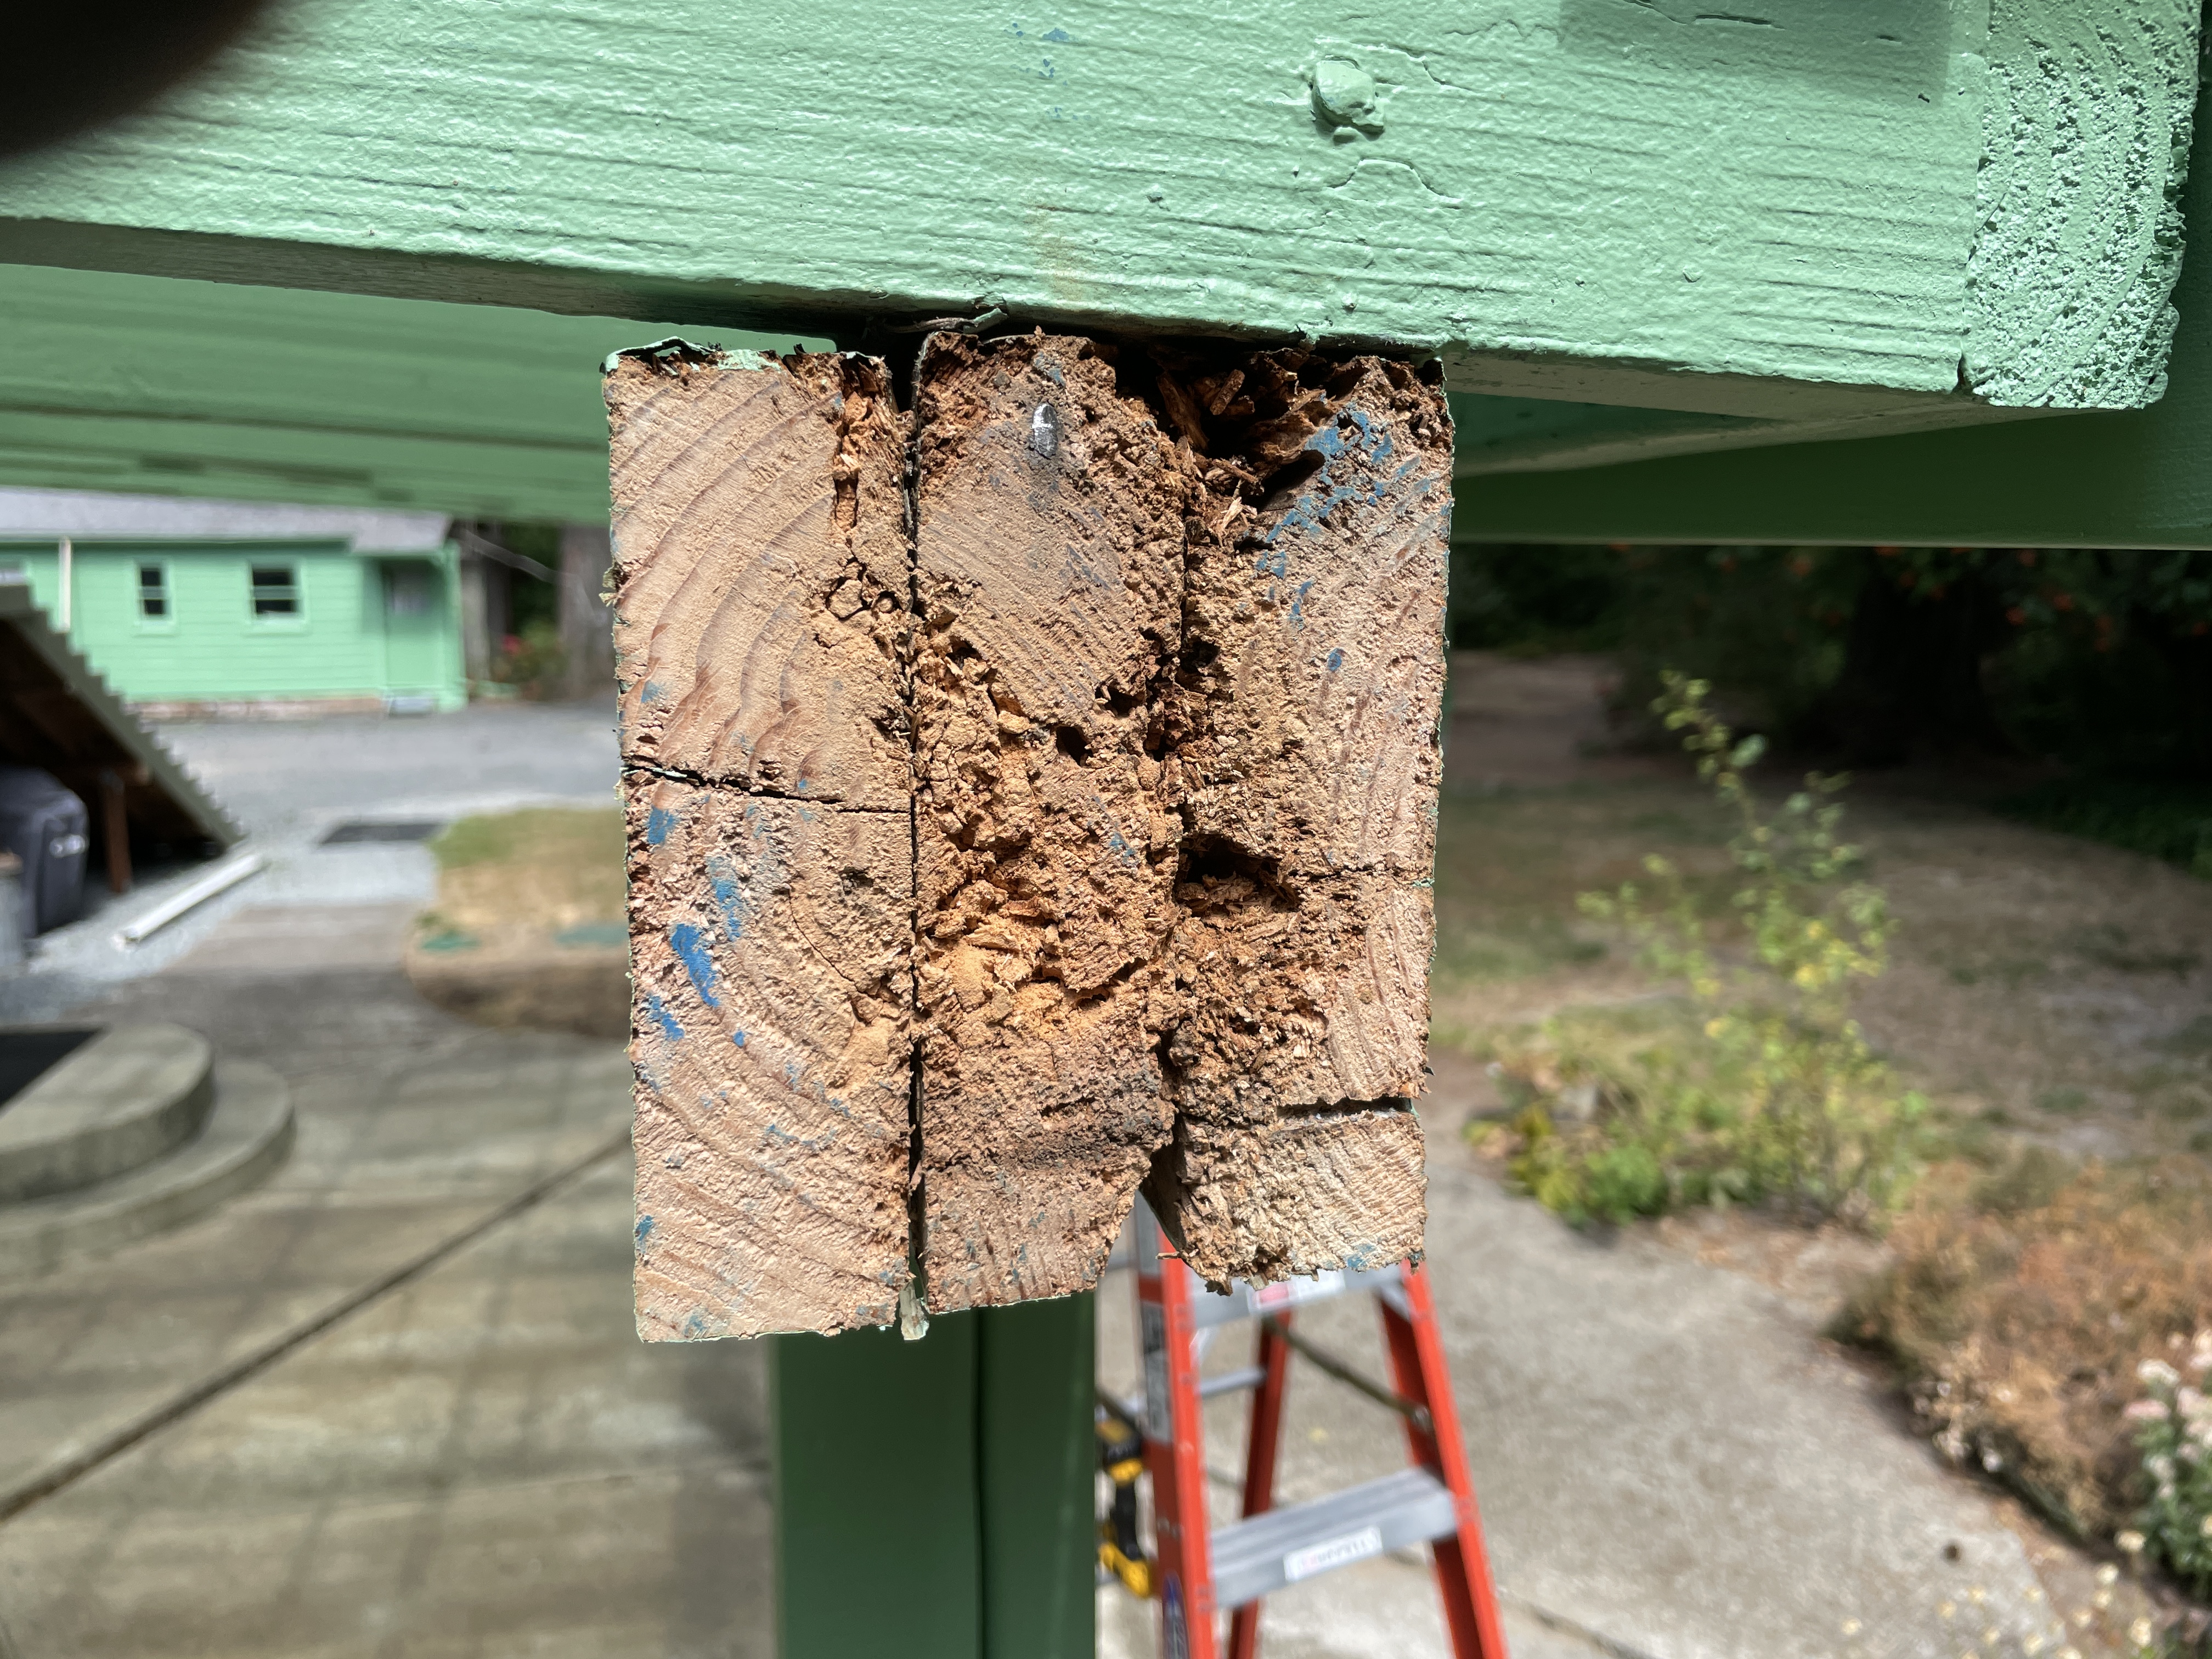
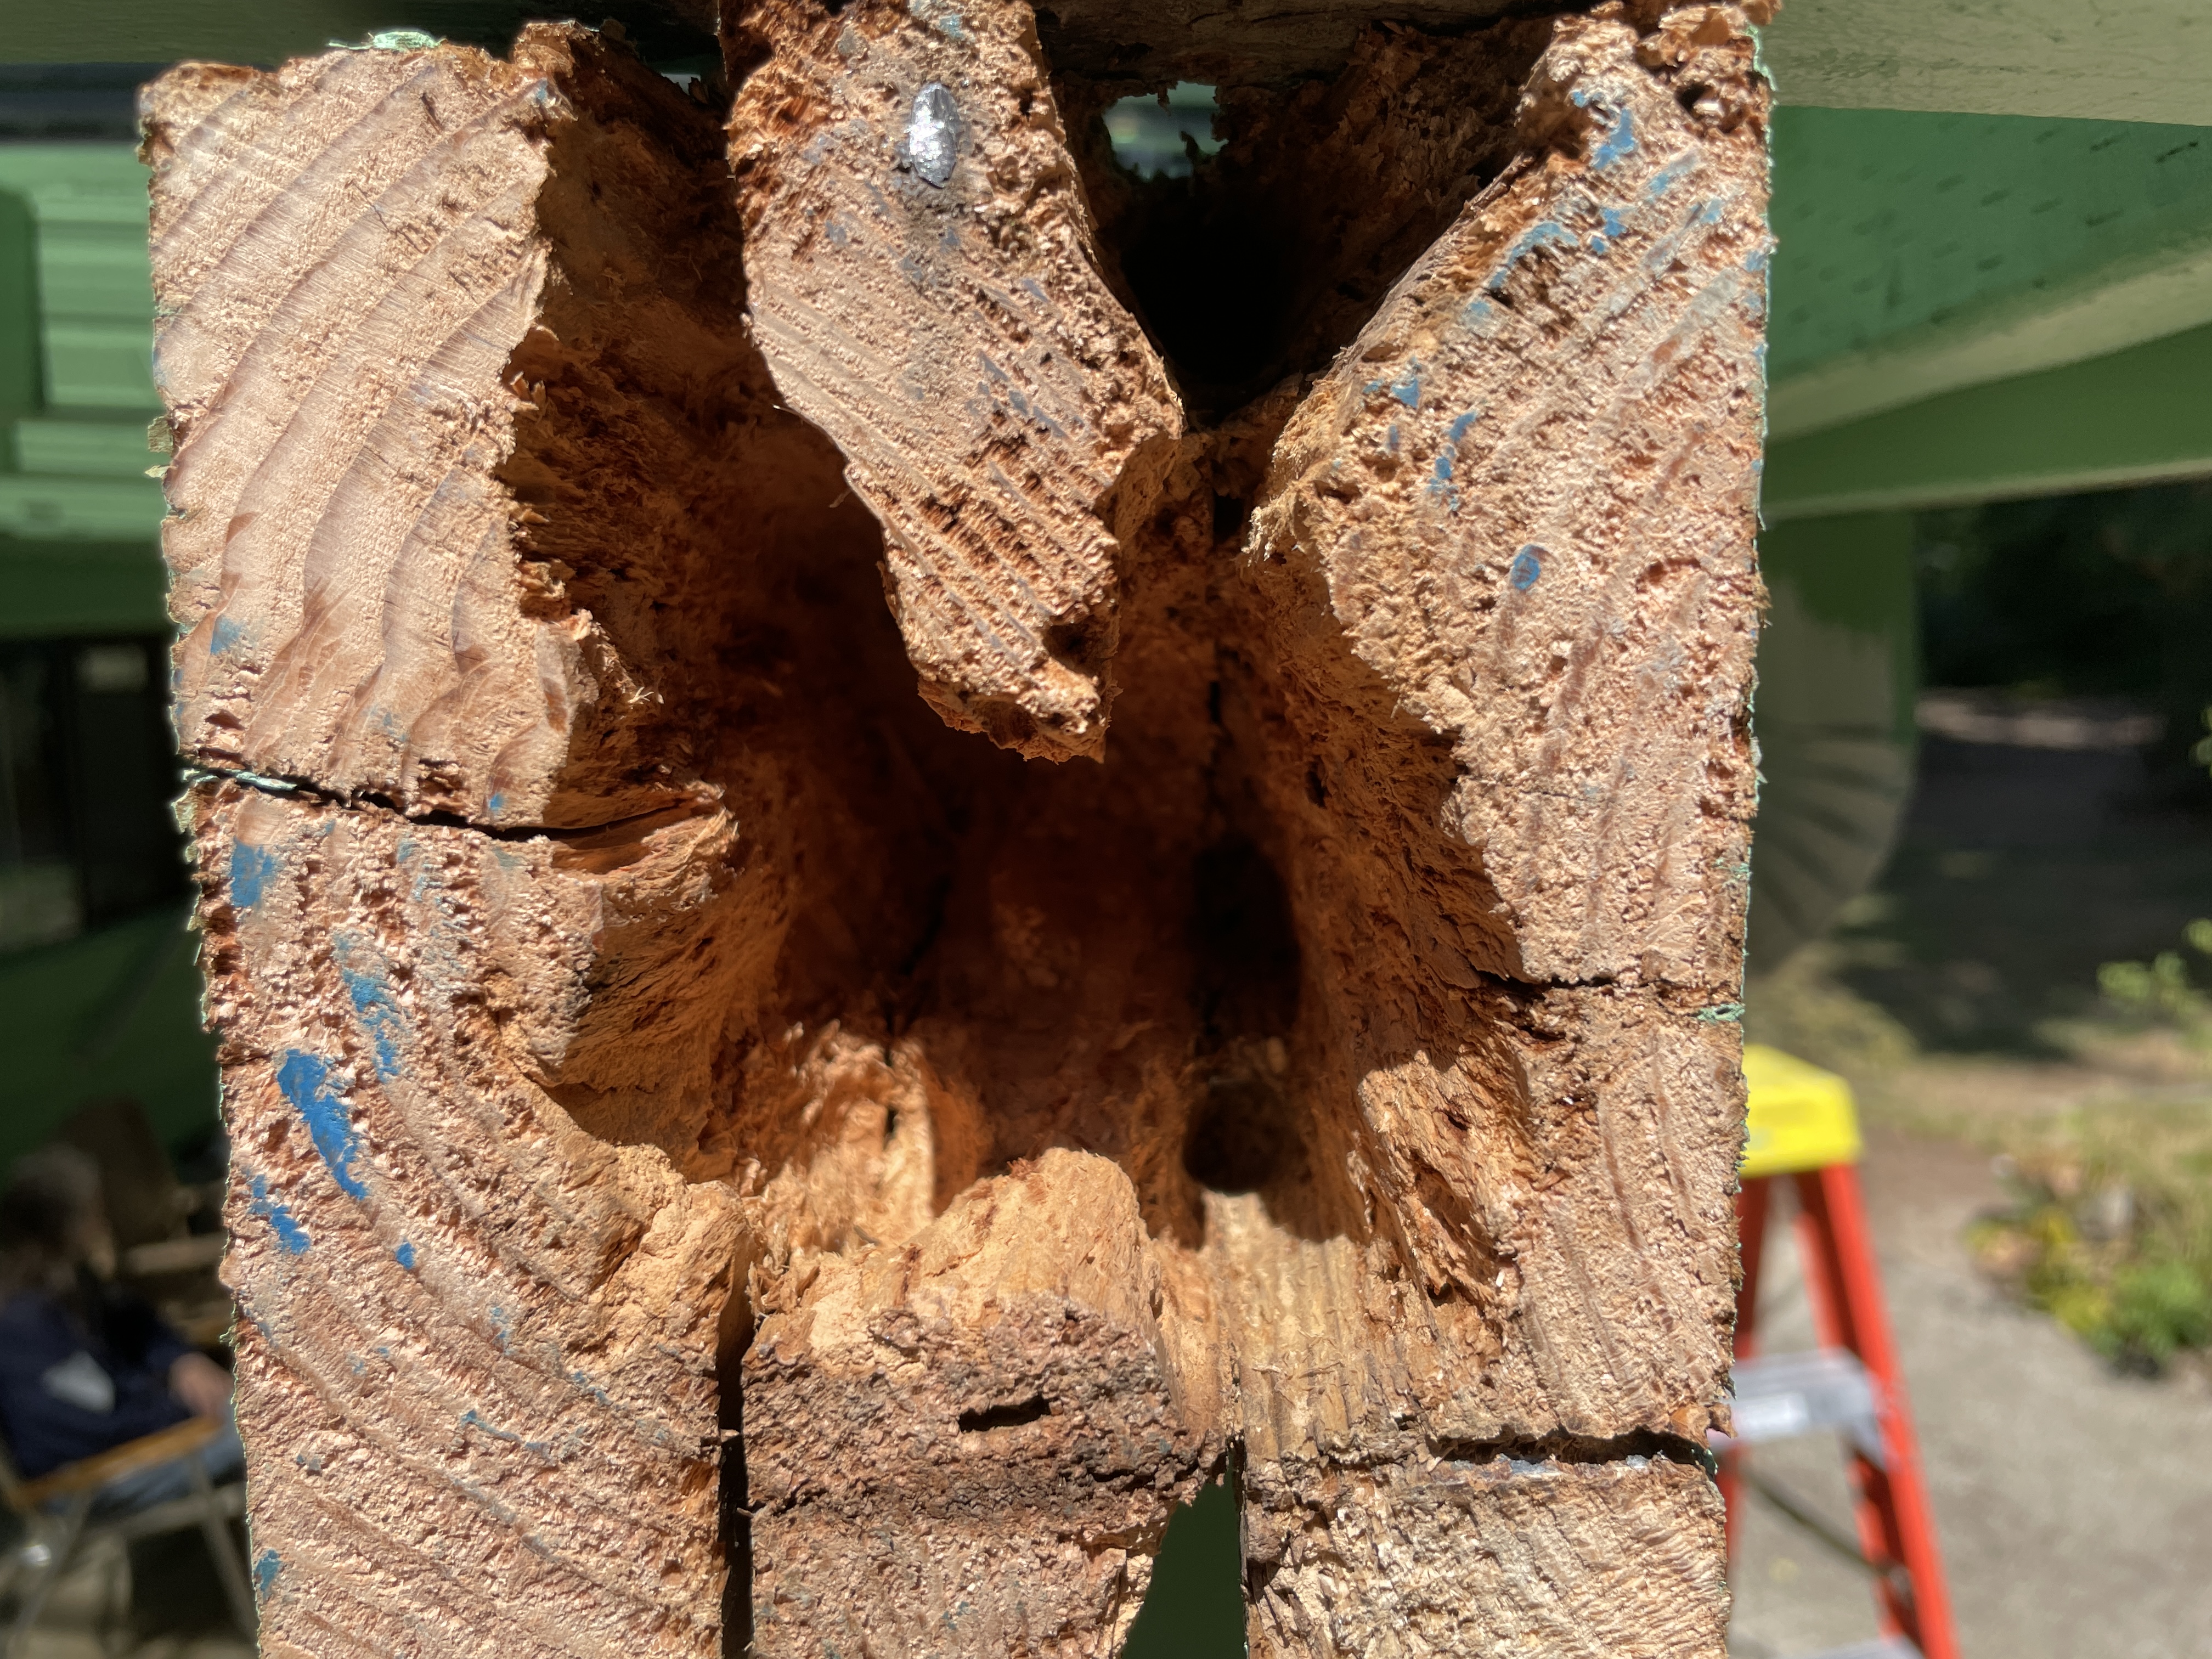
I cut four inches off these three 2 x 6s due to them being rotten ... only to find the rot was deeper than I figured.
IMG_7808.JPG


Five minutes later -
IMG_7809.JPG

The rot extended inward 4.5 inches. BUMMER!

I purchased some wood bondo. The label stated that after mixing the hardener, there would be one to two minutes of to apply the bondo before hardening. HA! More like 20 seconds. :( I'll look for a different product.

Much to my surprise, there are no leaks. :clap:
IMG_7814.JPG
 
Second..."foundation wall protector", I think I will call it, is finished.
IMG_1941_25.jpg
I'll cut the downspout extension to length once I get a 3rd steel pipe, and make a protective box for them.
The previous plastic downspouts have just been laying on the ground, and have with time been severly damaged when the snow falls off the roof.


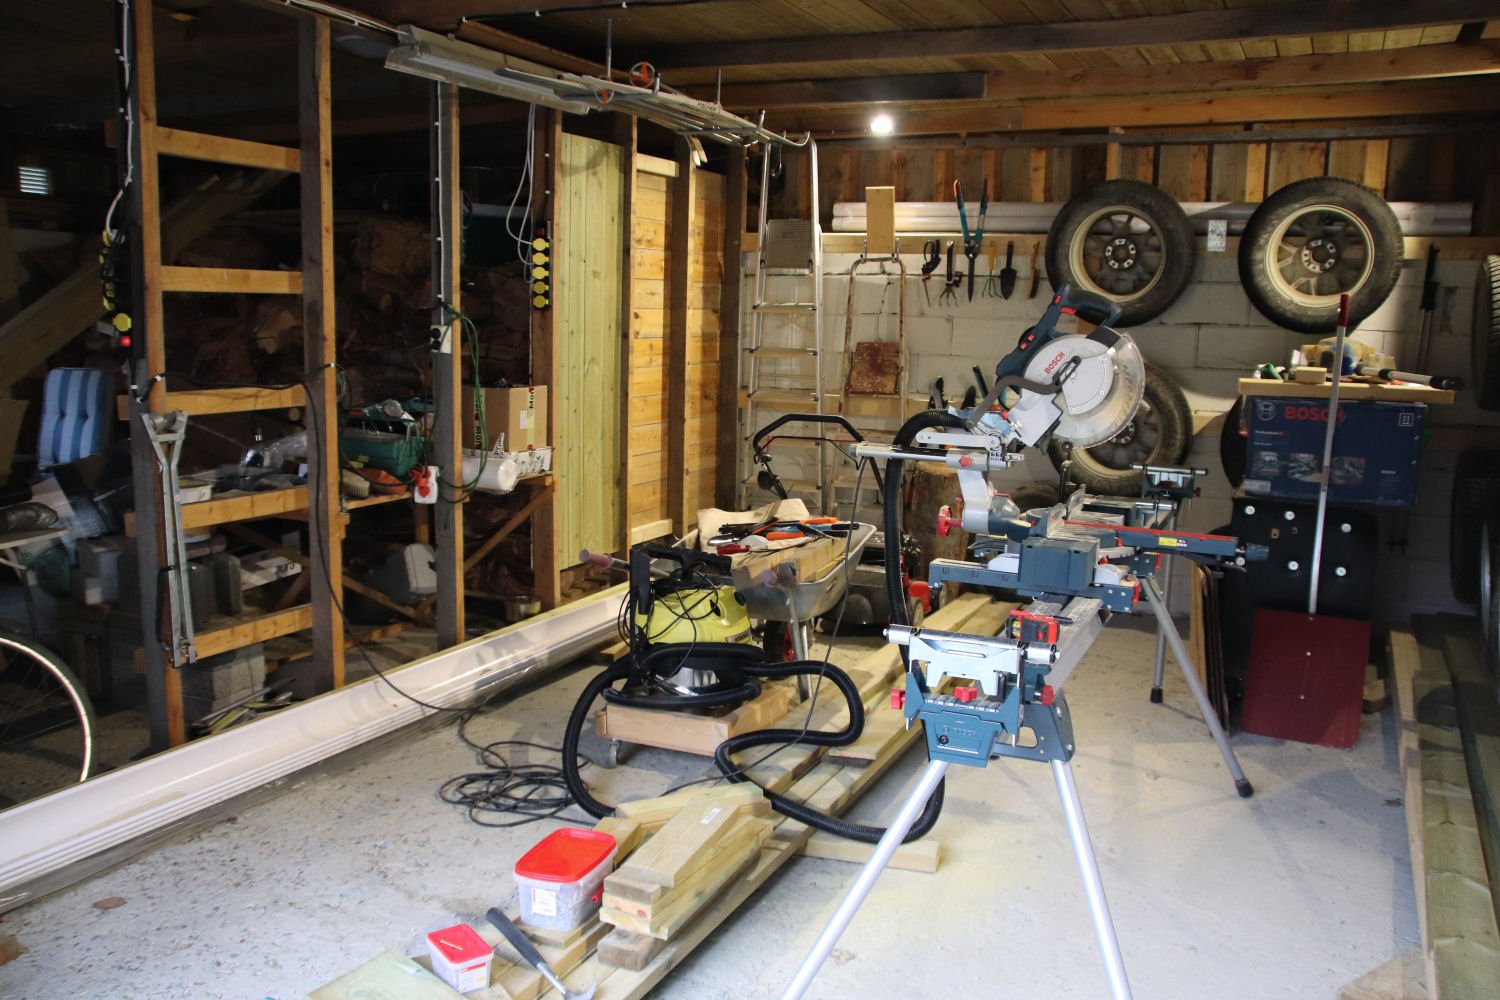
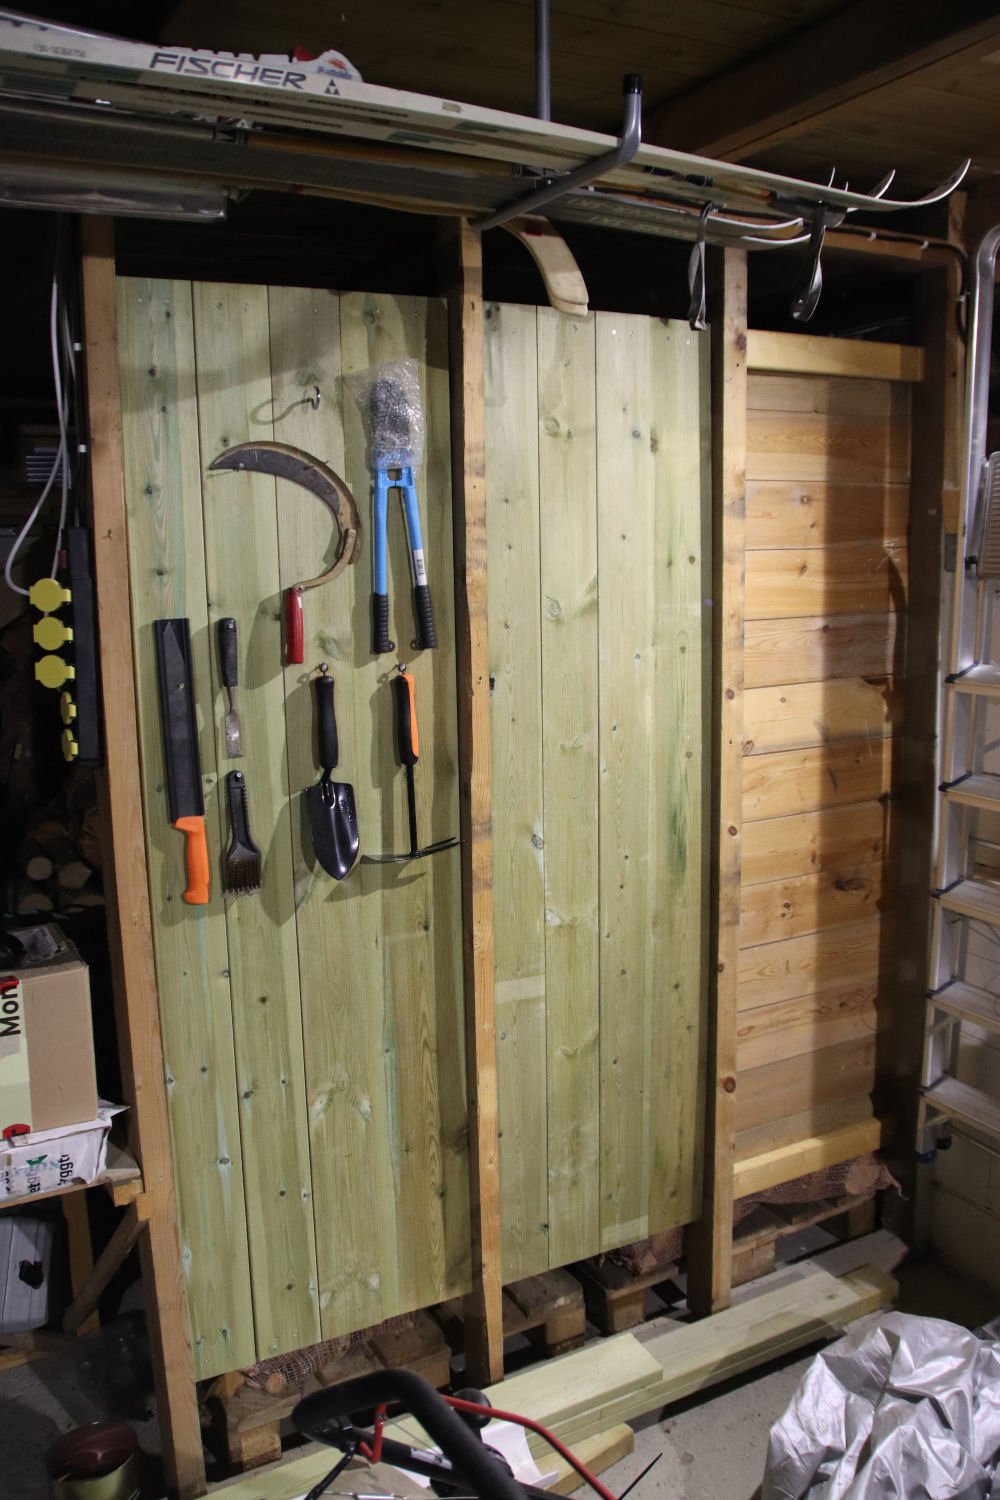
And today I made some (and long-planned) additional wall hanging storage inside the garage.
IMG_1944_25.jpgIMG_1945_25.jpg
All my bar clamps will go on the middle section - if I can fit them all...
2x 25 mm, 7 Kg, Bahco 420SC-25
2x 115 mm, 18 Kg, Bahco QC-115A
2x 250 mm, 450 Kg, Luna TGRC25U-2K
6x 300 mm, 60 Kg, Bahco QC-300A
2x 450 mm, 200 Kg, Bahco QCB-450
2x 900 mm, 270 Kg, DeWalt DWHT0-83187


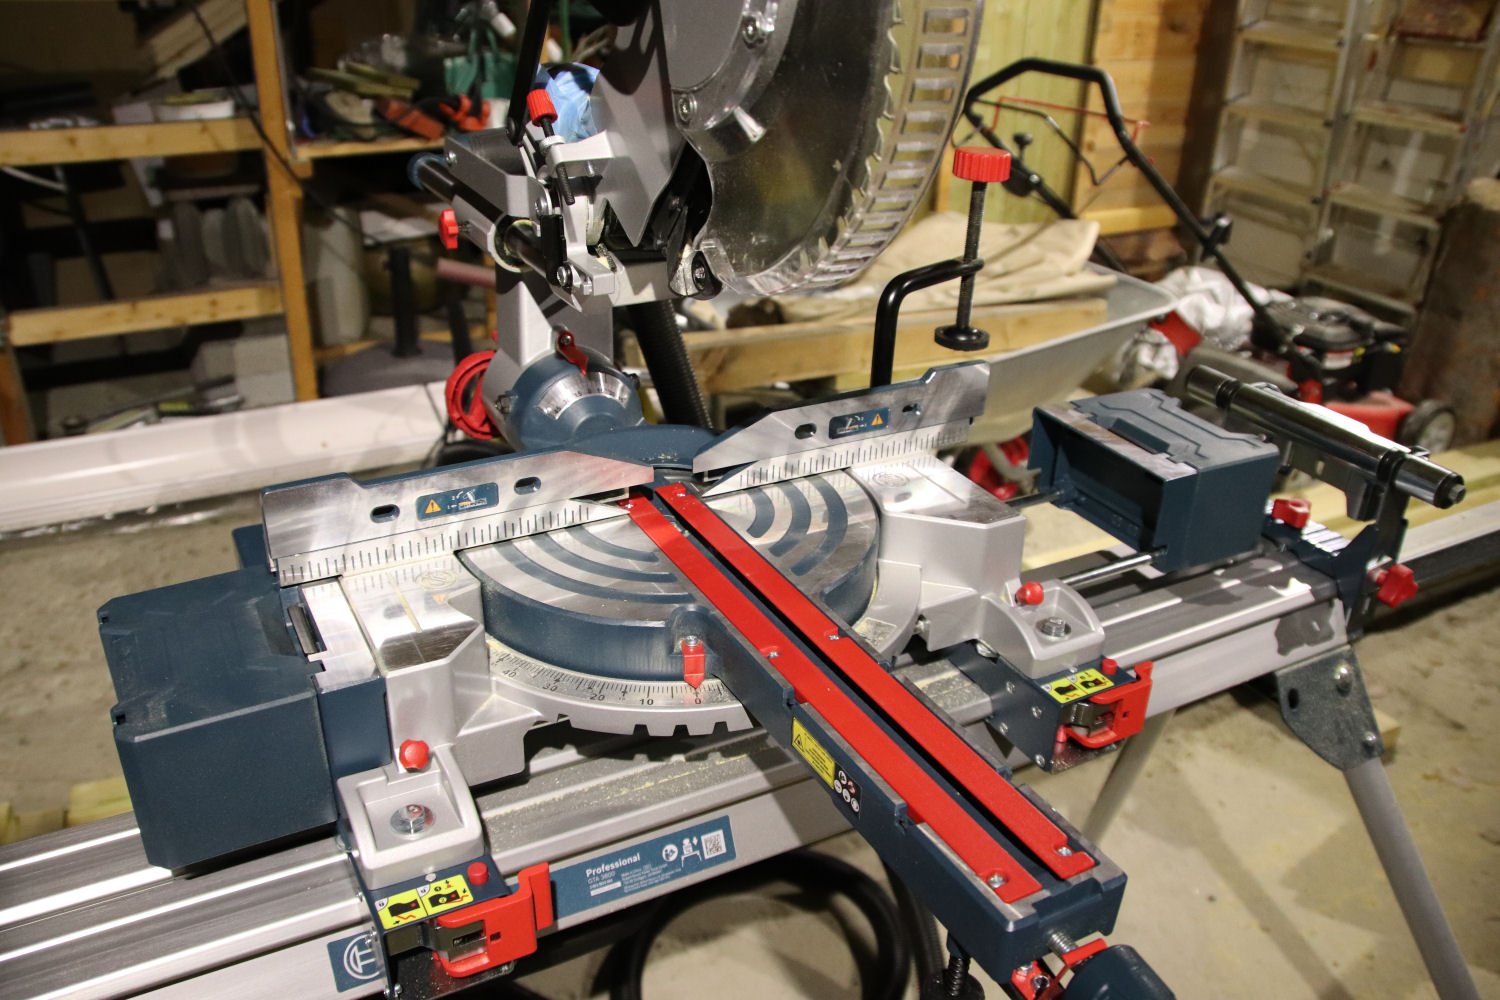
And despite seeing a surprisingly lot of use since the purchase...so far zero damage or accidents with the new Bosch miter saw.
IMG_1946_25.jpg
In an attempt to take the best possible care of the saw, I am even vacuuming it with a Karcher suction brush after every 2 sessions.
 
Last edited:
IMG_7818.JPG


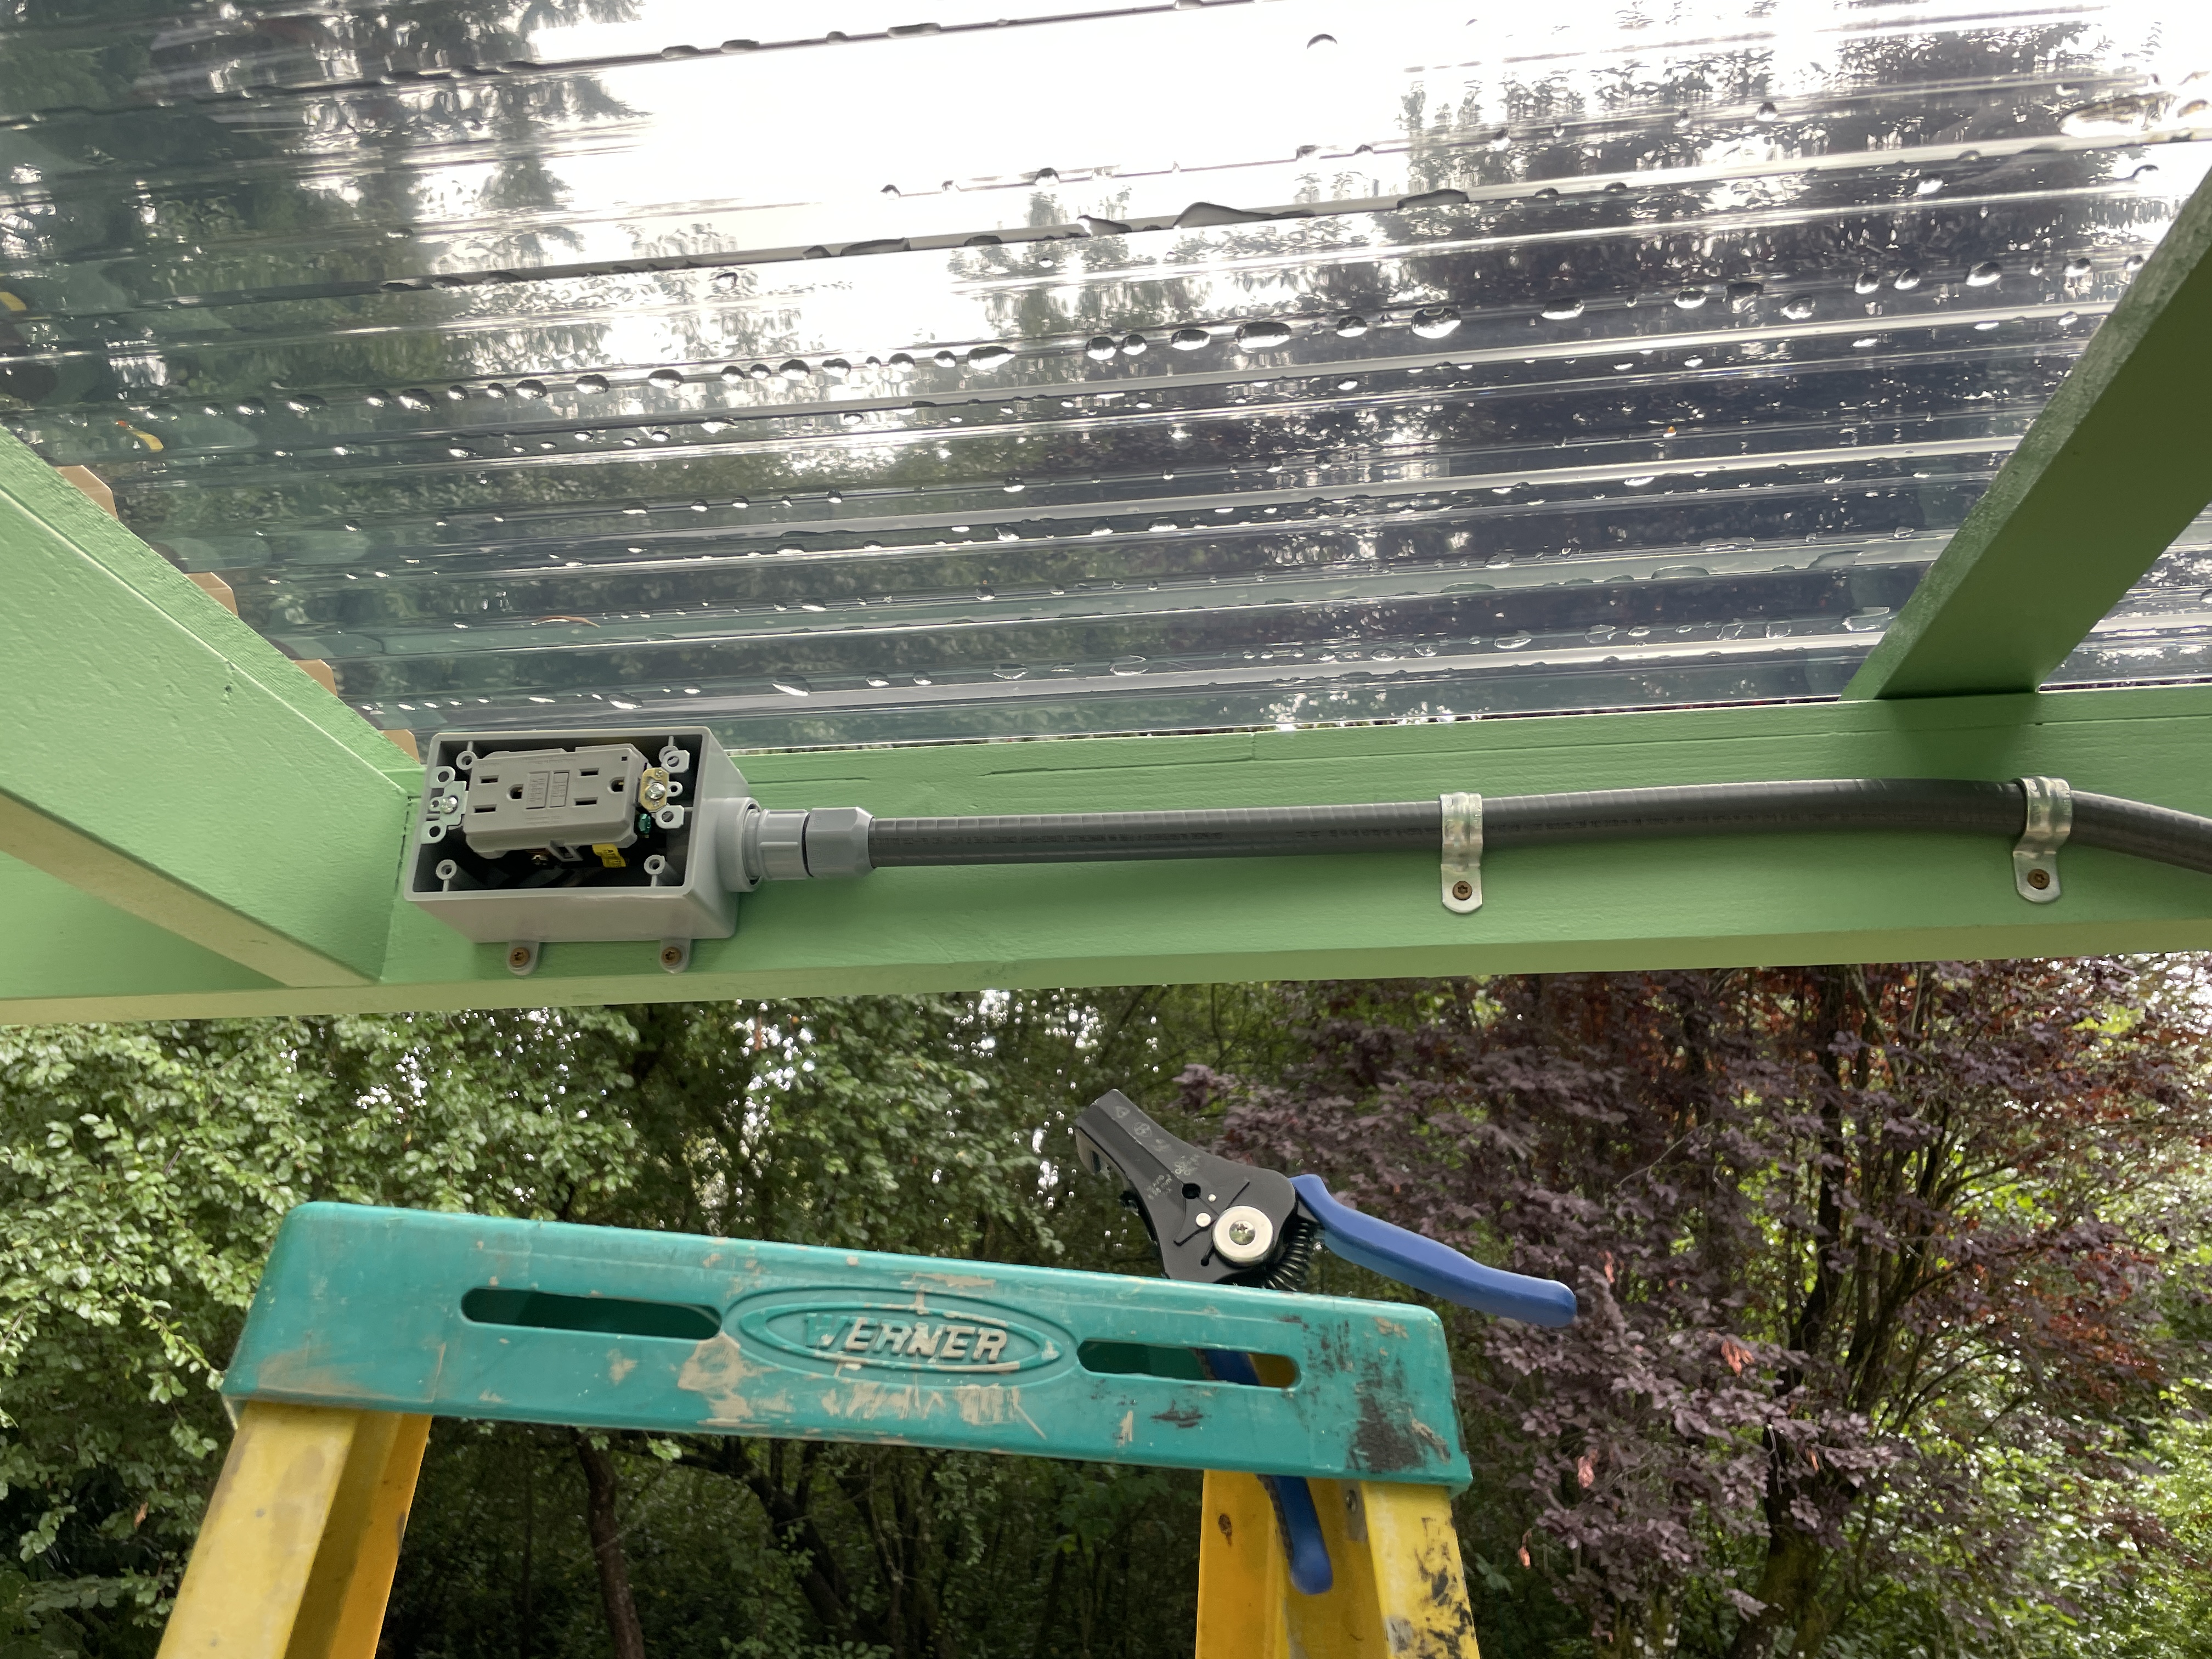
The lights have been temporarily hung to check for brightness and to see how/where they will fall/terminate.

I installed a GFCI for the power supply. After doing so, I questioned myself whether a GFCI can function with a dimmer switch. Any real-world experience would be appreciated.

IMG_7816.JPG
 
The best way to fix that rotted triple 2x6, short of replacing the whole thing, is to cut it back so it's staggered. I'd cut the one closest to the house the longest, then the middle one a foot shorter, and that farthest one out another foot shorter.

Then use a urethane glue like gorilla glue along with HeadLOK lag screws from both sides to attach new pieces of 2x6. On the side towards the house I'd add a piece of 2x6 to bridge the joint between the cut off end of that board and the short added piece.

If you restore it to sticking out like it used to, get a metal flashing cap made to fit over the top of the boards and have it extend under the roof board resting on the beam. Do the same on the other end if that sticks out.

There are super thin resins made for consolidating wood like that, but being thin they're very difficult to pour into a space like the end of this beam where it's a PITA to get it all sealed up. No matter how you seal a form around the end, bottom, and sides, the thin resin will flow between the boards and run out the bottom.

I wouldn't trust any plastic resin repair on this location. They're mostly intended for cosmetic repairs to be painted over. Consolidating resin is used on some artifacts so they can be studied without crumbling to dust.
 
Back
Top