• You must be a Supporting Member to participate in the Candle Power Forums Marketplace.

    You can become a Supporting Member.

Sold/Expired 100pc Left Titanium Firefly

Wolfy1776

Newly Enlightened
Joined
Sep 30, 2015
Messages
197
IPC at JFK at times takes a very long time to process.

I asked my local letter carrier about that last month and was told that they probably only have one or two people performing the clearance job. If they're off for whatever reason, everything sits.

You'll like your light once you get it.

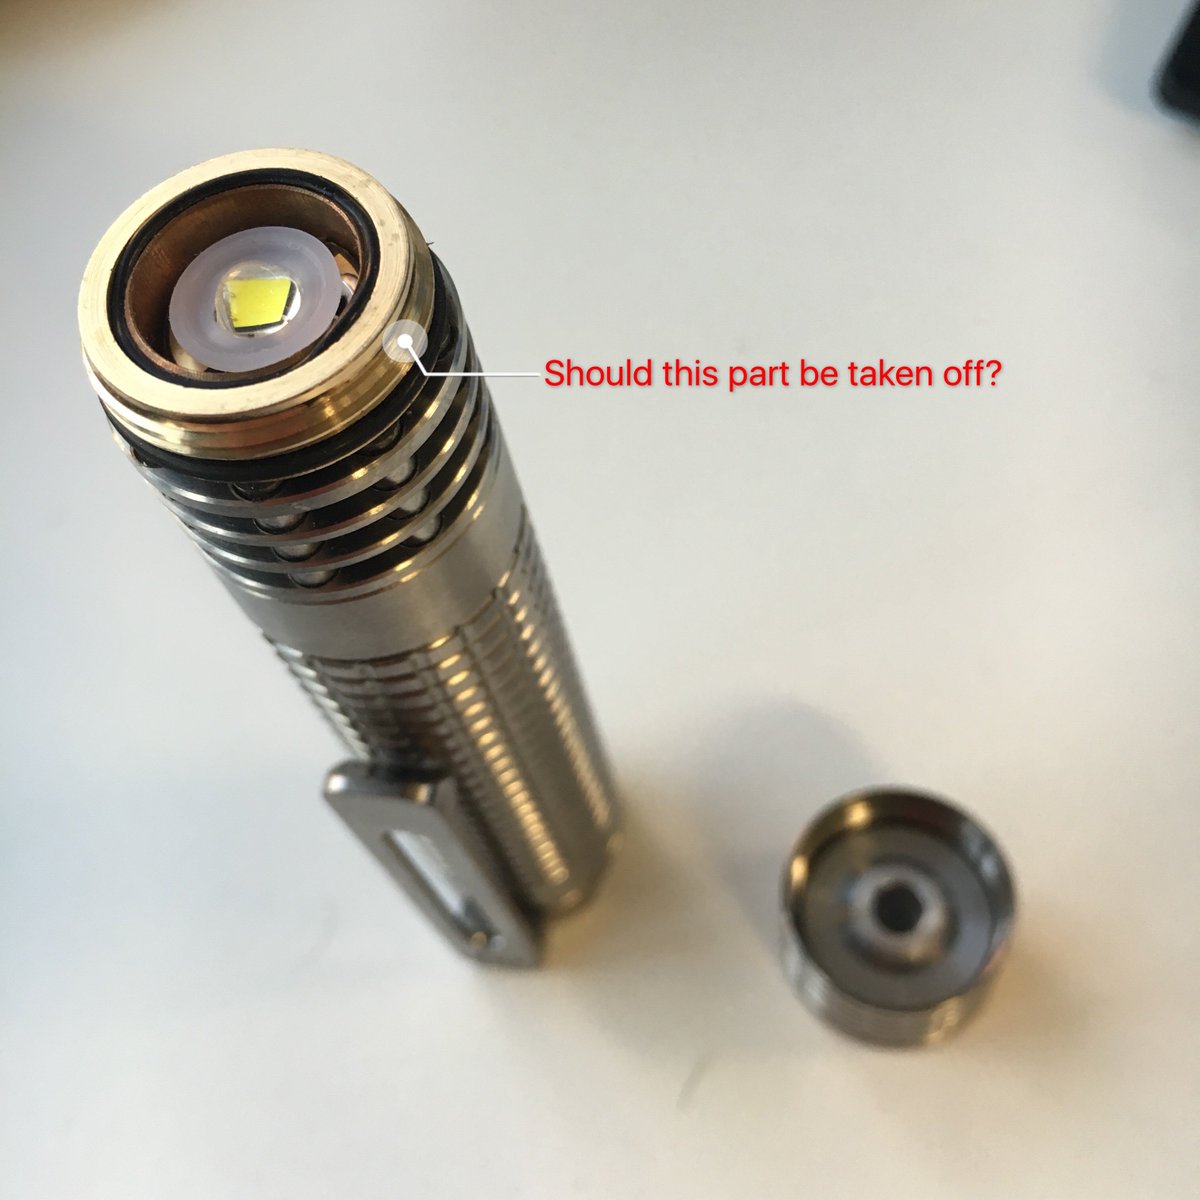
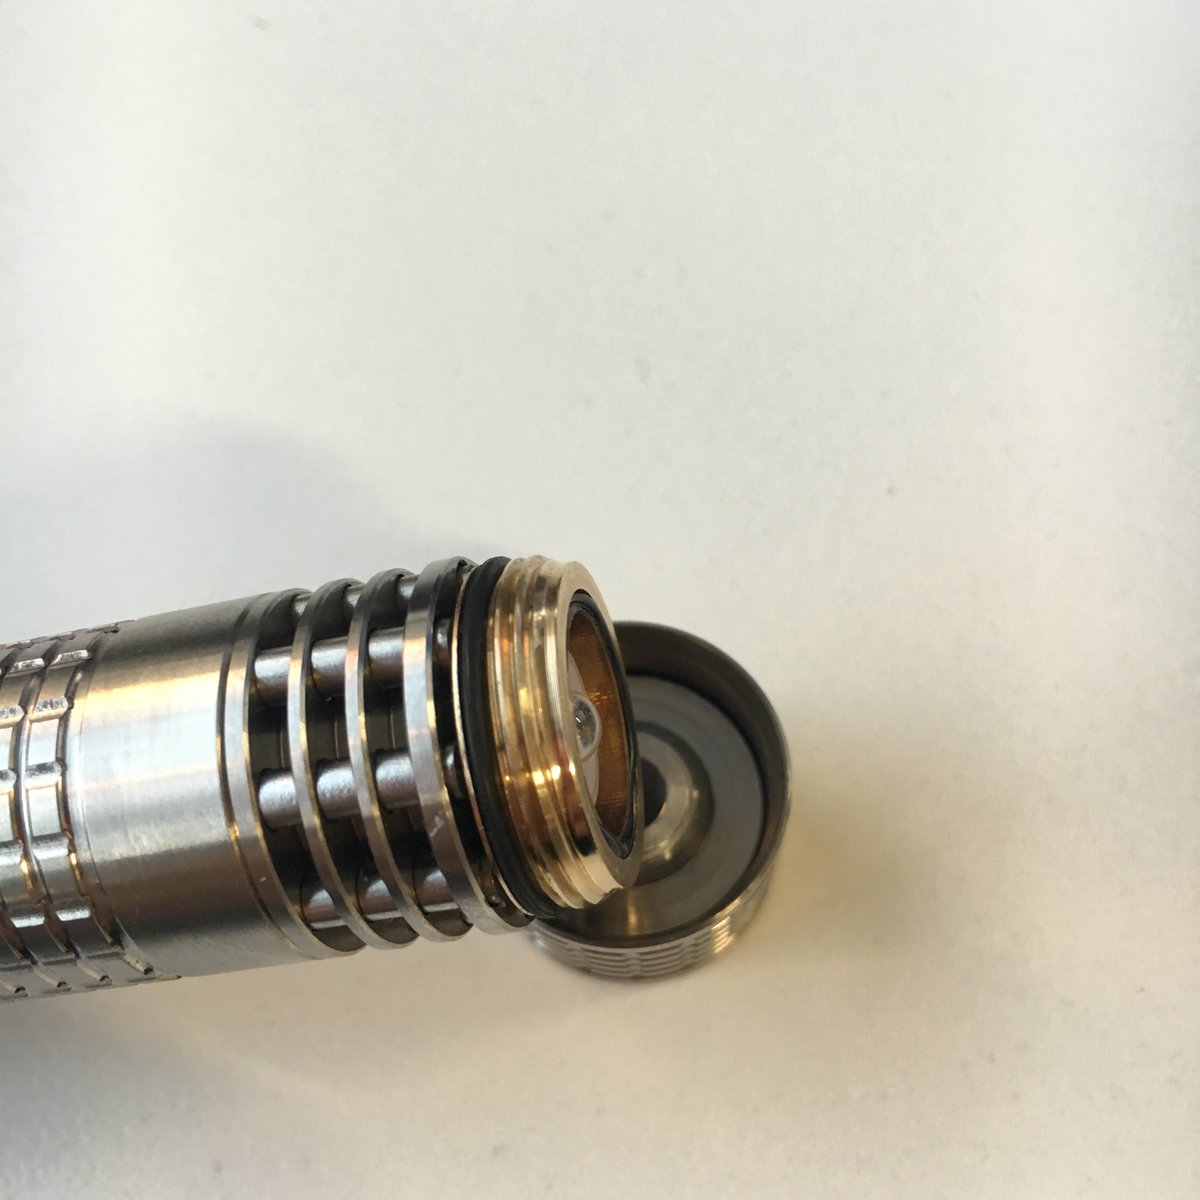
On the lithium battery front, Keeppower 14500 840mAh cells are too long. Efest 14500 800mAh work fine. Also, lube the threads with silicone dielectric grease. Same for the switch.

Thanks for the heads up.
 

jashhash

Enlightened
Joined
Sep 12, 2004
Messages
466
Location
Phillips Ranch
Yes the second batch of firefly flashlights are shipping out now. I'm still waiting for the tracking numbers from my freight forwarder.
 

jeb

Newly Enlightened
Joined
May 28, 2016
Messages
46
Location
sydney, Australia
Another note about the switch boot. Only the 10 s/s prototypes had a rubber switch boot, the full production run features a titanium switch cap. The switch assembly on the production model was modified to accommodate the titanium cap and will no longer work with a rubber boot.

I may produce another light in the future but it won't be something as involved as the firefly. The firefly is too difficult to quality control from the US, especially since I will be working full time as an engineer soon. I may launch another flashlight that has a more traditional assembly though. On a positive note Manker has been watching CPF more intently than before and appears to be creating quite a few successful production models of his own which specifically cater to what members of CPF are looking for.

I am newbee to flashlight, could you tell me does the pic showing below is correct ?
Cma9YifVYAEj4Zj.jpg


Cma8Rm3UEAAz9Vr.jpg
 

NoNotAgain

Flashlight Enthusiast
Joined
Jan 25, 2014
Messages
2,364
Location
Blue Ridge Mountains, VA
The brass colored ring you're pointing to in the pic should have stayed in the head to retain the reflector.
Once that ring is removed, you'll see a copper colored piece with 8 small radial machine marks where the tritium goes. Remove the o ring then you can remove the stainless steel rods.
 

jeb

Newly Enlightened
Joined
May 28, 2016
Messages
46
Location
sydney, Australia
The brass colored ring you're pointing to in the pic should have stayed in the head to retain the reflector.
Once that ring is removed, you'll see a copper colored piece with 8 small radial machine marks where the tritium goes. Remove the o ring then you can remove the stainless steel rods.

well, my problem is I can't take it off. that is what I am saying..

I twisted the cap, it only separate that way!!! And I have no idea how to do that...

BTW, what ring u r taking? the black rubber ring? even though I take it off, there still has a brass part over there
 
Last edited:

DellSuperman

Flashlight Enthusiast
Joined
Dec 5, 2012
Messages
1,760
Location
Singapore
That piece you are seeing is the brass ring that holds the reflector in place.
When i remove my bezel, that piece stays in the bezel with the reflector.

You should be able to remove that piece with a plier or something.
 

jeb

Newly Enlightened
Joined
May 28, 2016
Messages
46
Location
sydney, Australia
That piece you are seeing is the brass ring that holds the reflector in place.
When i remove my bezel, that piece stays in the bezel with the reflector.

You should be able to remove that piece with a plier or something.

would u mind take a pic to explain which part is the bezel u r talking about? cuz from the video, it looks like i only need to remove the rubber ring.
 

NoNotAgain

Flashlight Enthusiast
Joined
Jan 25, 2014
Messages
2,364
Location
Blue Ridge Mountains, VA
This is what the heat sink should look like.

Here's what the light with the head removed looks like.

The brass colored ring in your photo came out of the head. Wrap it with some tape and gently remove with a set of pliers.
 

jeb

Newly Enlightened
Joined
May 28, 2016
Messages
46
Location
sydney, Australia
This is what the heat sink should look like.

Here's what the light with the head removed looks like.

The brass colored ring in your photo came out of the head. Wrap it with some tape and gently remove with a set of pliers.


yes!! exactly, but the problem is mine doesnt come off like that!!!
and i have no idea how to take it off
 

ghos

Newly Enlightened
Joined
Sep 28, 2013
Messages
121
Location
Singapore
Forgot to post, I got mine 2 days ago (finally!), its very premium and solid, just the clicky is a bit sticky at times, but i seem to have fixed it

Mine was a little rough so I polished it up

2.jpg


Here it is with a triple 219b frosted! If anyone is interested, the build thread is in the modified flashlights section

14.jpg
 

recDNA

Flashaholic
Joined
Jun 2, 2009
Messages
8,761
The sticky clicky scared me off. Gorgeous work though. So nice with trits installed. Clip is genius. Gorgeous light. Art really. Too bad this is the only run. You gave yourself no chance to work out quirks
 

gunga

Flashaholic
Joined
Nov 29, 2006
Messages
8,081
Location
Vancouver, BC, Canada
The sticky clicky scared me off. Gorgeous work though. So nice with trits installed. Clip is genius. Gorgeous light. Art really. Too bad this is the only run. You gave yourself no chance to work out quirks

It's a shame it's the only run. I think many of the quirks were worked out during the proto run.

The only real quirks I'd say were the long (to me) 15 seconds reset time and the sticky/scratchy titanium button. Both were introduced after the second proto evaluation.

Otherwise, I'm quite pleased with how nicely Josh designed this. Great job. That clip is a work of art and the custom bolts were a great idea.
 

NoNotAgain

Flashlight Enthusiast
Joined
Jan 25, 2014
Messages
2,364
Location
Blue Ridge Mountains, VA

If you look at your second picture, you can see the o ring sticking out between the heat sink and the reflector retaining ring. Remove the o ring and see if it allows you to remove the retainer. Otherwise wrap the brass ring with a few wraps of tape and lightly grip the ring with pliers. It will come right off.

Also, when you go to reassemble the light, use silicone dielectric grease on the o rings and all threads. It makes things so much smoother.

Search out the Kickstarter video as jashhash shows how to install the tritium.
 

jeb

Newly Enlightened
Joined
May 28, 2016
Messages
46
Location
sydney, Australia
If you look at your second picture, you can see the o ring sticking out between the heat sink and the reflector retaining ring. Remove the o ring and see if it allows you to remove the retainer. Otherwise wrap the brass ring with a few wraps of tape and lightly grip the ring with pliers. It will come right off.

Also, when you go to reassemble the light, use silicone dielectric grease on the o rings and all threads. It makes things so much smoother.

Search out the Kickstarter video as jashhash shows how to install the tritium.

isnt that part was screwed on? I tried to unscrewed it without a O ring, but not working. it even slashed my fingers.
I saw the video, it looks quite simple to take it off.
 
Last edited:

NoNotAgain

Flashlight Enthusiast
Joined
Jan 25, 2014
Messages
2,364
Location
Blue Ridge Mountains, VA
To me it looks like the o ring is caught in the threads. See if you can peel it out. It's probably cut anyway.
Once the o ring is gone, I suspect that with the threads taped up to prevent damage, that you will be able to take the ring off. Also remove the o ring on the outer most edge as to not damage it.

I've never had the stainless pins in mine so I don't know how far they stick up. The ring may be be jammed against the pins. The tape and pliers will remove that ring no doubt in my mind.
 
Top